Gallery
Photographs From Our Repair Floor
In short
Structural, laminate, paint, roof, slide, interior, systems, and fabrication work photographed in our building. These are representative of the disciplines we perform, not identified customer vehicles.
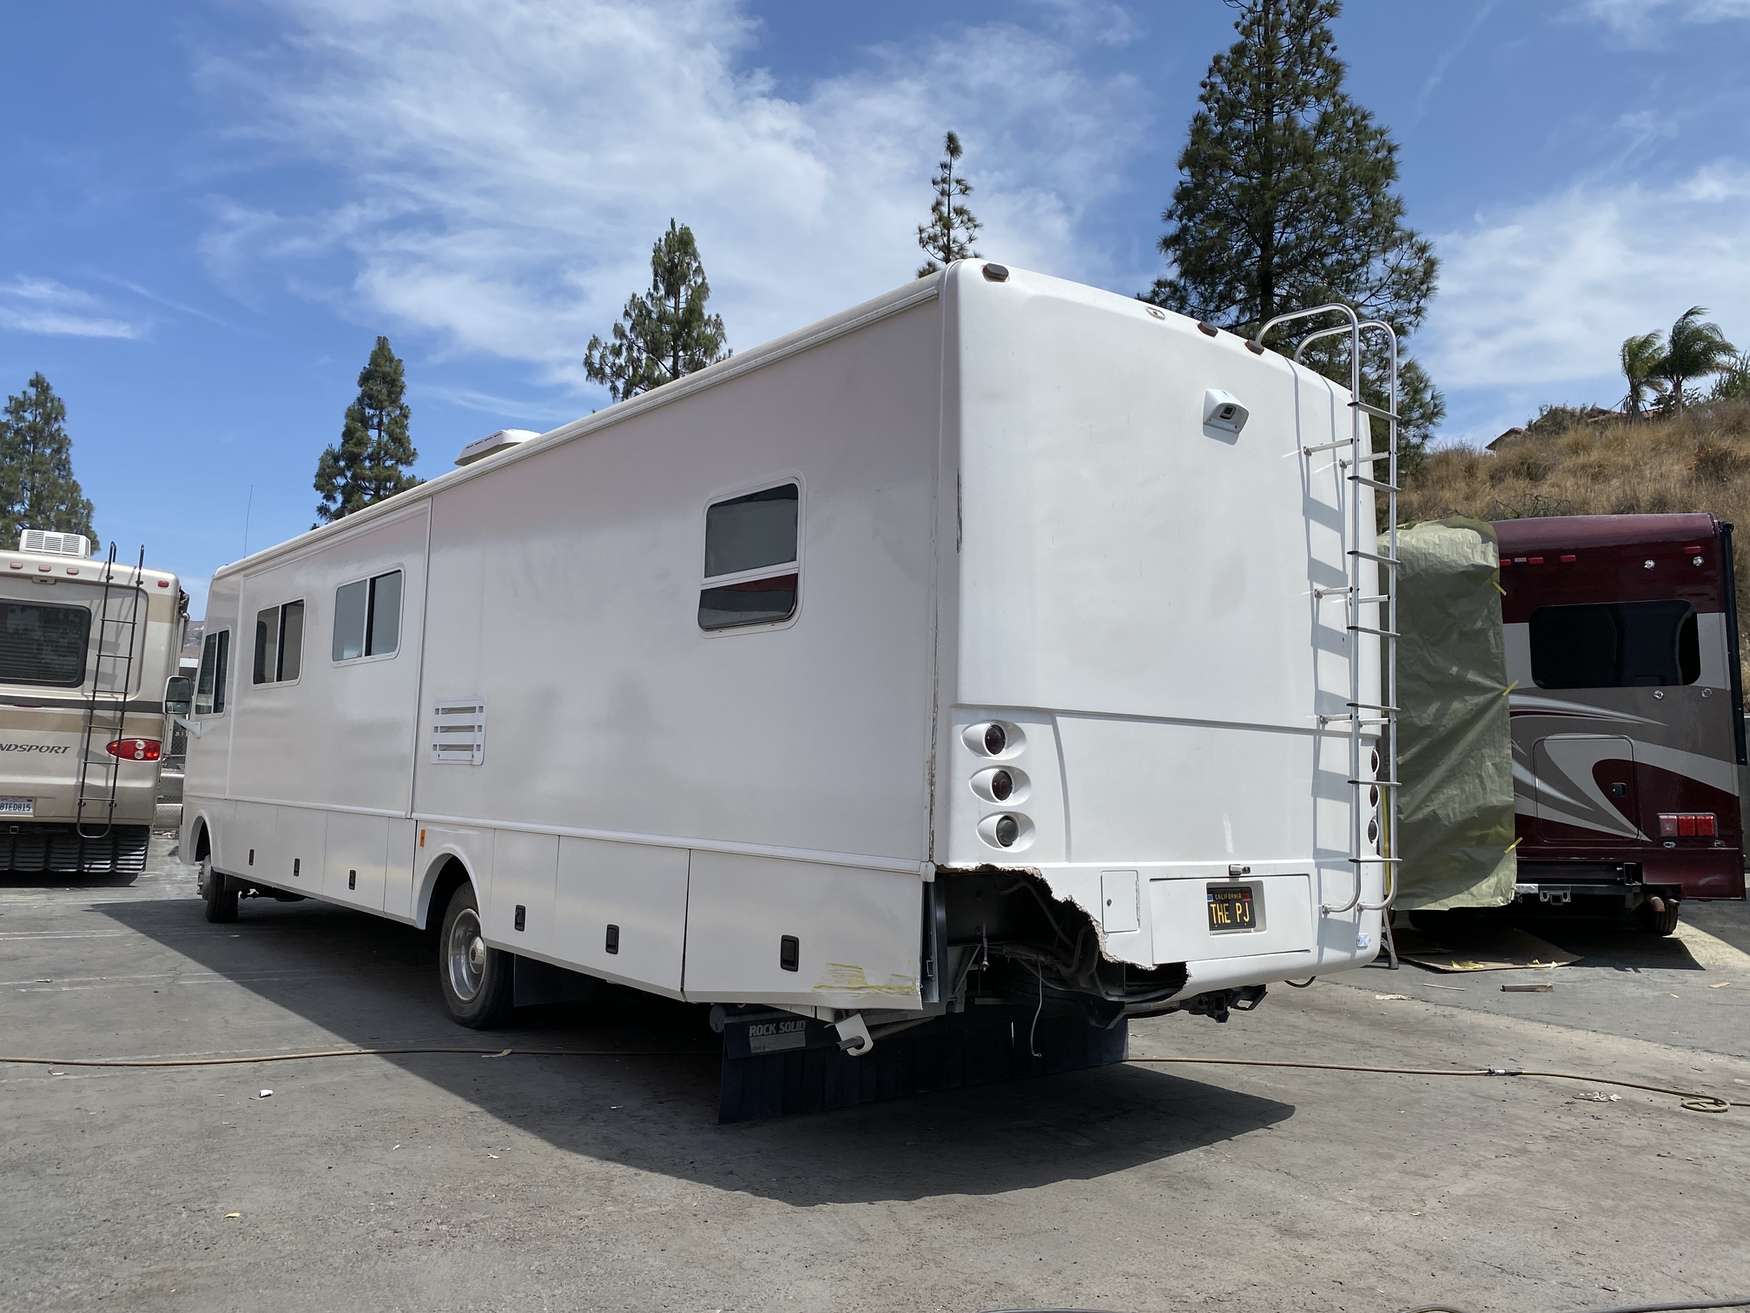
What follows is a look at the stages of the work rather than a highlight reel. Where a photograph shows a vehicle mid repair, that is the useful part of it. The finished ones all look the same from ten feet away, which is exactly the problem with judging a shop by its after photographs.
These images are representative of work performed at our facility. They are not labeled with owners, unit numbers, or claim references, and none of them is presented as documentation of a particular customer's repair. A vehicle in a bay belongs to somebody who did not sign up to appear on a website, and an interior photograph in this category frequently says more about the people who live in the unit than they would choose to share.
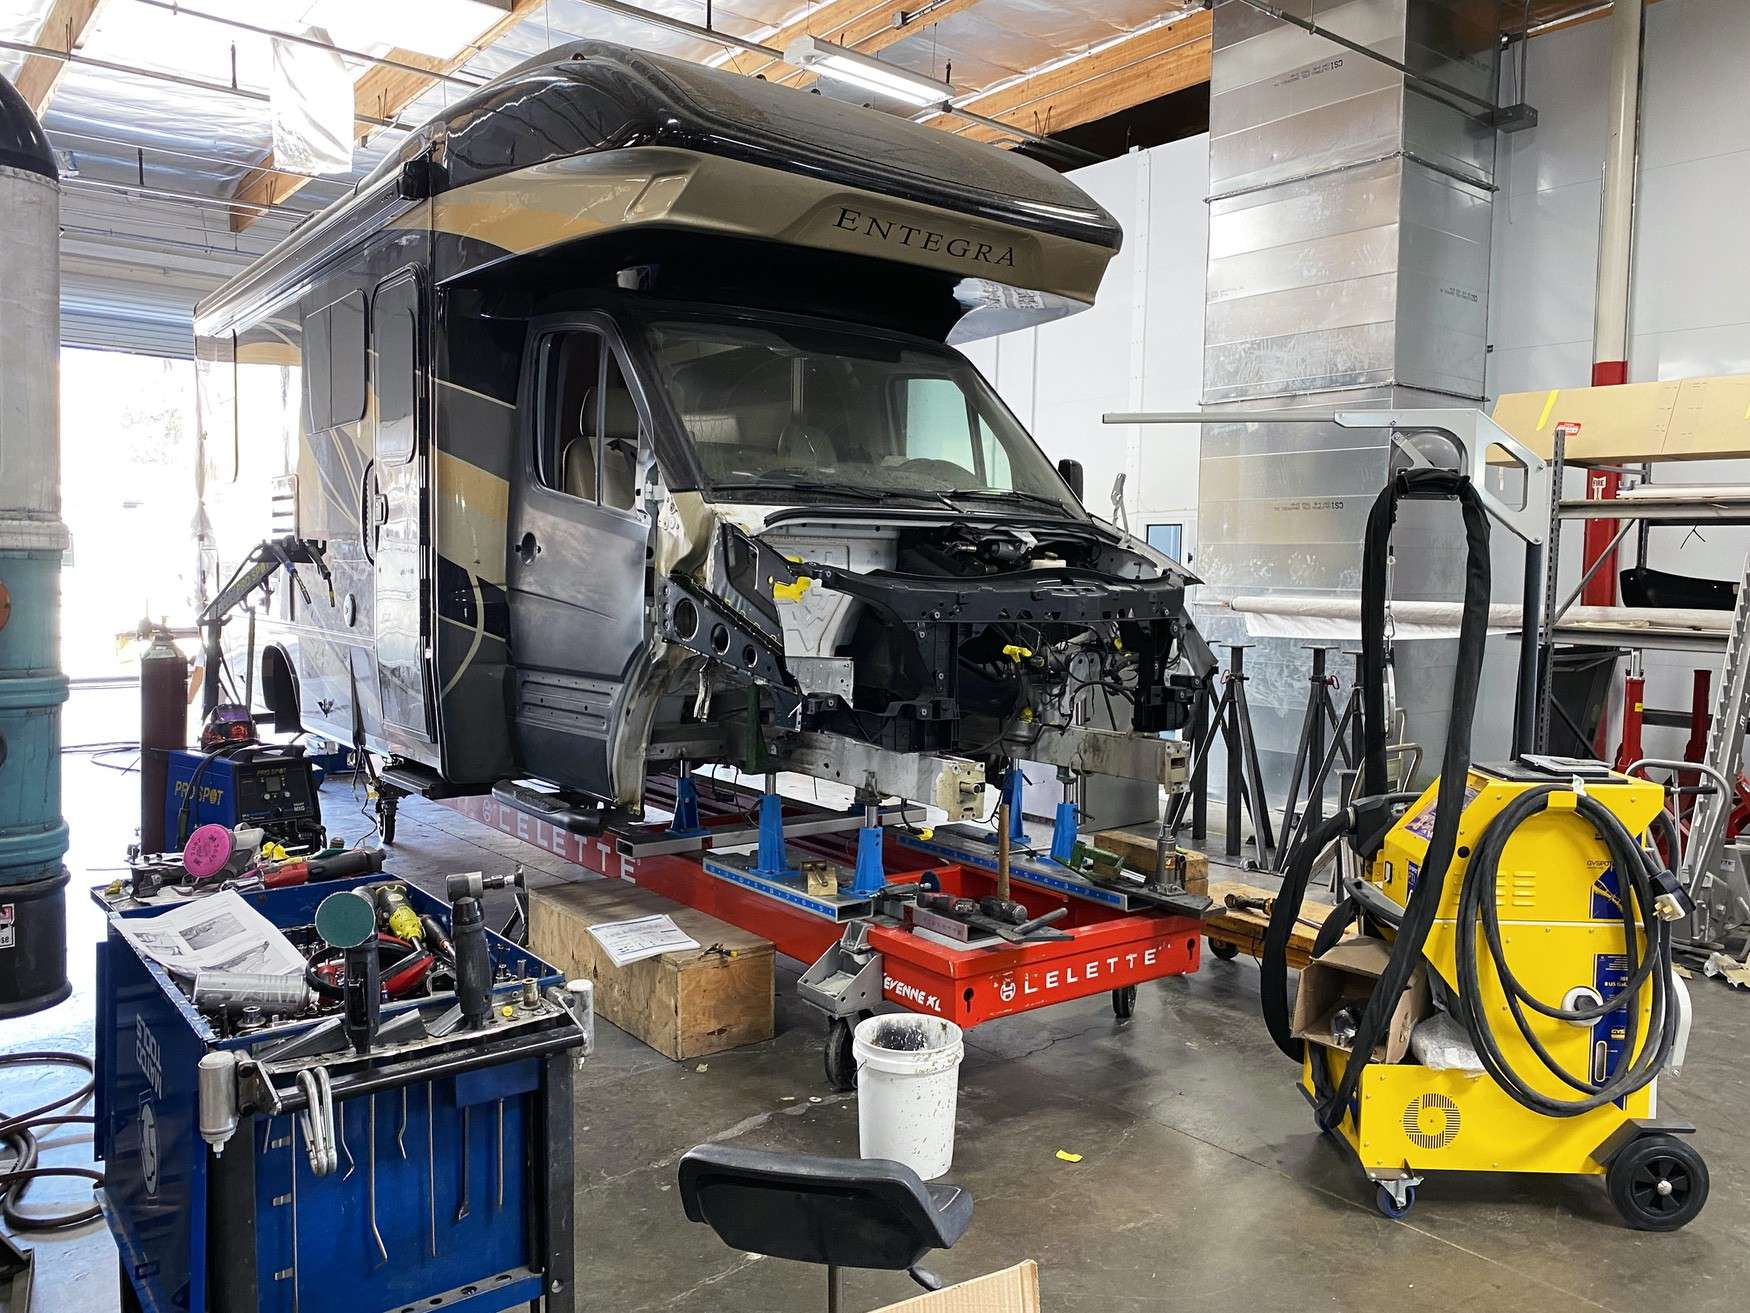
Structural stage, chassis positioned and anchored before measurement
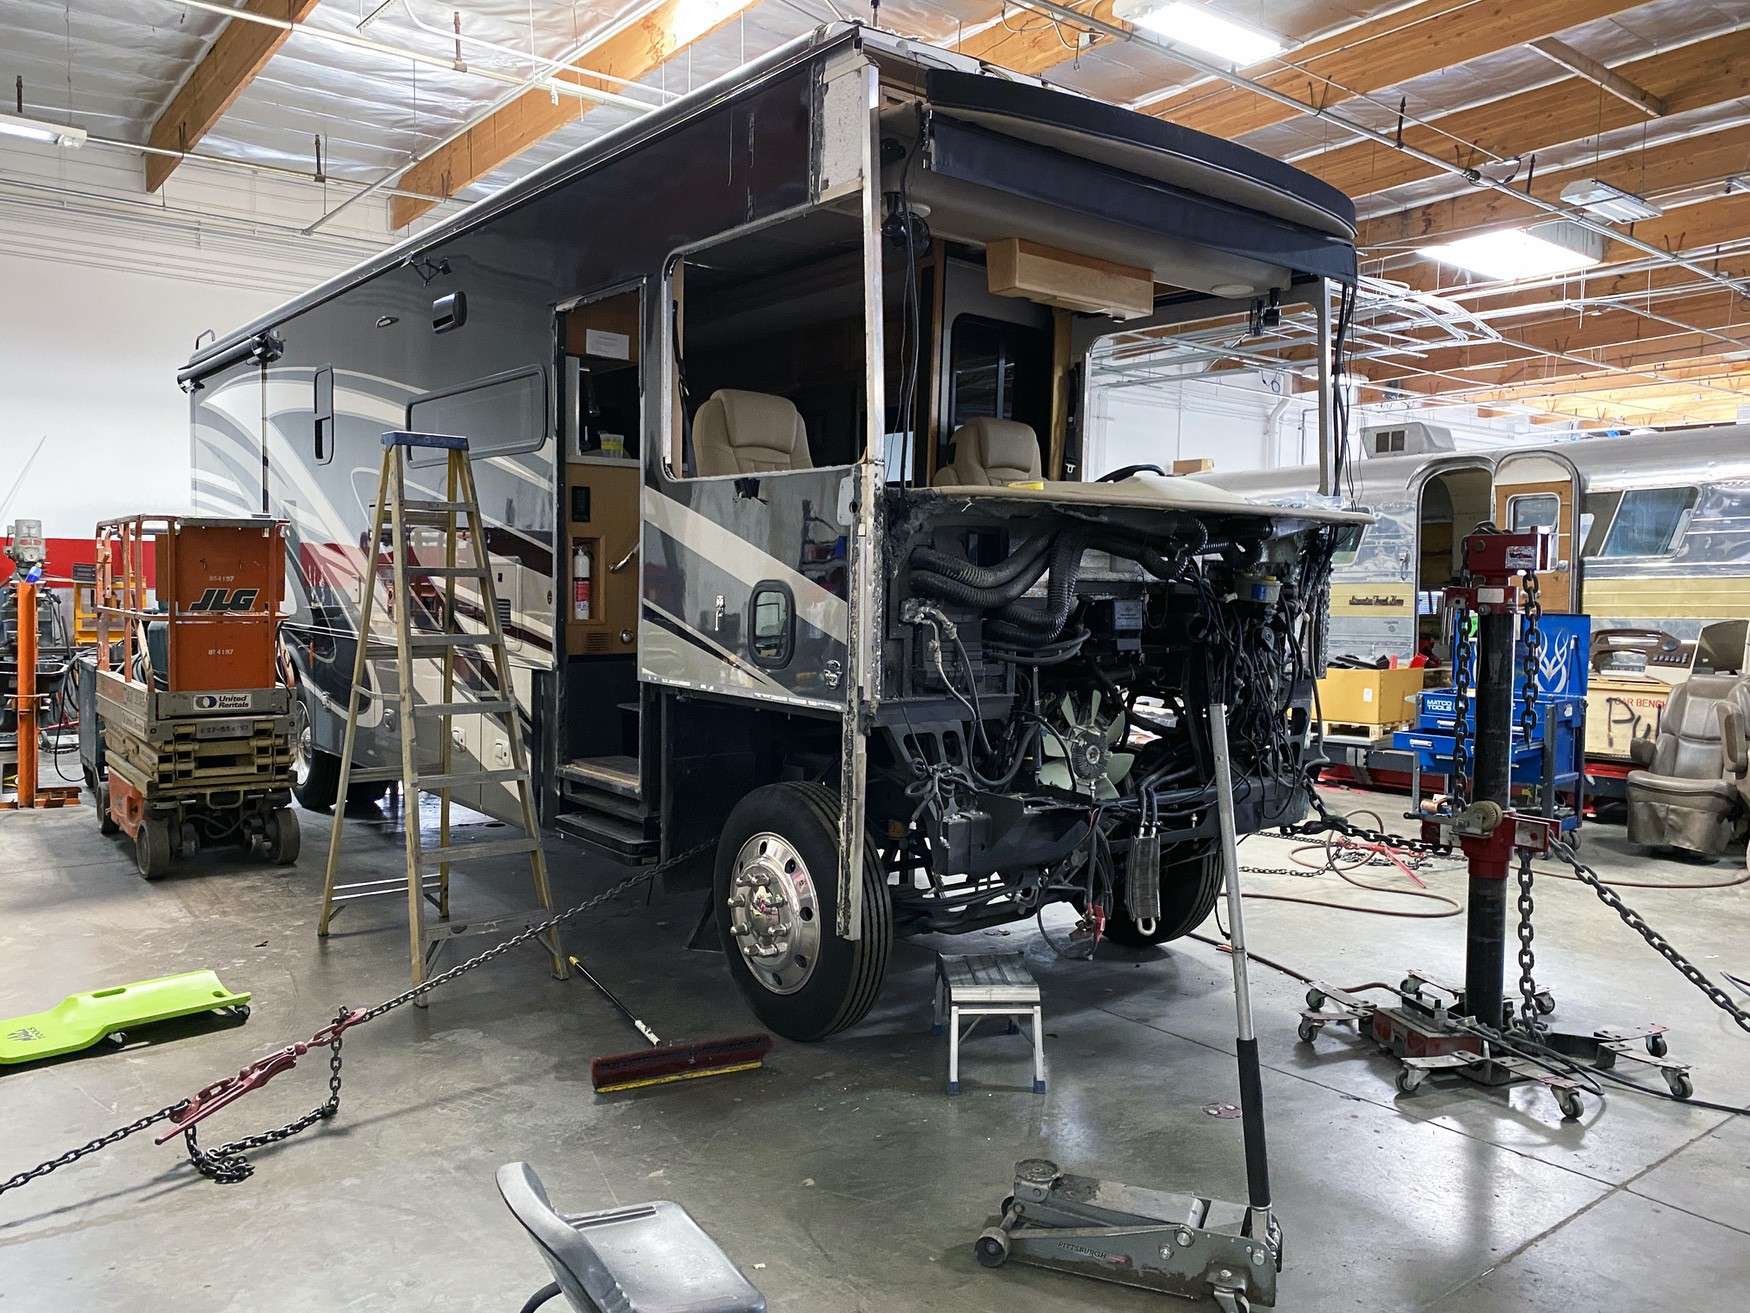
Measuring targets set on a chassis during a controlled pull
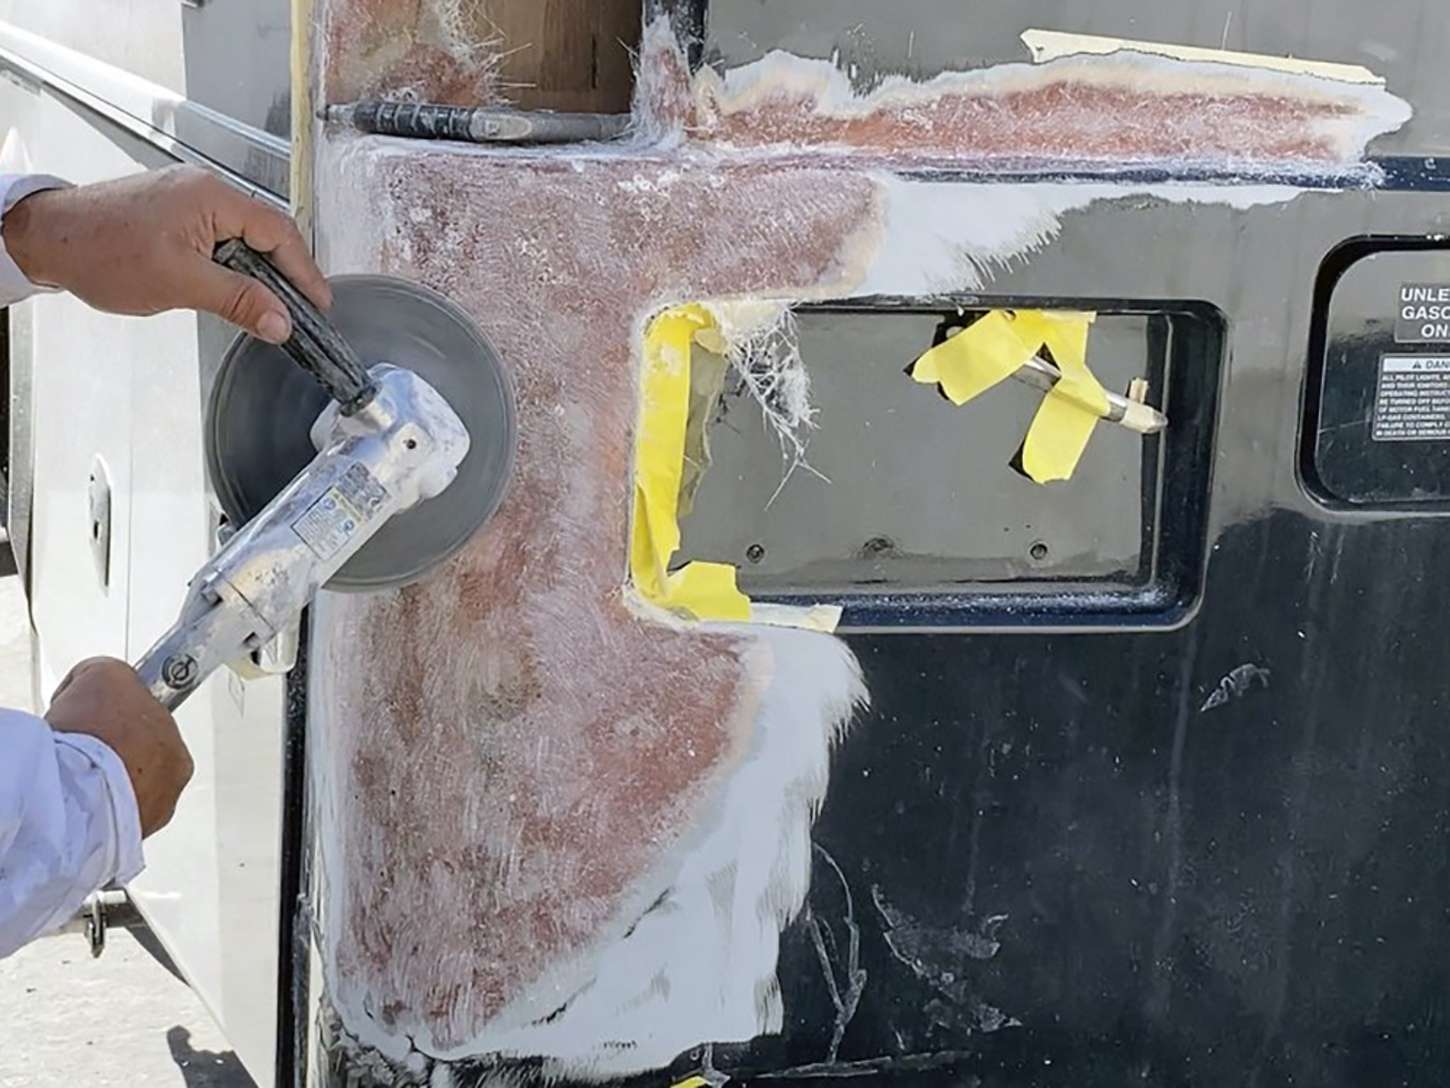
Laminate rebuild, cloth laid into a repaired sidewall section
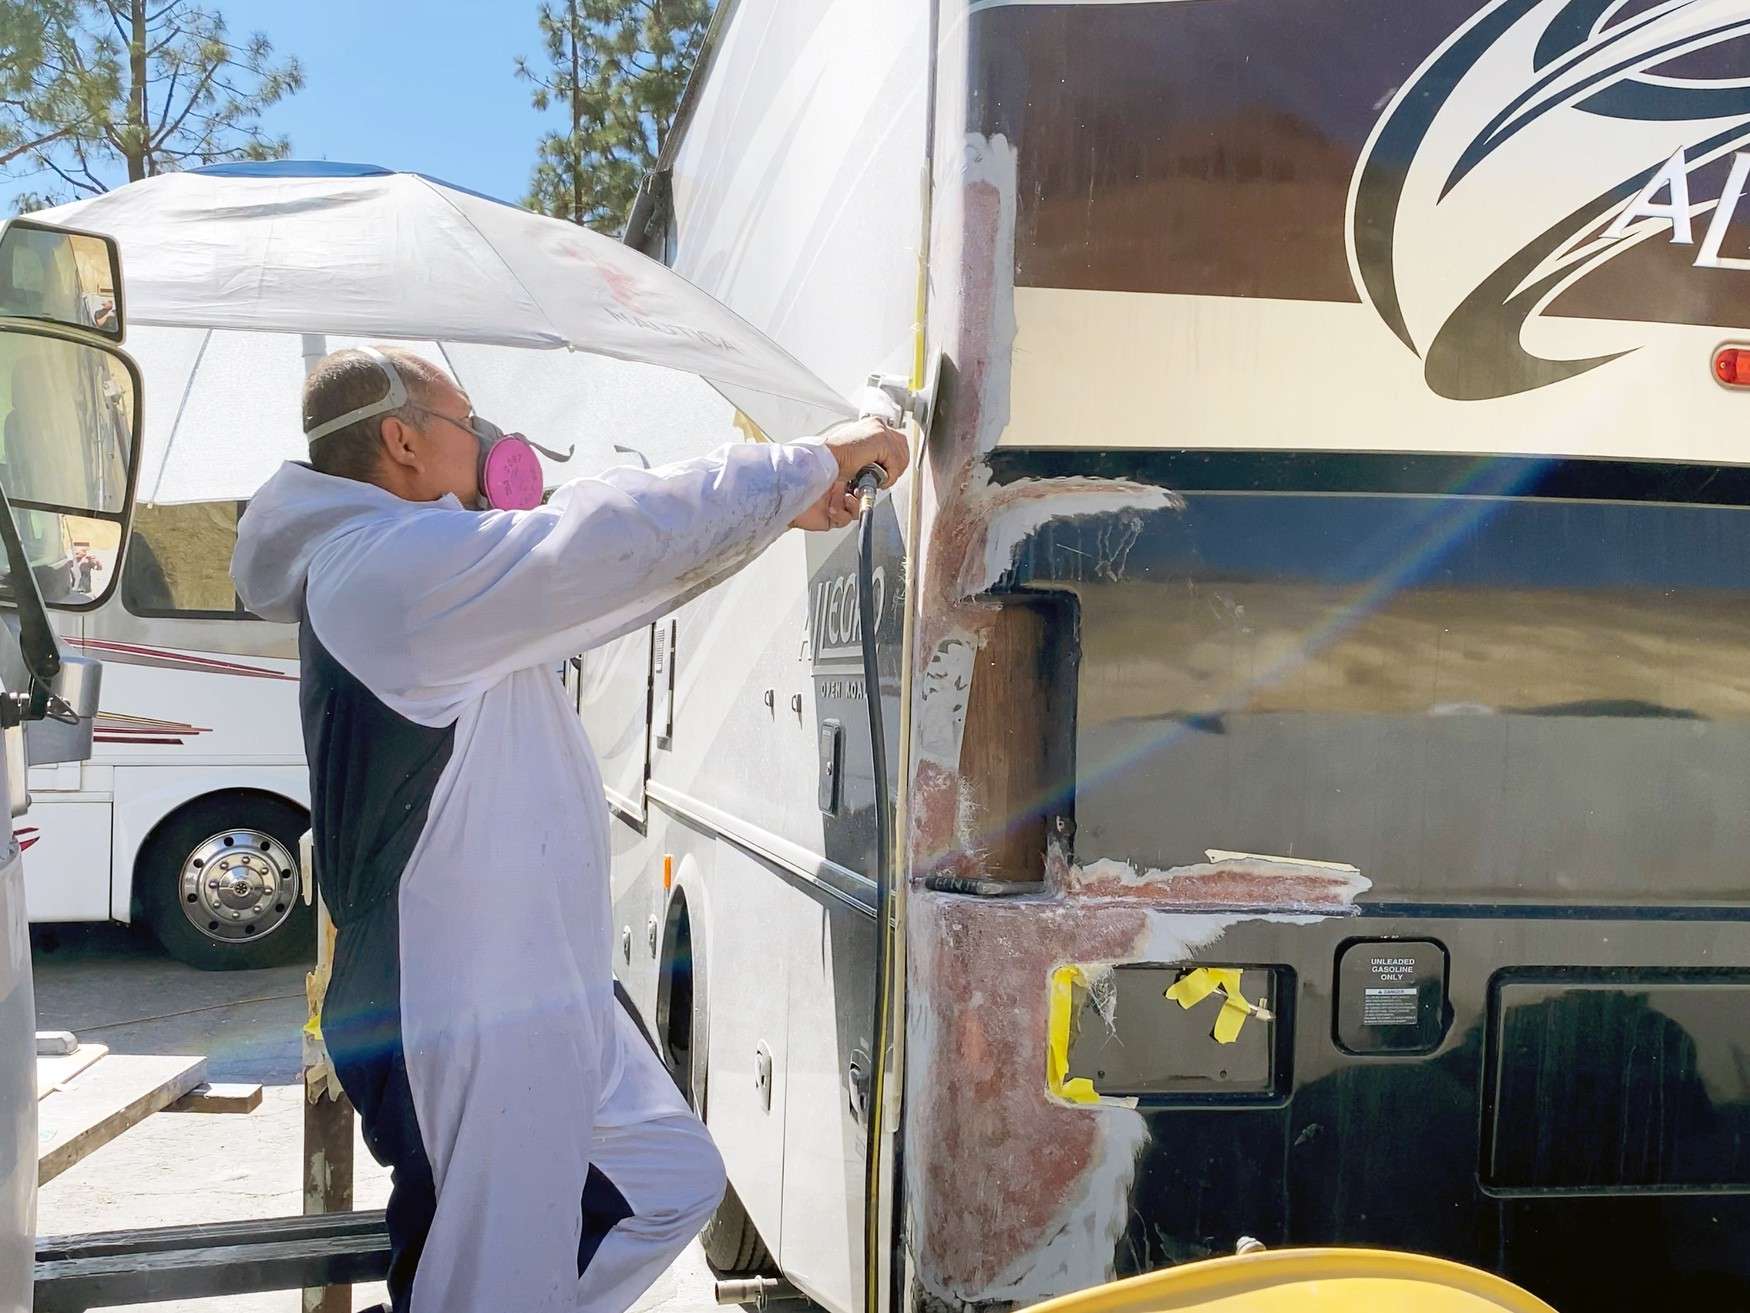
Separated laminate exposed once the outer skin came off
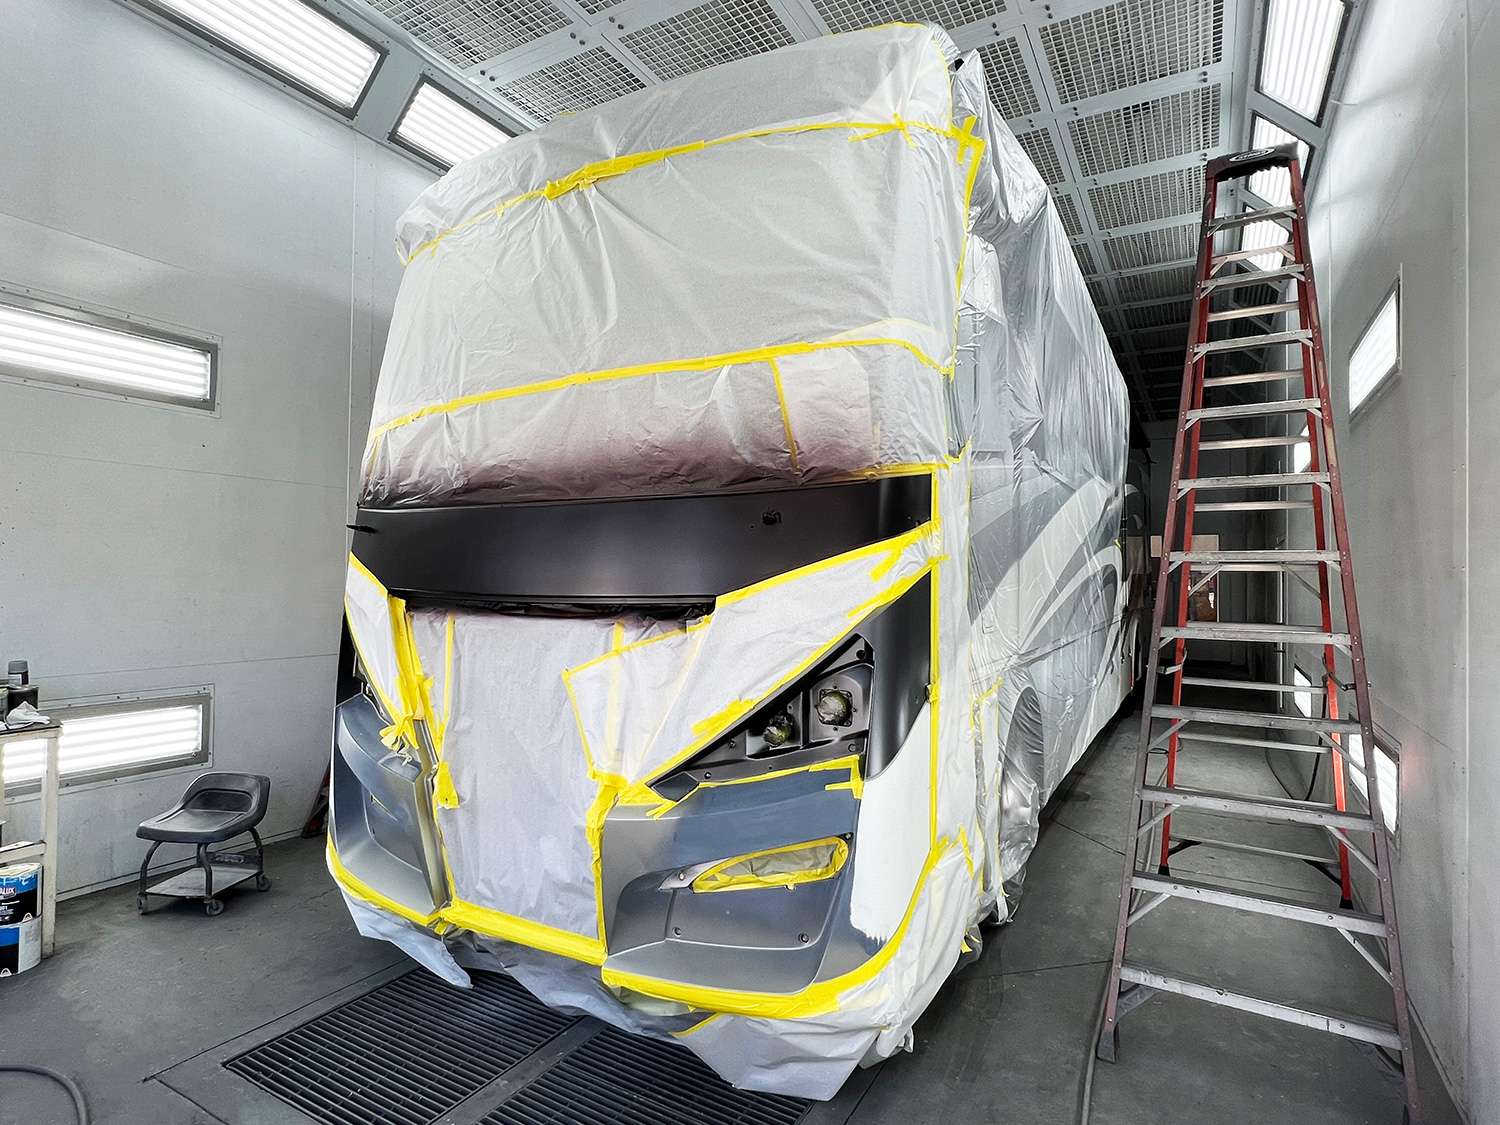
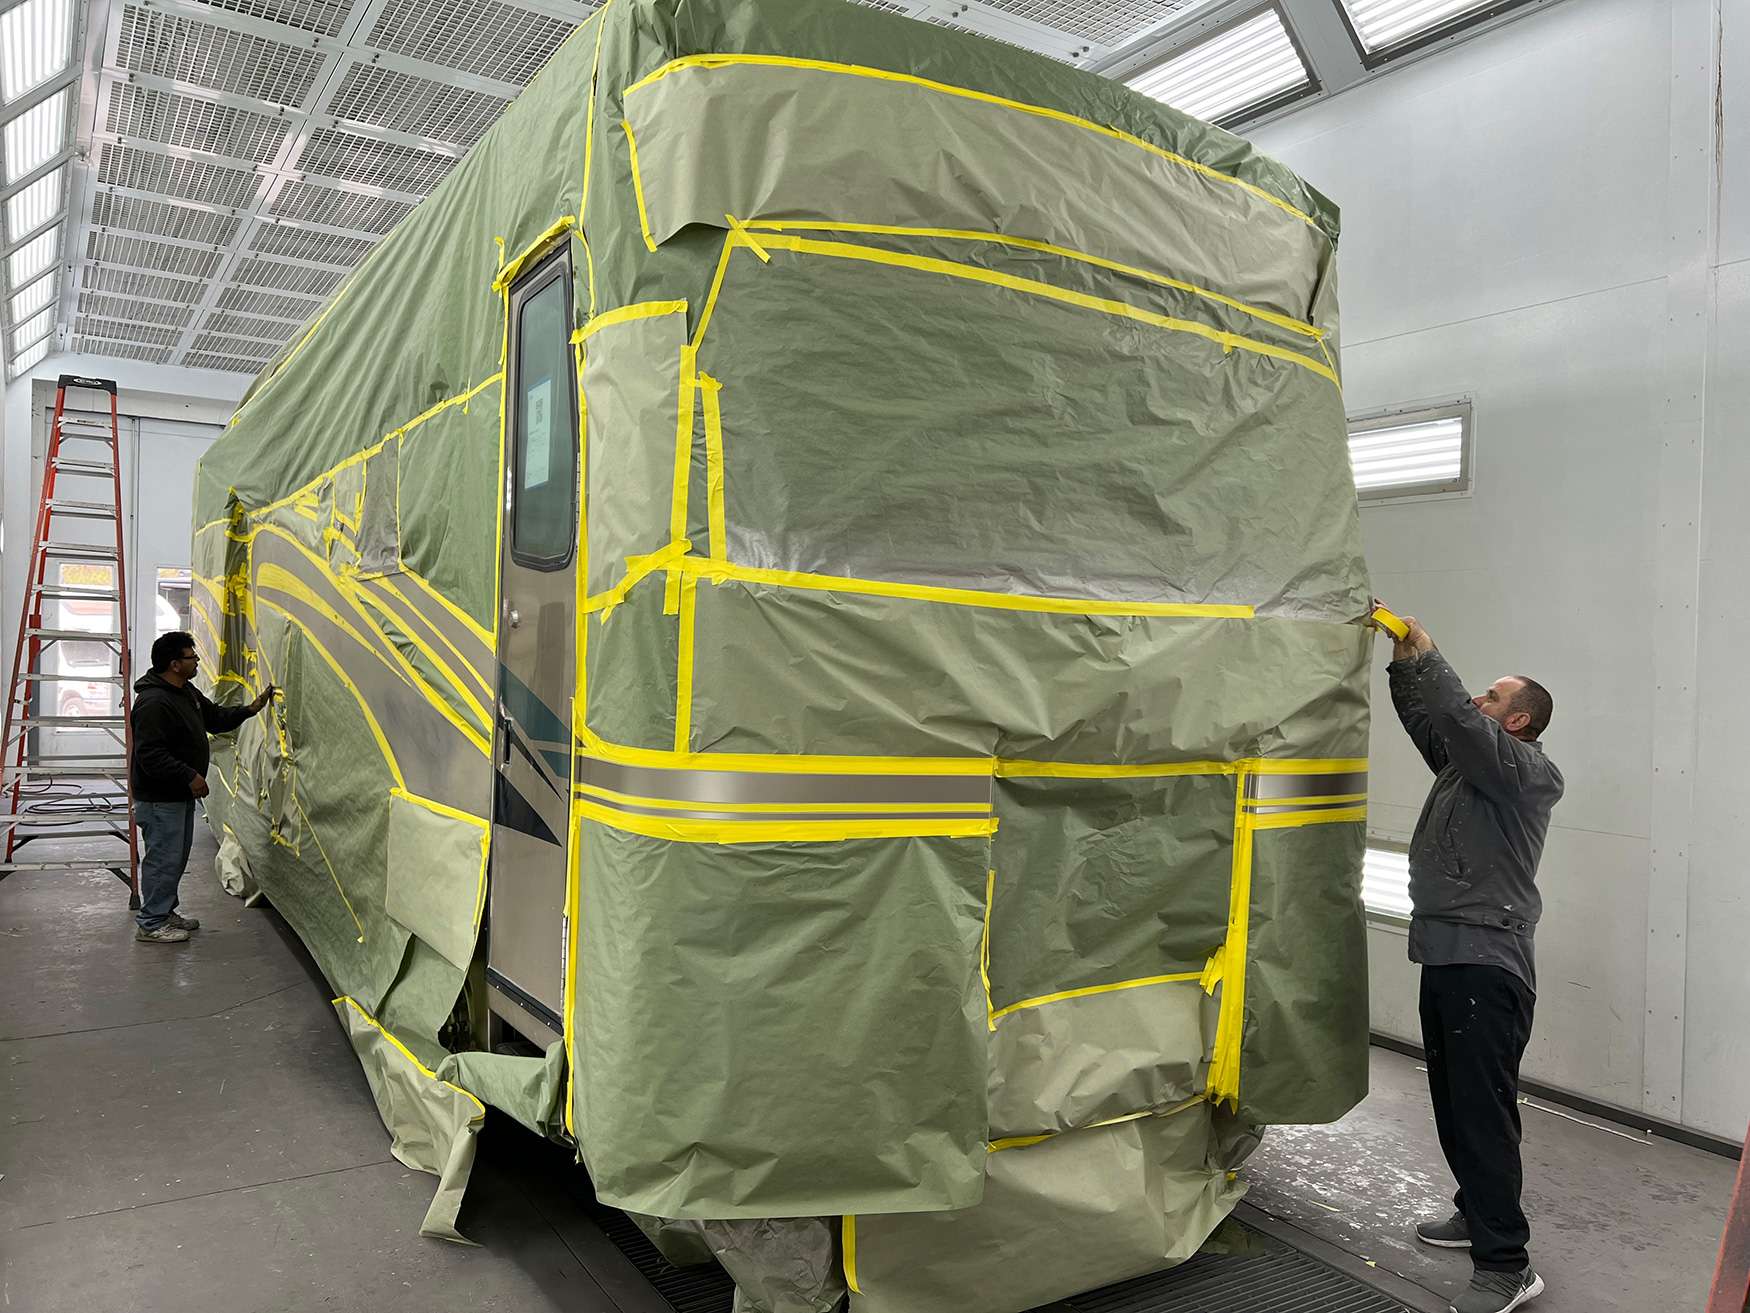
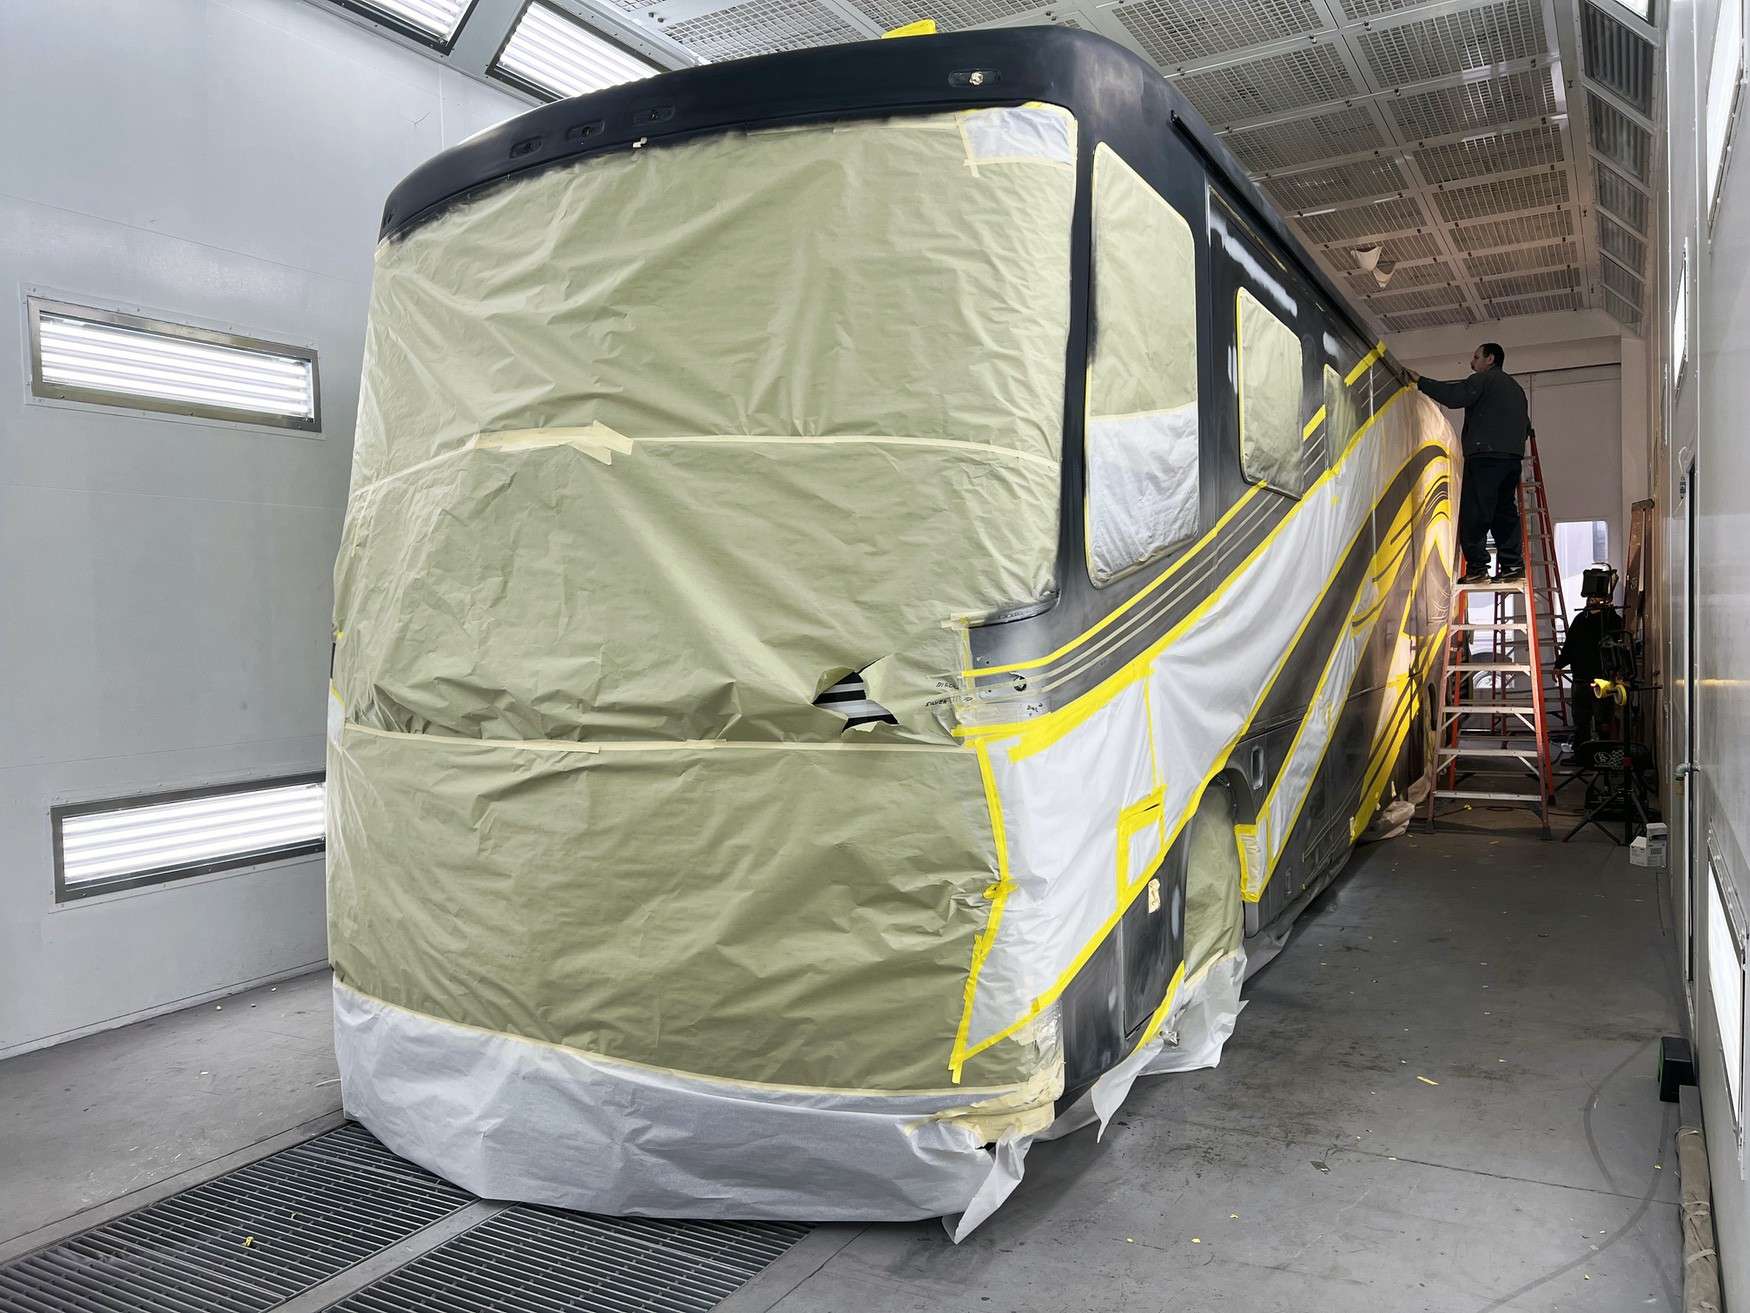
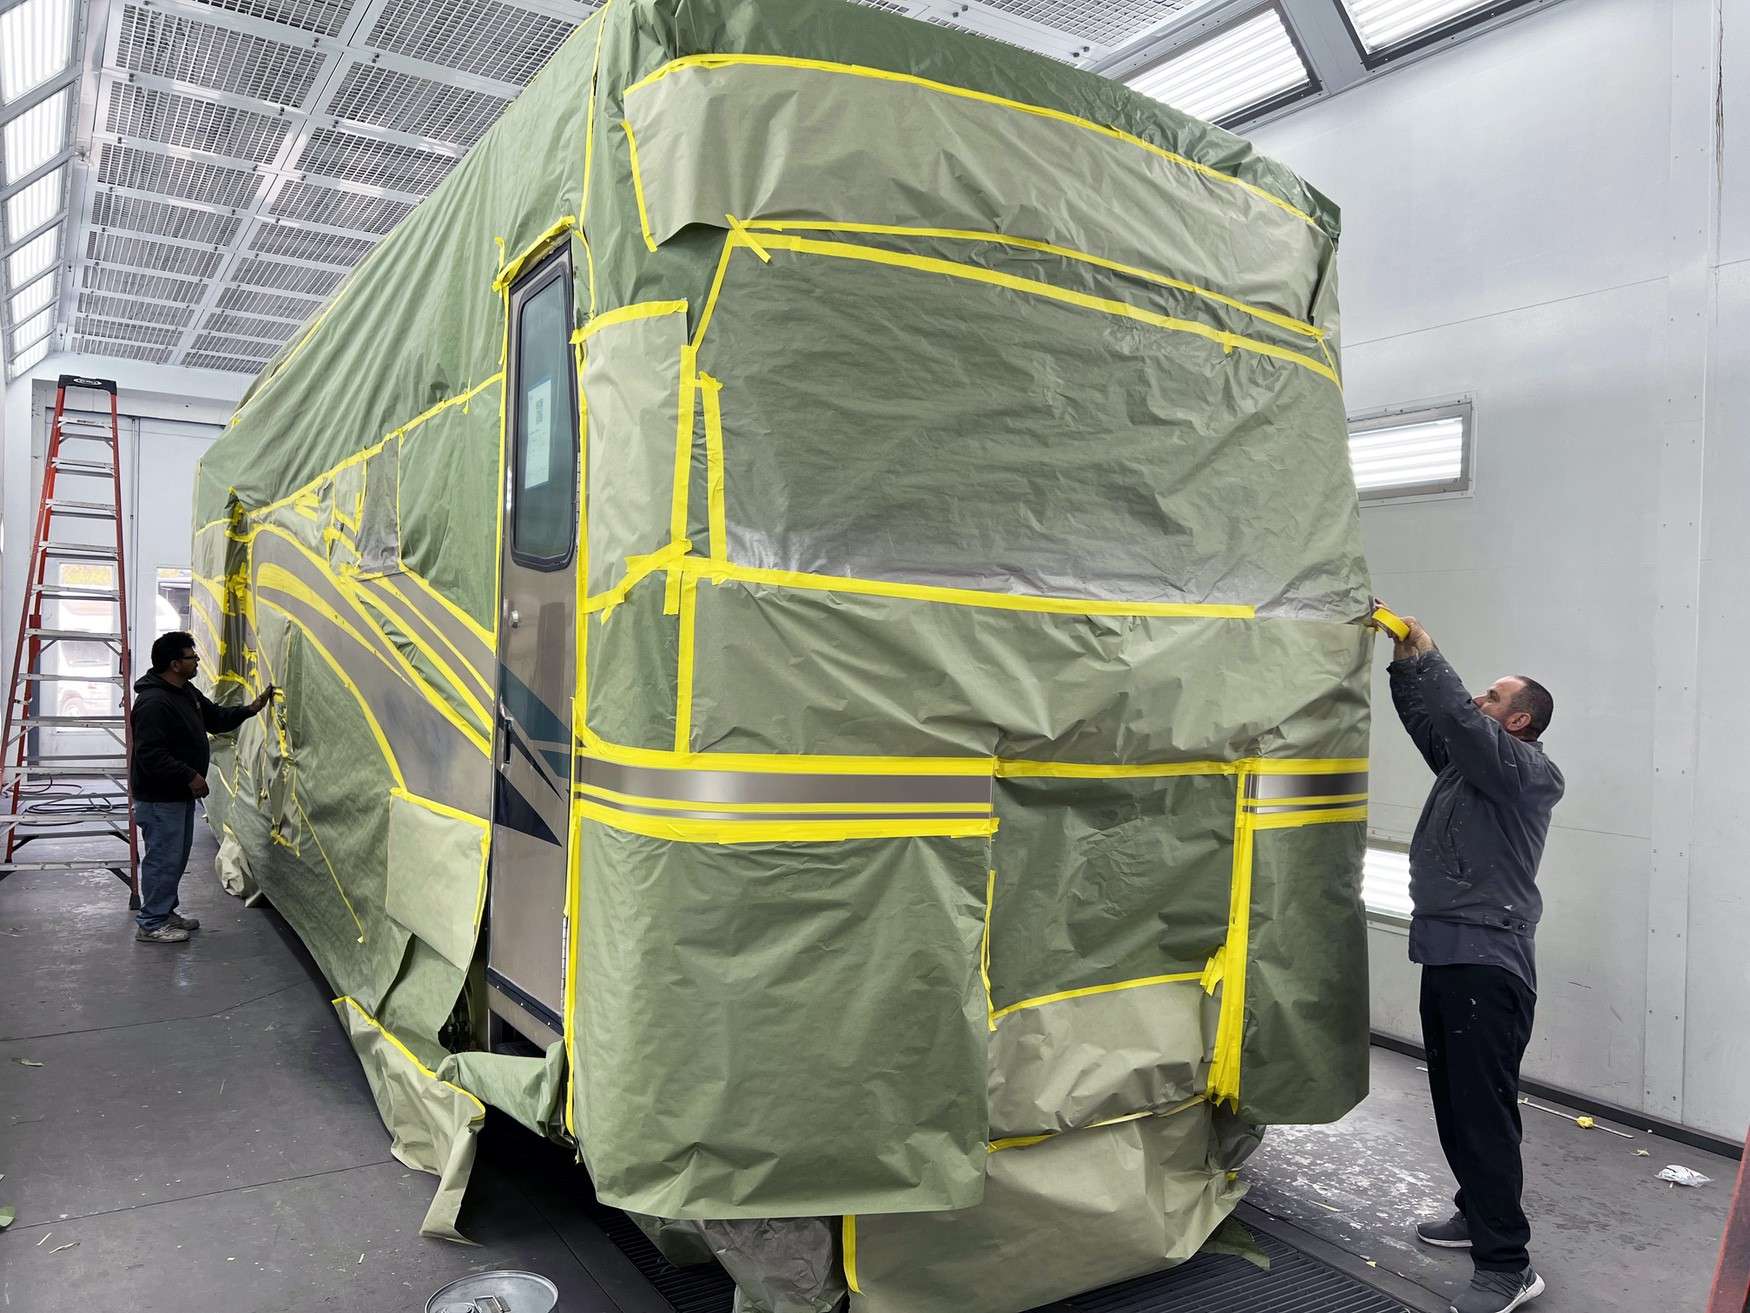
Refinishing stage, a coach inside the booth under spray lighting
Spray out card checked against the actual panel before committing color
Blocking a repaired panel flat before primer
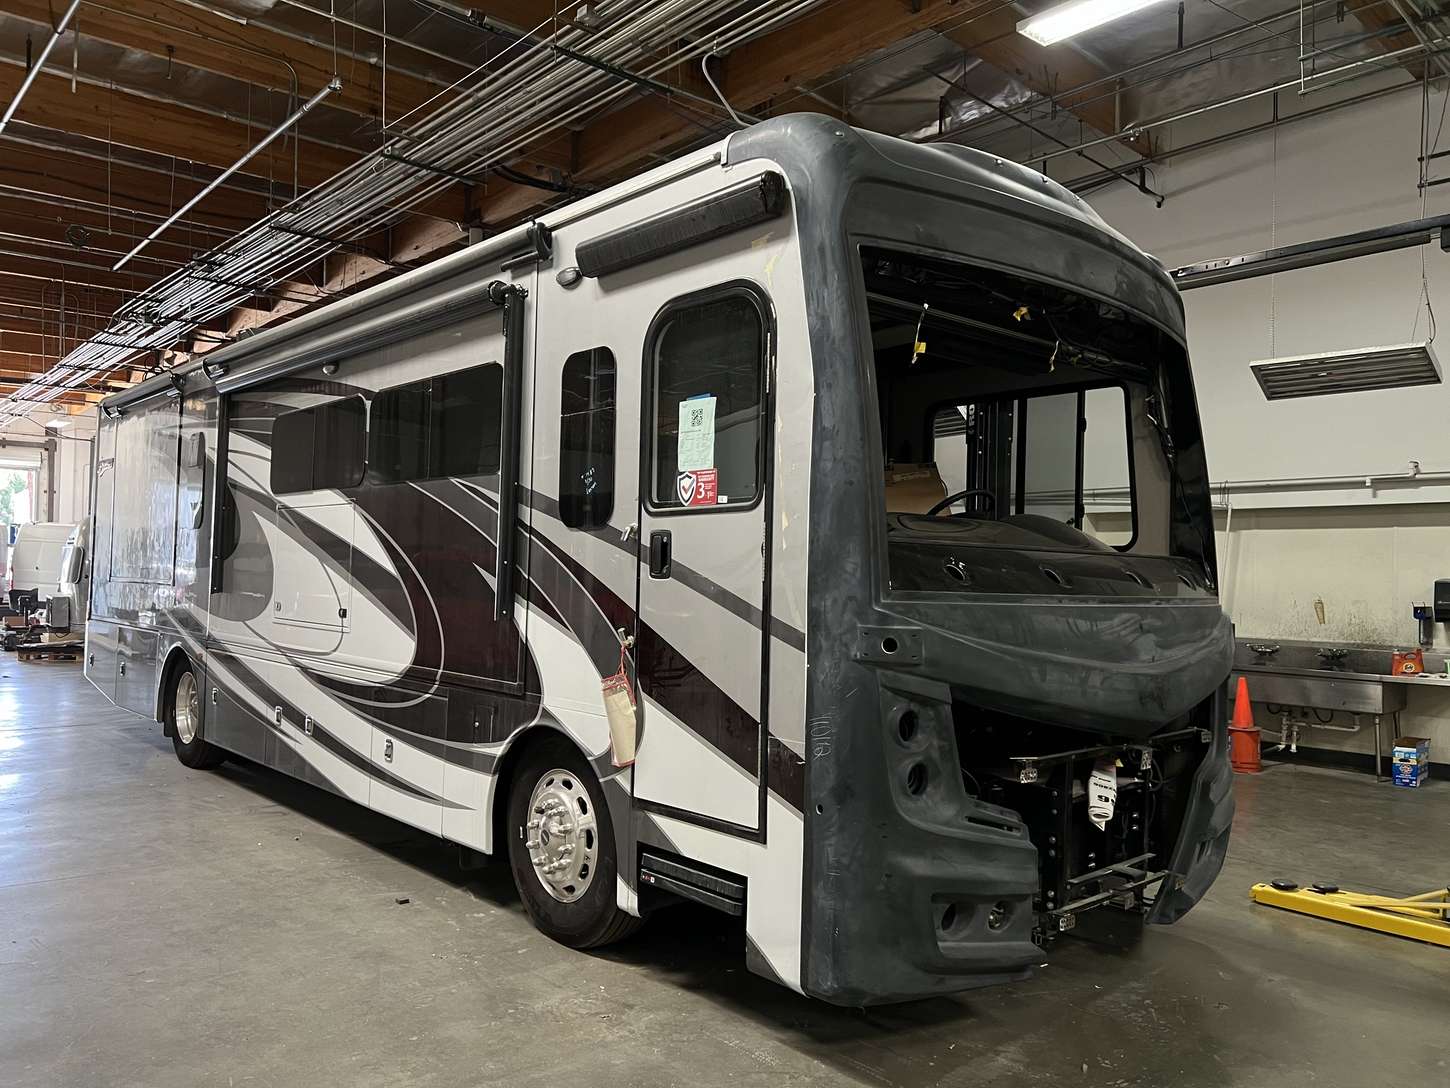
Paintless dent work performed from behind the panel
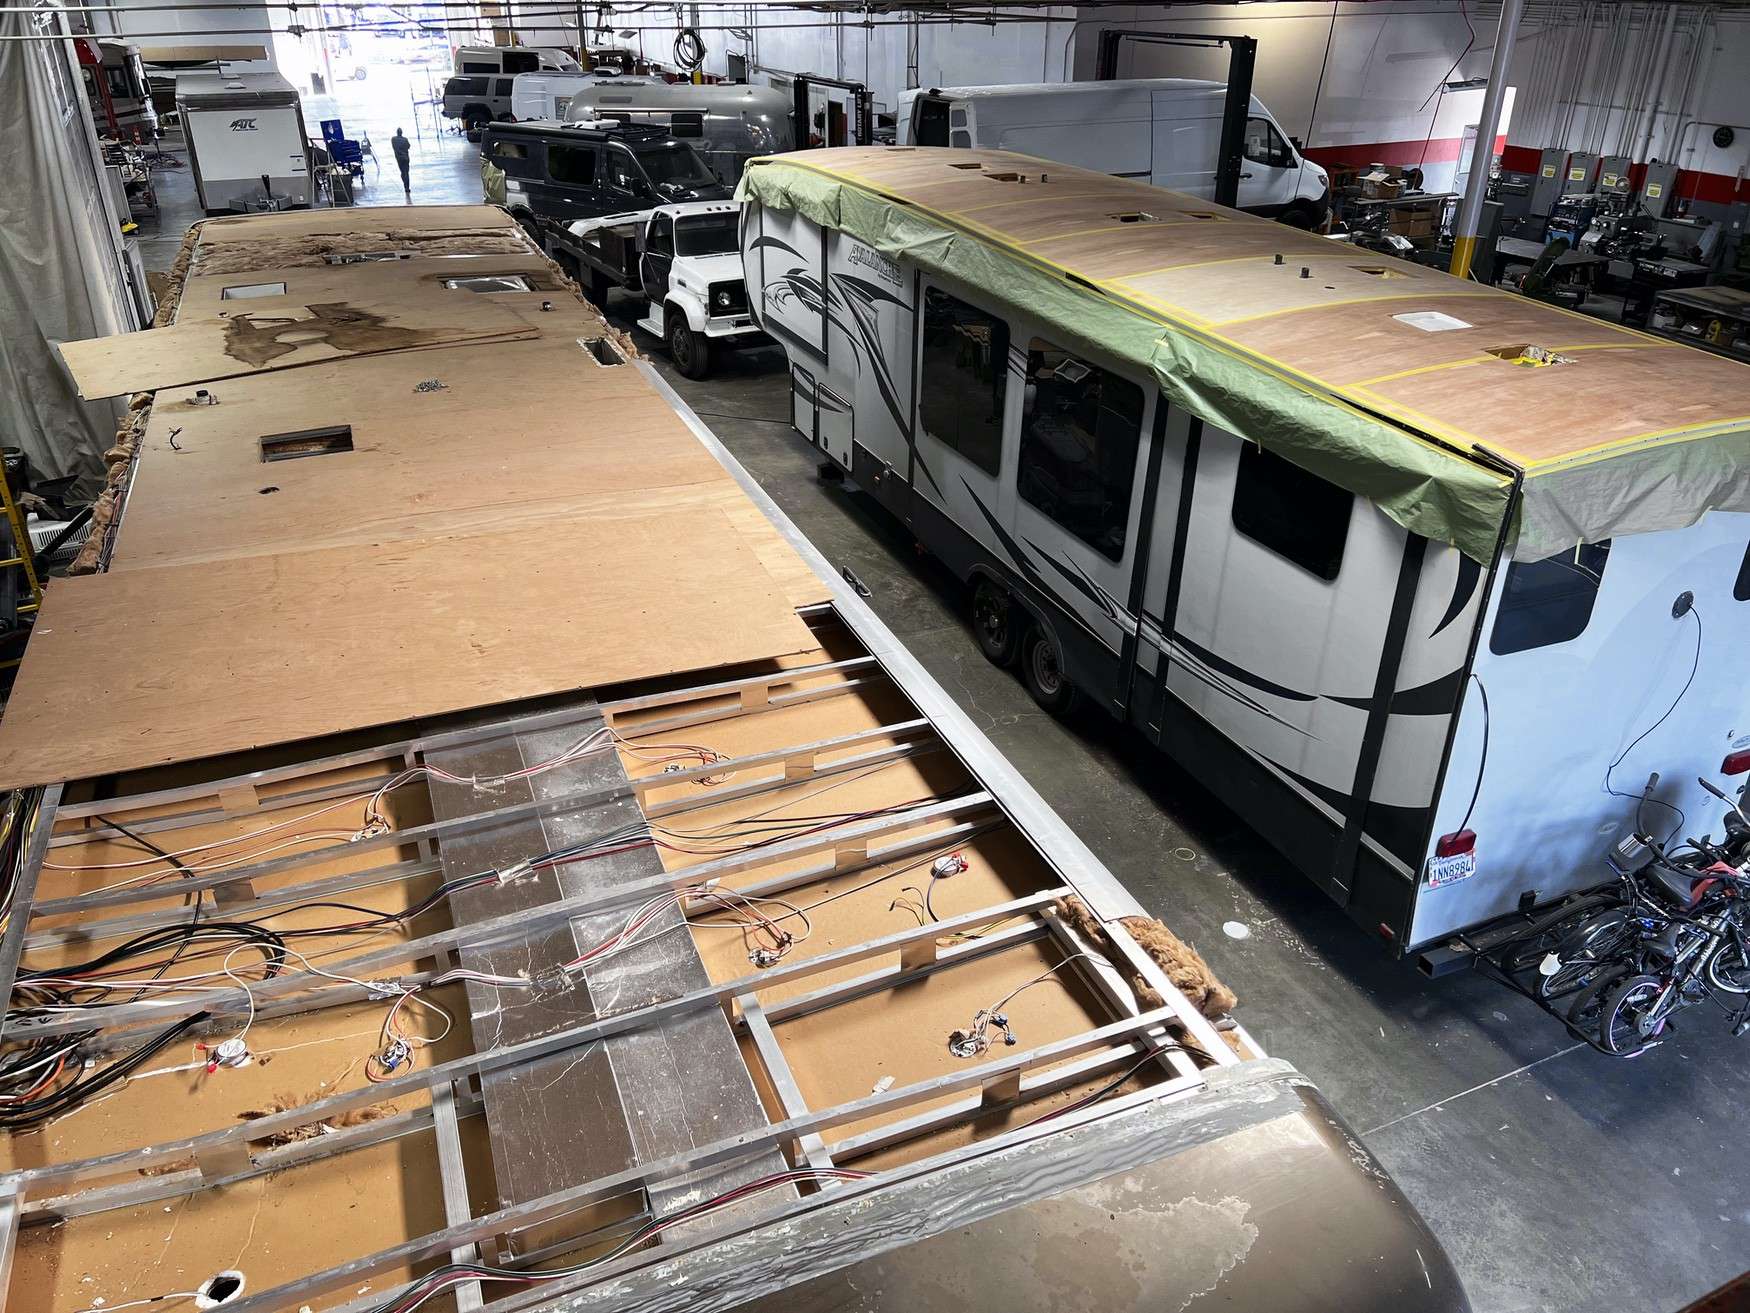
Membrane roof reseal along a seam on a fifth wheel
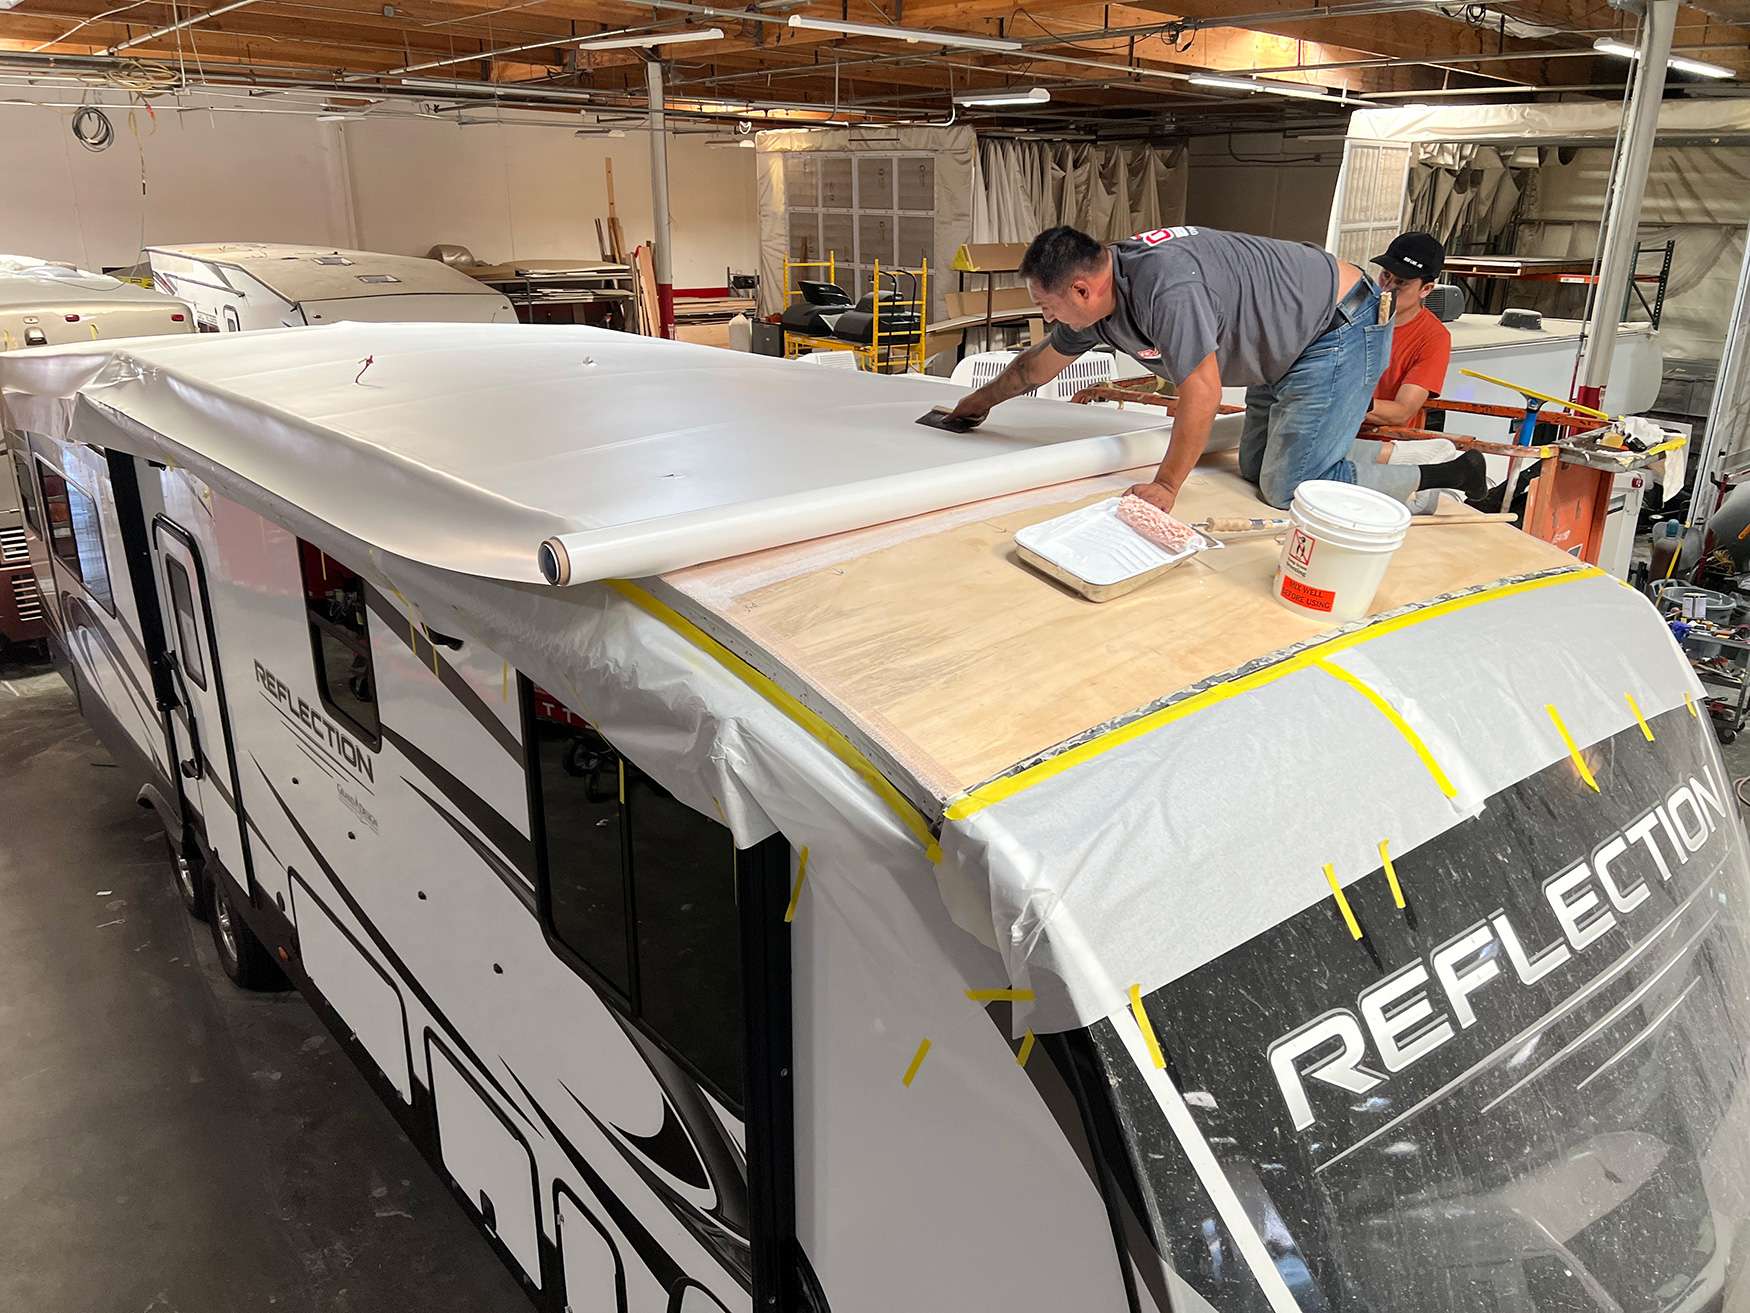
Old membrane stripped back to the decking during a roof replacement
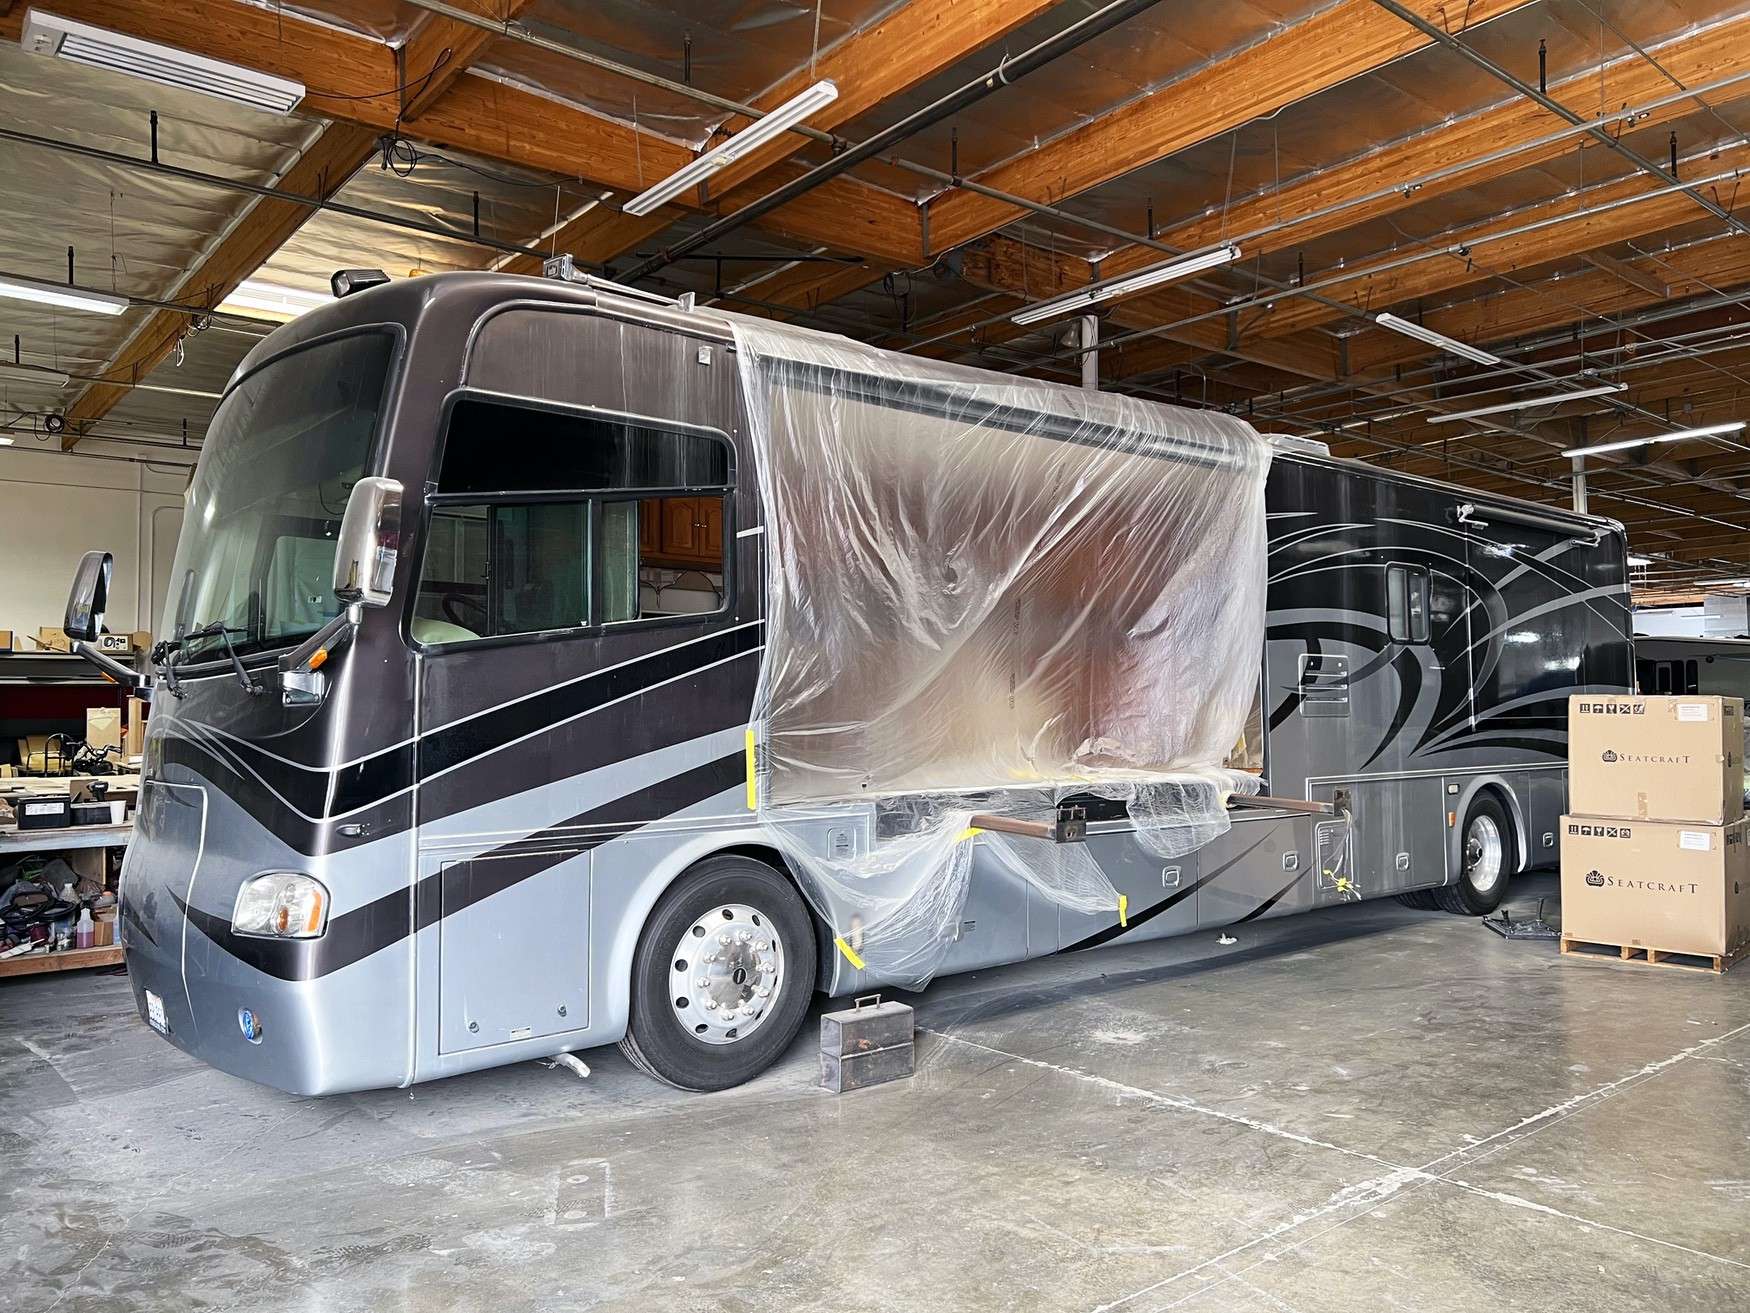
Slide room extended for mechanism and seal inspection
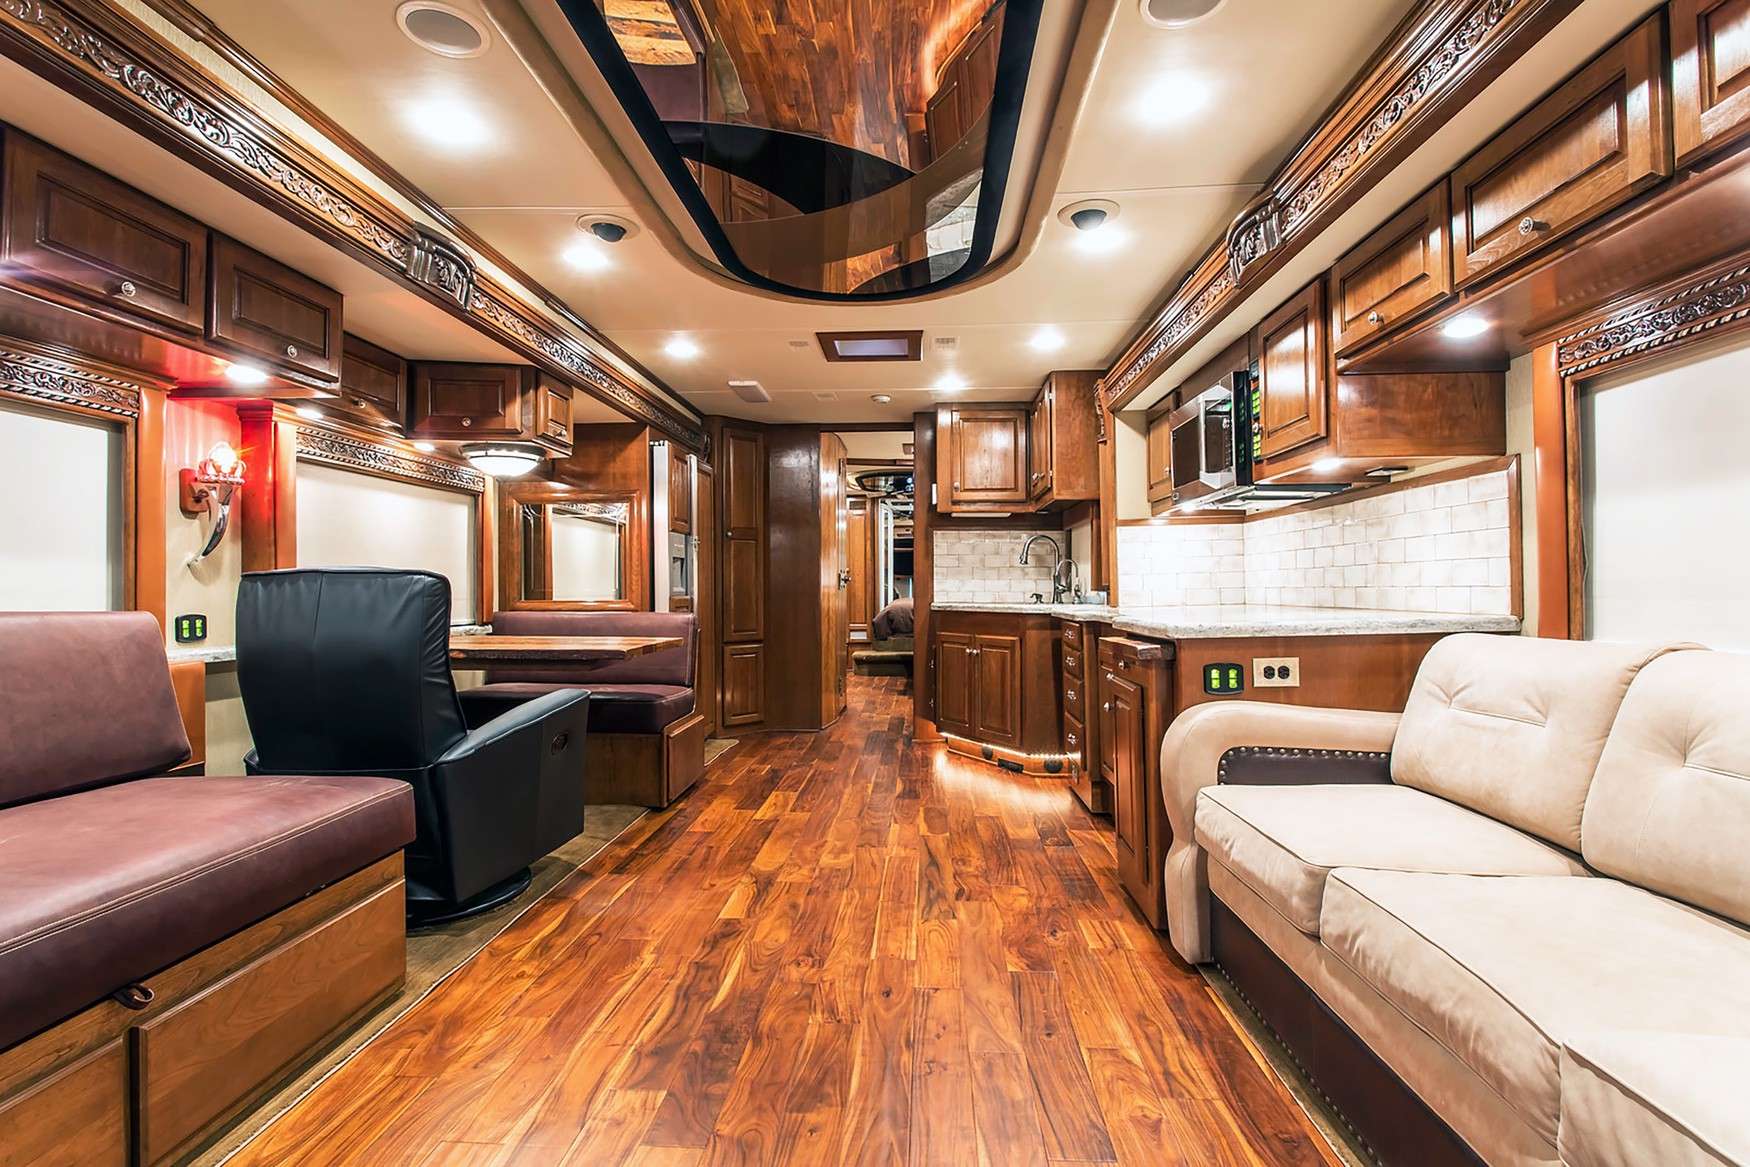
Interior rebuild, cabinetry and flooring after a water repair
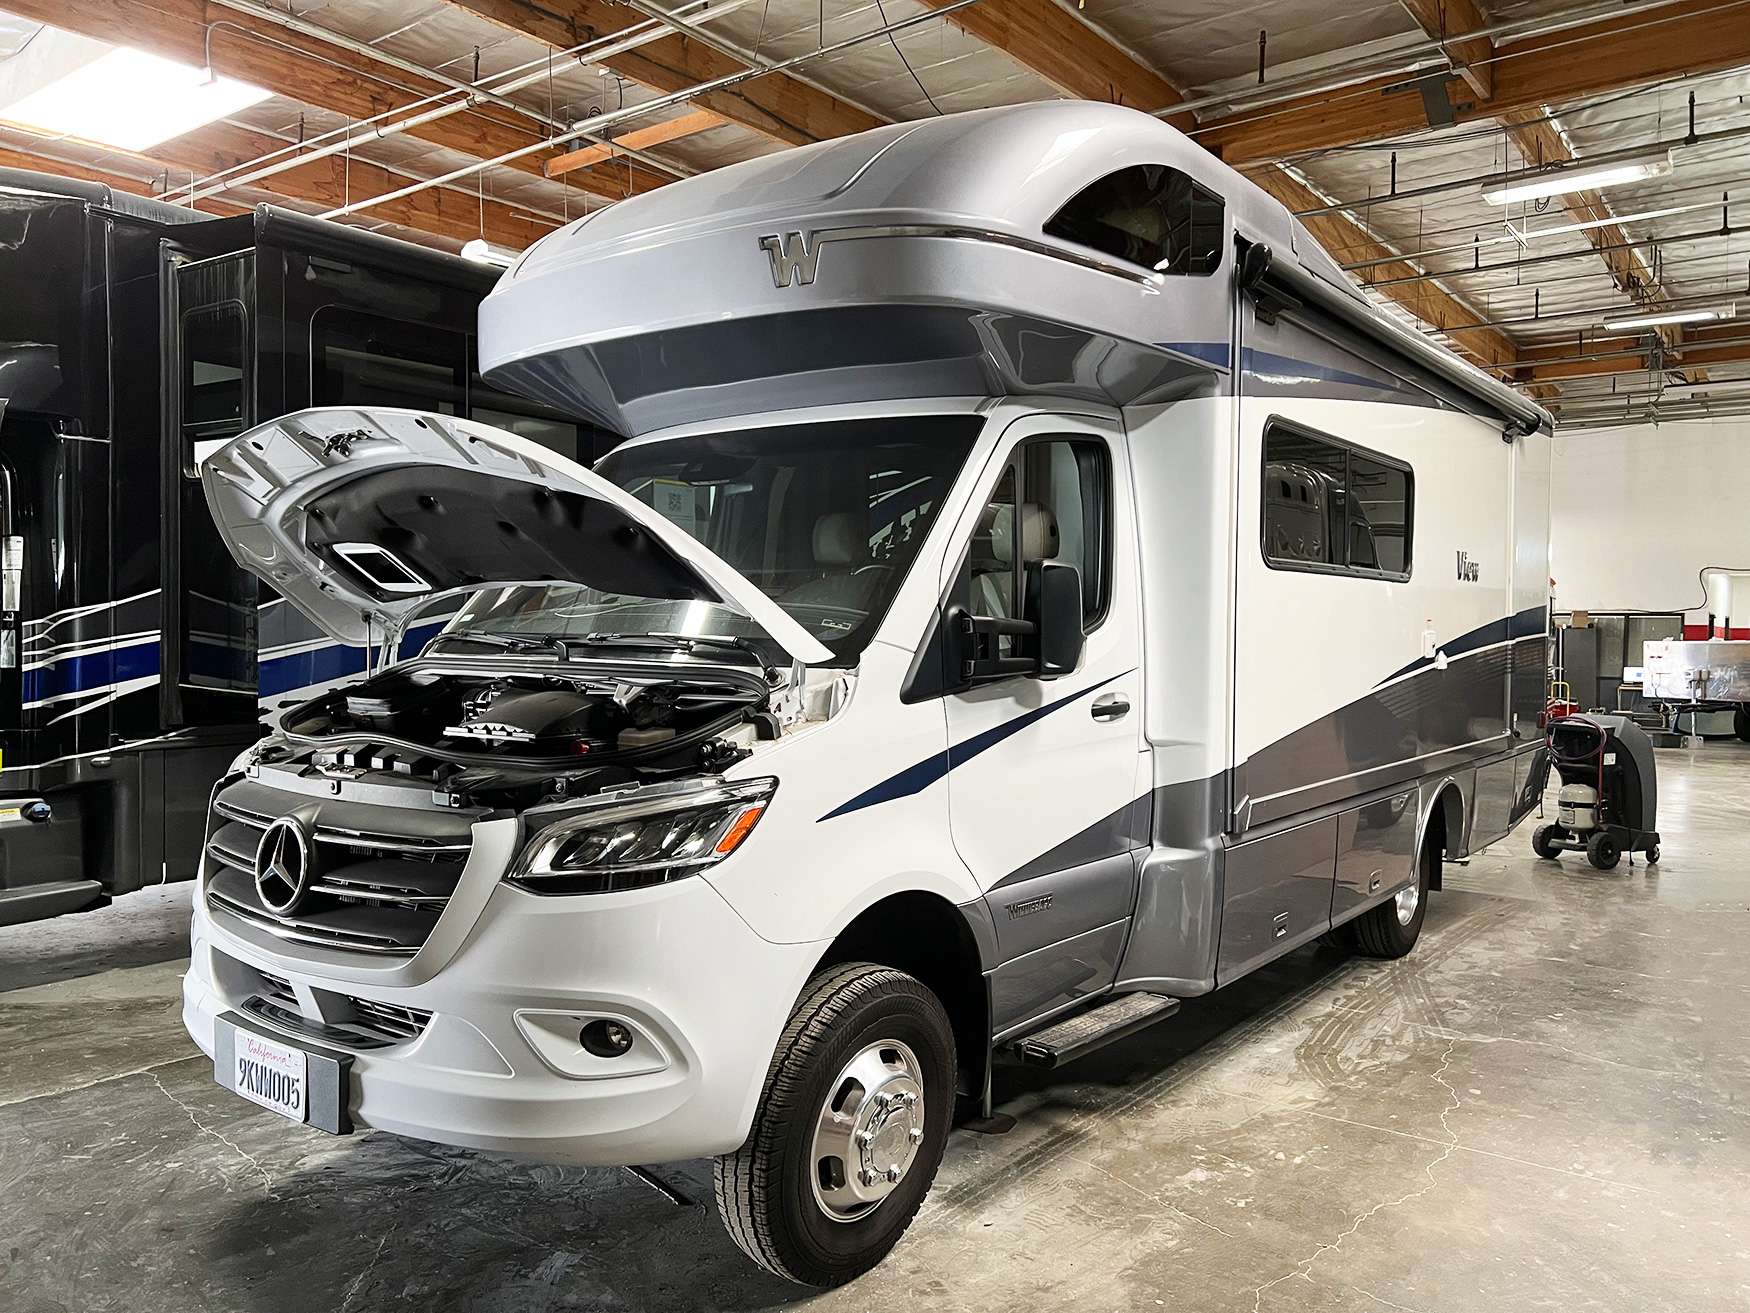
Systems work at a service panel with the unit powered
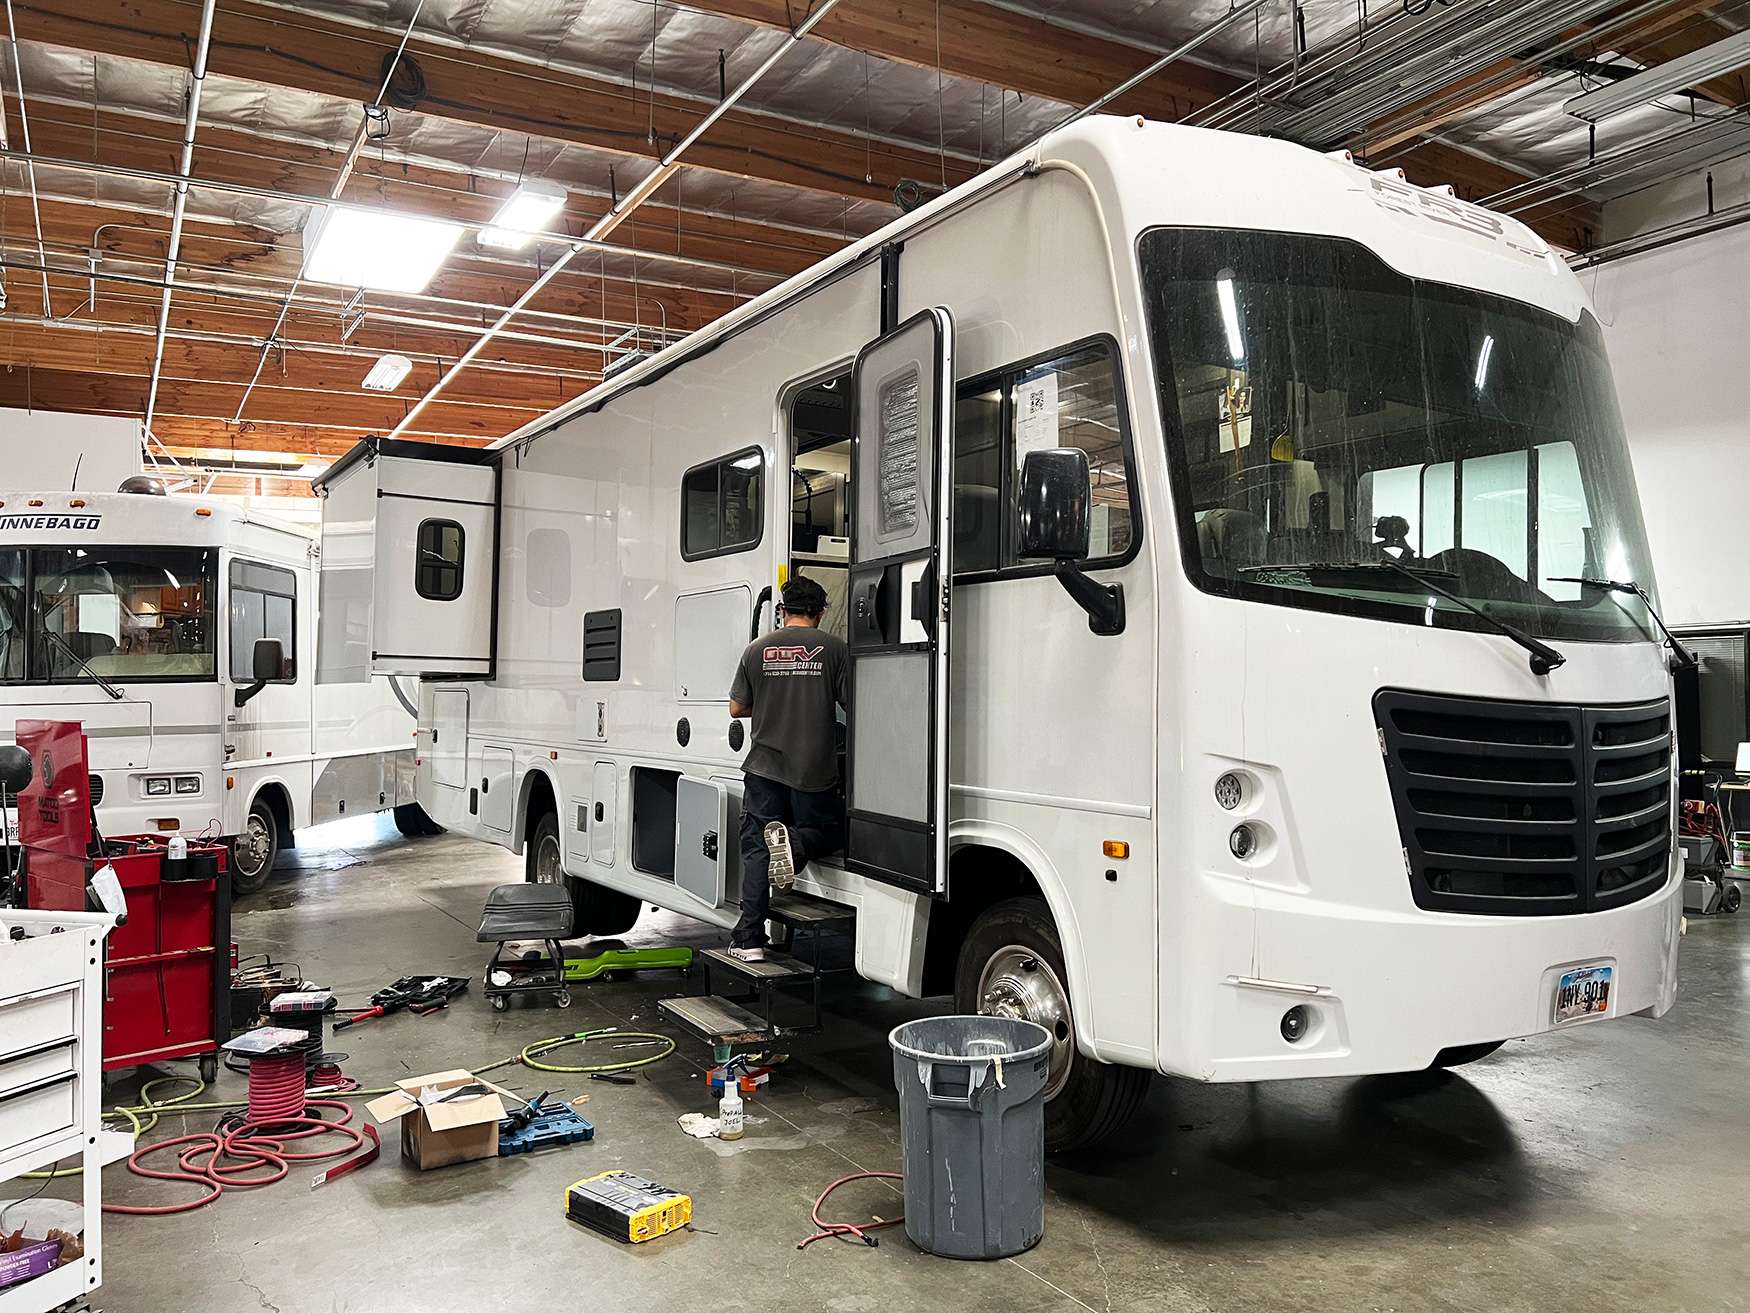
Tracing a circuit fault at a distribution panel
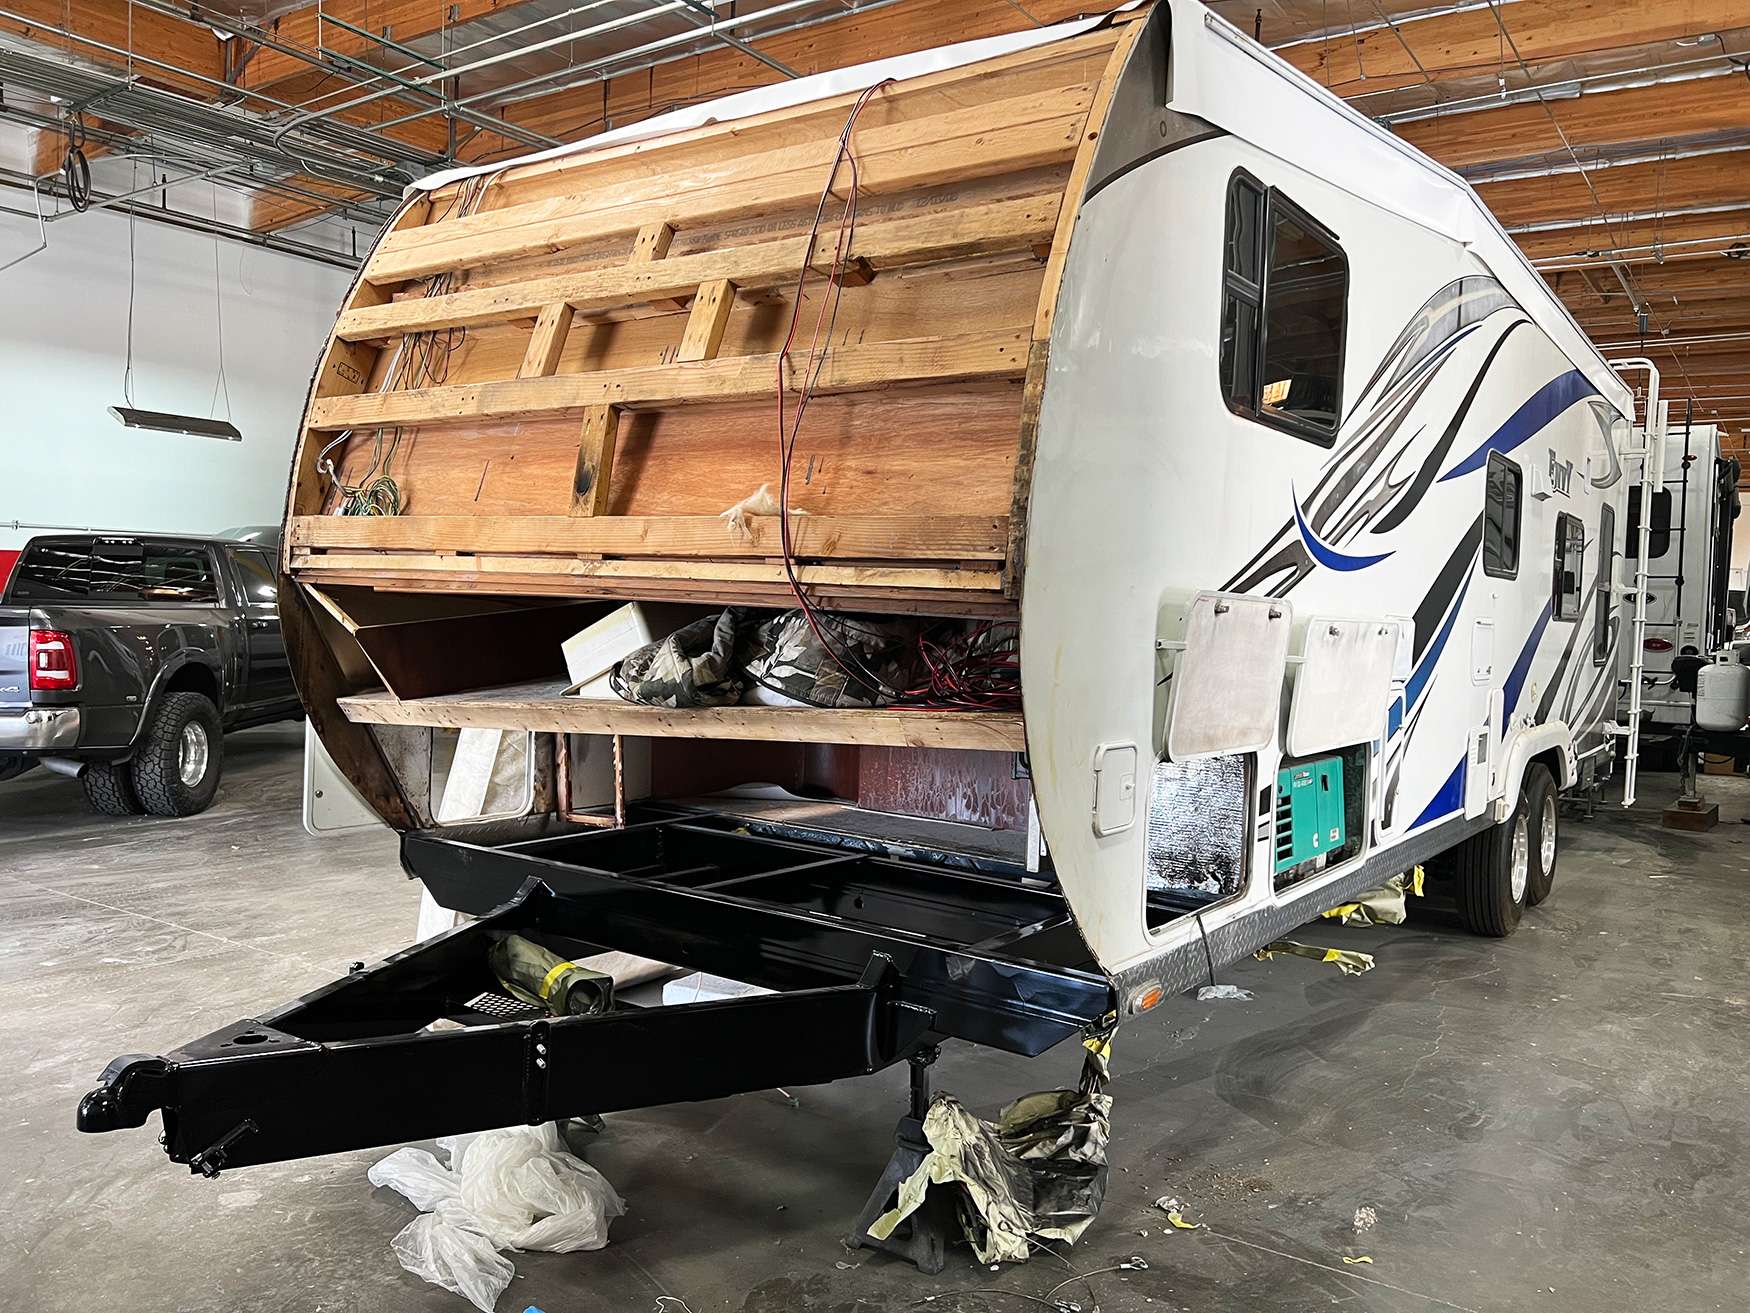
Steel bracket fabricated in house rather than waiting on a supplier
Final polish on a freshly refinished panel before delivery
What you are looking at
The stages these photographs represent
The structural images show the first stage of a collision repair: a chassis positioned, anchored to the rack, and set up with measuring targets. Almost nothing dramatic happens in these photographs, which is accurate. Structural work is a measurement discipline. A technician applies controlled force and watches numbers return to specification rather than pulling until the shape looks correct, and the printout from that process goes into the file as evidence.
The laminate images are the ones worth studying if you own a coach or a trailer. A bonded sidewall is an outer skin, a core, an inner panel, and a framework running through it. When the skin comes off, you can see how far the separation actually travelled, which is nearly always further than the exterior suggested. Repairing that means rebuilding the layers so the assembly carries load again. Filling the void and painting over it produces an identical photograph and a completely different vehicle.
The refinishing images show the part of paint work that surprises people: the color development. A spray out card held against the actual panel, checked under corrected lighting, is where a match is won or lost on a vehicle that has been fading in Southern California sunlight for years. Matching the paint code instead produces a panel that reads as a repair from across a parking lot, and that is the most common complaint owners bring us about work done elsewhere.
Beyond the exterior
Roof, slide, interior, systems, and fabrication
Roof and slide work accounts for an enormous share of the damage we see, most of it water rather than impact. A membrane roof reseal along a seam, a full membrane replacement down to the decking, or a slide room extended so the seal perimeter can be inspected are all photographed here because owners rarely see the top of their own vehicle. Almost every soft floor and delaminated wall we repair began as a seam or a seal somebody could not see from the ground.
The interior images are the back half of a water repair. Once the wet structure is addressed, flooring, wall and ceiling panels, cabinetry, countertops, and upholstery all have to be rebuilt, and this is where the labor content of a leak repair actually sits. Owners frequently expect the expensive part to be the outside. It is usually the inside, and it is usually the part a cheap estimate omitted.
Systems and fabrication images show the two things that most distinguish this floor from an automotive body shop. Diagnosis at a live distribution panel, and a bracket being made in house because the original is discontinued and the supplier lead time would otherwise hold your vehicle for a season. Neither photographs well. Both are frequently the difference between a repair that finishes and one that stalls.
Honesty about images
What a photograph can and cannot tell you about a shop
A finished repair photograph proves very little. Good light, a favorable angle, and a fresh polish will flatter almost any refinish, and nothing about the image reveals what is under the paint. A shop that filled over a compromised core and a shop that rebuilt the laminate produce the same picture. This is why we have not built this page around dramatic before and after pairs, even though they perform better than anything else we could put here.
The images that carry real information are the middle ones. The core with the skin off. The moisture map showing how far the wet region went. The measurement printout before and after a pull. Those are exactly the images that end up in your file rather than on a website, because they are specific to a vehicle and they belong to that vehicle's owner.
So treat this page as what it is: a look at the disciplines and equipment in the building. Then judge the shop the way it should be judged, by walking the floor, reading a written estimate line by line, and checking the state registration against a public record. All three of those are available to you, and none of them can be staged for a camera.
Questions
About these photographs
Are these photographs of your actual work
They are photographs taken on our floor showing the disciplines we perform: structural setup and measurement, laminate and fiberglass reconstruction, refinishing, roof and slide work, interior rebuilds, systems diagnosis, fabrication, and final detail. They are presented as representative of the work, not as a case file for any particular customer's vehicle. We do not label an image with an owner's name, a unit identifier, or a claim number, and we do not present a photograph as proof of a specific repair outcome. If you want to see documentation of a real job, ask during your estimate and we will show you a staged teardown sequence on the floor.
Why are there no customer names or vehicle identifiers
Because a vehicle in a repair bay belongs to someone who did not ask to be publicity. A recreational vehicle photograph frequently includes a registration plate, a unit number, a fleet identifier, or an interior that says a great deal about the people who live in it. Publishing those alongside a description of an accident is a privacy problem regardless of whether the owner would have objected. Beyond privacy, an image labeled with a specific claim starts to look like a statement about that claim's outcome, and we do not make statements about outcomes we did not control.
Why not publish dramatic before and after comparisons
Before and after pairs are the most persuasive and least informative content in this trade. The after photograph is taken under favorable light at a favorable angle, which is exactly what a finished repair should look like and tells you nothing about the substrate underneath. A shop that filled over a compromised core produces the same after photograph as a shop that rebuilt the laminate properly. The images that would actually be diagnostic are the ones in the middle: what the core looked like when the skin came off, how far the wet region extended, what the measurement printout said before and after a pull.
Can I see photographs of work on a vehicle like mine
Ask when you come in. We keep documentation on the jobs we perform, and an estimator can walk you through a comparable sequence on a screen: the intake condition, the teardown stages, the substrate work, and the finished result. Seeing that on a unit built like yours is genuinely useful, especially if you have never watched a bonded sidewall come apart. It also tends to answer the labor hours question faster than any conversation about rates, because the number of stages involved becomes obvious once you have seen them.
Will you photograph my repair
Yes, thoroughly, and you will receive the images that matter. Photographic documentation is a working part of our process rather than a marketing exercise: staged shots at each disassembly step, moisture readings with their locations, and structural measurements before and after correction. That package is what supports the carrier file and what we show you when you ask why a line reads the way it does. If you would prefer that none of your vehicle's images be used anywhere publicly, tell us at intake and we will note it on the file.
Do the photographs show the full range of what you repair
No, and they could not. The floor handles motorhomes of every class, fifth wheels and travel trailers, toy haulers, camper vans, cargo vans, box trucks, semi tractors, buses and shuttles, municipal and emergency units, and mobile business vehicles, across collision, water damage, structural, refinishing, systems, and interior work. A gallery of any reasonable size is a sample. If you want to know whether we handle a specific vehicle or a specific type of damage, the fastest answer is to send photographs and ask directly rather than looking for a matching image here.
What should I photograph on my own vehicle after damage
Wide shots first, showing where the damage sits relative to the whole vehicle, because scale is the thing an adjuster cannot judge from a close up. Then close shots of each damaged area from at least two angles. Then anything visible from inside, including staining, soft spots, and separated trim. If water is involved, photograph before you pull carpet or run a dehumidifier. Take everything before you clean or tarp anything. Time and date information matters, so use a phone rather than a camera you have to set. Those images cost you ten minutes and routinely make the difference in a claim.
Can I visit the shop instead of looking at photographs
Yes, and we would rather you did. Walk ins are welcome during business hours at 23281 La Palma Ave and we will show you the floor. Look at whether damaged units are staged out of the working areas or parked in them, whether the booth is in use for its purpose, whether the rack has a measuring system attached, and whether parts have somewhere to live other than the ground. Ten minutes of that tells you more about how your repair will run than any gallery on any website, including this one.
Talk to a repair specialist today
Tell us what happened and we will tell you what the repair actually involves, what it costs, and how long it takes. We work directly with every major carrier and serve Westminster owners and fleets from our 35,000 square foot facility.
Posted labor rates are published on our prices page. Diagnostic and systems assessment fees are credited against an authorized repair.