Mechanical and Systems
RV Plumbing Repair, From a Dripping Fitting to a Split Line Inside the Wall
In short
RV plumbing repair runs from about $285 for a single valve or seal up to $4,500 or more when a line splits inside a wall cavity and paneling has to come off. Most jobs take one to three days once the leak is actually located. Finding it is the hard part, and that is exactly what an air pressure test buys you.
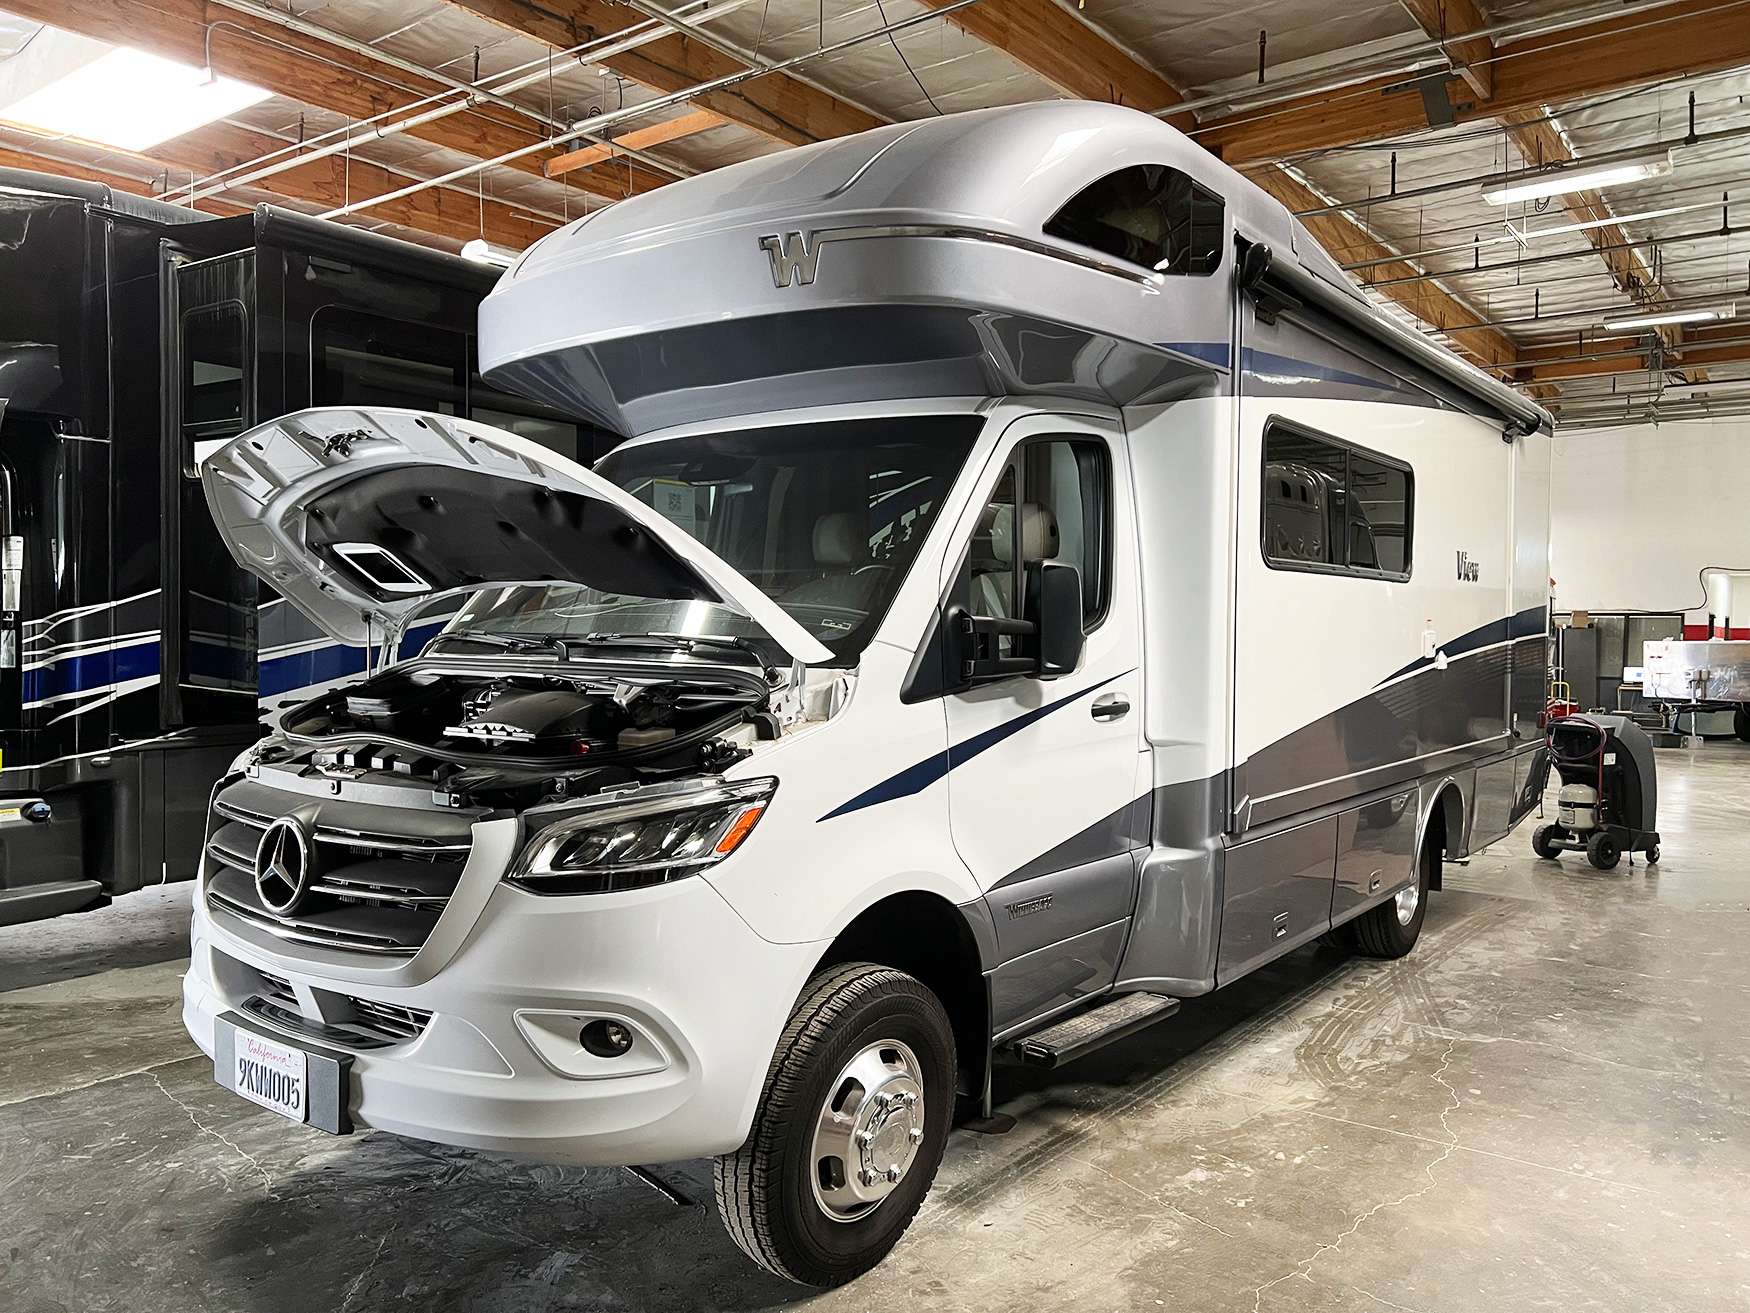
Almost every RV plumbing repair we take in Westminster starts as a stain, not a puddle. Water follows framing, wiring, and the underside of a floor before it shows up somewhere that makes no sense at all. We pressure test the system with air, listen, and narrow the search down before anyone cuts a panel. That order matters, because guessing at a wall cavity costs more in cabinetry than the plumbing itself ever will.
Know What Your Coach Is Plumbed With
Three materials cover almost everything we see. PEX is the current standard, a flexible cross linked polyethylene tubing in red, blue, and white that tolerates a cold snap far better than rigid pipe and can be repaired with common fittings. Polybutylene is the gray pipe used heavily through the nineteen eighties and nineties, joined with plastic or brass inserts and crimp rings. Flexible reinforced hose shows up on pump inlets and outlets, at water heater connections, and in tight runs behind cabinetry.
Age is what separates them in practice. Polybutylene gets brittle with time and chlorine exposure, and it does not usually fail in the middle of a run. It cracks at the shoulder of the insert fitting, right where the crimp ring holds it, often twenty five years after the coach was built. When we find one polybutylene failure on an older coach, we tell the owner plainly that more are coming and we price a section by section conversion to PEX rather than pretending the one repair solved it.
The fitting method matters as much as the tubing. Crimp fittings use a copper or stainless ring compressed with a jaw tool over a brass or plastic insert, and they are serviceable almost anywhere. Expansion fittings, used with PEX-A, work by stretching the tubing and a sleeve so the tubing shrinks back down over the fitting; the joint is stronger and has a wider bore, but it needs a specific tool and warm conditions to set correctly. We keep both on the truck because most coaches contain both.
- PEX: current standard, flexible, tolerates cold better, easy to repair
- Polybutylene: gray pipe on older coaches, cracks at the fitting shoulder with age
- Reinforced hose: pump connections, water heater lines, tight runs behind cabinets
- Crimp fittings: copper ring over an insert, serviceable with common tools
- Expansion fittings: PEX-A only, stronger joint and fuller bore, needs a dedicated tool
The Water Pump, Check Valve, and Accumulator
The demand pump is the heart of the system and the most misdiagnosed part in it. It contains a diaphragm, a set of small valves, a pressure switch, and an integral check valve that keeps pressure from bleeding backward into the tank. When owners tell us the pump short cycles, runs every few minutes with every faucet closed, or will not shut off at all, the cause is usually one of three things: a leak somewhere in the lines, a failed check valve inside the pump head, or a pressure switch that has drifted out of calibration.
That distinction saves money. A pump that cycles with the fresh tank valve closed and city water disconnected has a leak or a bad check valve, not a worn motor. We isolate by closing valves section by section and watching whether the pump still wakes up. Replacing a pump because it cycles, when the actual fault is a dripping toilet valve twelve feet away, is a repair we get called to undo more often than we would like.
An accumulator tank is a small air charged vessel plumbed into the pressure side. It stores a cushion of pressurized water so the pump does not start and stop for every small draw, which smooths flow at the faucet, quiets the coach, and extends pump life. They are inexpensive and easy to add. The one maintenance item is the air charge; if the bladder loses its precharge the tank fills with water and stops doing anything useful, and people assume it failed when it simply needs air.
City Water Pressure Is the Quiet Killer
An RV water system is built for roughly 40 to 60 psi. Municipal supply at a park is frequently 65 to 80 psi during the day, and at two in the morning when nobody is drawing water it can climb past 100. That is the hour when lines split, which is why owners so often wake up to water running through a floor with no explanation for what changed. Nothing changed inside the coach. The pressure outside it went up.
A cheap brass inline regulator with a fixed setting is better than nothing, but most of them restrict flow badly and none of them tell you what pressure you are actually running. We recommend an adjustable regulator with a gauge, set to about 45 to 50 psi, installed at the spigot rather than at the coach so the entire hose is protected too. Set it with a faucet open, then check it again with everything closed, because static pressure is what breaks things.
While you are at it, look at the hose. A hose left in the sun for three seasons goes stiff and the ferrules corrode, and a hose that has been driven over has an internal fracture you cannot see. Replace it every few years. It is the cheapest component in the entire water system and it is the one holding pressure against your coach twenty four hours a day while you are parked.
- RV systems are designed for roughly 40 to 60 psi
- Park pressure commonly spikes past 100 psi overnight
- Use an adjustable regulator with a gauge, set to 45 to 50 psi
- Install the regulator at the spigot so the hose is protected as well
- Replace a sun hardened or crushed drinking hose every few seasons
Cold Weather Splits and Real Winterizing
Water expands about nine percent when it turns to ice, and it does not care what the pipe is made of. What actually splits a line is not the ice at the point of failure, it is the pressure trapped between an ice plug and a closed faucet downstream. That is why we see splits in odd places, in a line under a dinette rather than in the exposed run everyone worries about. Southern California does not get much of this, but the mountains and the desert overnight do, and plenty of coaches here have already had a line split somewhere in a past life.
Real winterizing has an order. Drain the fresh tank, open both low point drains and leave them open until they stop dripping, bypass the water heater and drain it through the plug or anode, then either blow the lines down with regulated air at about 30 psi or pump non toxic pink RV winterizing fluid through every fixture until it runs colored, including the toilet, the outside shower, and the icemaker line if you have one. Missing one fixture is how a coach that was winterized still splits.
In spring, the reverse matters just as much. Close the low point drains, take the water heater out of bypass before you energize it, sanitize the fresh system, and then pressurize and walk every fixture and every accessible run with a flashlight before you leave the driveway. A split that happened over the winter announces itself in the first ten minutes under pressure, and you would much rather learn about it at home than at a site.
Chasing a Leak You Cannot See
When the leak is not visible, we stop guessing and start testing. We isolate the system, remove the city water inlet check, and pressurize the lines with regulated air at about 30 psi while watching a gauge. A system that holds for thirty minutes does not have a plumbing leak, which redirects the whole investigation toward the roof, a window, or a slide seal. A system that bleeds down has a leak, and now we know it is worth opening something.
Locating it is part gauge and part patience. Air escaping a split line in a wall cavity makes a sound you can find with a stethoscope or a length of hose against your ear once the coach is quiet. We isolate branches with valves to cut the search area in half, then in half again. Moisture meters through the paneling, a borescope through an existing screw hole or a small drilled access, and a thermal read on a cold morning all narrow it further before a saw ever comes out.
The cutting itself is planned, not improvised. Wherever possible we access through a cabinet back, under a bed platform, behind a removable drawer bank, or from the underbelly, because those surfaces are hidden and cheap to restore. When a finished wall panel truly has to come off, we cut on a seam or at a batten line so the repair can be closed with a trim piece rather than a visible patch. That planning is where the real difference between a tidy bill and an ugly one lives.
- Air test the system at about 30 psi and watch the gauge before opening anything
- A system that holds pressure points the search to the roof, a window, or a slide seal
- Isolate branch by branch to halve the search area repeatedly
- Access through cabinet backs, bed platforms, and the underbelly first
- Cut finished panels on a seam so the closure can be trimmed rather than patched
Fixtures, Valves, and What Repairs Cost
Start at the bottom of the range. A toilet that will not hold water in the bowl is almost always a flush ball seal, not a new toilet. One hour of mechanical labor at $260 per hour, a $22 seal kit that becomes $44 under the 100 percent markup on parts at or under $100, and $3.41 of sales tax puts that repair at $307.41. Sticky pedals and slow refill are usually the same seal plus a worn water valve, which adds under an hour.
A leaking kitchen faucet is the next tier. Figure an hour and a half of labor at $390, a $110 faucet that becomes $148.50 at the 35 percent markup for parts over $100, supply lines at $28 that become $56, and fittings and tape at $12 that become $24. Parts are $228.50, tax adds $17.71, and the total is $636.21. Most fixture swaps in a coach live between $450 and $900 depending on how much cabinetry has to come apart to reach the nuts.
The top of the range is a line that split inside a wall. Two hours of diagnostic labor at $285 per hour is $570, and that $570 is credited against the repair once you authorize it. The repair itself runs nine hours at $2,340, with PEX at $130, a dozen expansion fittings at $216, a wall panel section at $189, a replacement water pump at $249.75, a check valve at $68, an accumulator at $190, and sealant and hardware at $80. Parts total $1,122.75, tax adds $87.01, and the job comes to $3,549.76.
Because that total is above $2,000, we collect a 50 percent deposit of $1,774.88 before the work begins. If the water sat long enough to swell a floor or delaminate a wall panel, that is separate work and we quote it separately rather than burying it in a plumbing estimate. You should always be able to see which dollars fixed the pipe and which dollars fixed what the pipe ruined.
- Mechanical labor $260 per hour, diagnostic labor $285 per hour credited against approved work
- Parts markup: 100 percent at or under $100, 35 percent above $100
- Sales tax of 7.75 percent applies to parts and materials only
- Deposit of 50 percent on any authorized job above $2,000
- Water damaged flooring and paneling are quoted as separate line items
Questions
Frequently asked questions
How do I know if my RV has polybutylene plumbing?
Look under a sink or behind an access panel for gray, semi rigid tubing joined with plastic or brass inserts and a crimped metal ring. PEX is more flexible and usually red, blue, or white. If the coach was built before roughly the late nineteen nineties, gray polybutylene is likely. It is not an emergency on its own, but it becomes brittle with age and chlorine exposure, and it typically cracks right at the shoulder of the insert fitting rather than in the middle of a run. When we repair one failure on an older coach, we point out that others are probably queued up behind it and price a staged conversion to PEX so you can budget it rather than absorb it one surprise at a time.
Do I really need a pressure regulator at the park?
Yes, and an adjustable one with a gauge rather than the small brass fixed type. RV systems are built for about 40 to 60 psi. Park supply routinely sits at 65 to 80 psi during the day and climbs past 100 overnight when nobody is drawing water, which is precisely why lines let go at two in the morning. Install the regulator at the spigot rather than at the coach so the hose is protected too, and set it to about 45 to 50 psi. A twenty five dollar part prevents a repair that starts near $600 for a simple fitting and passes $3,500 once a wall has to come off.
My water pump runs and never shuts off. What is that?
It usually means the pump cannot build and hold pressure, which is three possible faults. Either there is a leak somewhere in the lines, or the check valve inside the pump head has failed and pressure is bleeding backward into the fresh tank, or the pressure switch has drifted and no longer trips at its cutoff point. We isolate by closing valves branch by branch with city water disconnected and watching whether the pump still wakes up. That test is worth doing before anyone buys a pump, because we regularly find the real culprit is a toilet water valve or a faucet cartridge weeping a few drops a minute somewhere else in the coach.
How do you find a leak inside a wall?
We pressurize the water lines with regulated air at about 30 psi and watch a gauge. If the system holds for thirty minutes, the leak is not plumbing and we redirect the search to the roof, a window frame, or a slide seal. If pressure bleeds down, we isolate branches with valves to halve the search area, then listen for escaping air with a stethoscope in a quiet shop. Moisture meters read through paneling, a borescope goes through an existing screw hole or a small access, and on a cold morning a thermal read often shows the wet path. Only then do we open anything, and we cut on a seam so the closure can be trimmed instead of patched.
What does it cost to fix a split water line?
It depends almost entirely on where the split is. A line you can reach under a dinette or behind a removable drawer bank is often two to three hours of labor plus fittings, landing between $700 and $1,100. A split inside a finished wall is the top of the range. A recent representative job ran $3,549.76: nine hours of mechanical labor at $260 per hour, PEX and a dozen expansion fittings, a wall panel section, a replacement pump, a check valve, an accumulator, and hardware, plus 7.75 percent tax on the parts. Two hours of diagnostic labor at $285 per hour was credited against that repair. A 50 percent deposit applies above $2,000.
Do I need to winterize an RV that stays in Southern California?
If the coach never leaves the coastal part of the county, full winterizing is optional most years. If you take it to the mountains or the desert between November and March, it is not optional at all, and one overnight below the low thirties is enough to split a line. The process has an order that matters: drain the fresh tank, open both low point drains, bypass and drain the water heater, then blow the lines down with regulated air near 30 psi or pump pink RV winterizing fluid through every fixture until it runs colored. Every fixture means the outside shower, the toilet, and the icemaker line too. Skipping one is how a coach that was winterized still splits.
Is crimp or expansion PEX better for a repair?
Both are sound when done correctly, and we carry tools for both because most coaches contain both. Crimp uses a copper or stainless ring compressed over an insert fitting, and its advantage is that the tools are common and a joint can be made almost anywhere, including in a cramped underbelly. Expansion fittings work only with PEX-A: the tubing and a sleeve are stretched, the fitting goes in, and the tubing shrinks back around it. That joint is stronger, has a fuller bore so it restricts flow less, and has no metal ring to corrode, but it needs a dedicated tool and reasonable temperature to set. In a wall cavity where we want the fewest possible future failure points, we prefer expansion.
My toilet will not hold water in the bowl. Is that a big job?
No, it is one of the smallest jobs we do. The flush ball seal is a rubber ring that seats against the ball valve at the bottom of the bowl, and mineral scale, paper fibers, or simple age let it weep until the bowl empties. Replacing it is about an hour of mechanical labor at $260 per hour plus a $22 seal kit that becomes $44 under the markup rule and $3.41 in tax, for $307.41 total. If the pedal also feels sticky or the bowl refills slowly, the water valve is usually worn as well, which adds under an hour and a small part. Leaving it alone is what costs money, since a leaking seal lets tank odor into the coach continuously.
Standard on every job
What is included
These are not upgrades. They are how the work is run on every vehicle that comes through the building.
Full teardown where it is needed
We do not estimate through a closed panel. If the damage path runs behind trim or skin, we open it and document what is actually there.
Written, itemized scope
Parts, labor hours, and materials listed separately against the posted rate, so every line is something you can question.
Direct carrier communication
We talk to the adjuster so you are not relaying technical detail between two parties who both expect you to already understand it.
Supplement handling
When teardown finds more than the original inspection, we document and submit the supplement rather than absorbing it into a vague overage.
Correct repair sequence
Structural before cosmetic, every time. A straight body over a bent frame is a repair that fails its second life.
Systems tested under load
Electrical, plumbing, generator, and climate systems are run and verified before delivery, not just reconnected and assumed good.
Photo documentation throughout
Before, during, and after. Useful for your records, and decisive if a claim is ever revisited.
Delivery walkthrough
We go over what was done, what was replaced, and what to watch, in person, with the vehicle in front of you.
How the work runs
Our six step repair process
The same sequence on every vehicle, whether it is a single coach or a fleet of box trucks.
- 01
Assessment and documentation
We put the vehicle on the floor, pull panels where we need to see behind them, and photograph everything. Hidden damage found now is damage that does not become a supplement argument later.
- 02
Written estimate
You get a line by line estimate with parts, labor hours, materials, and the posted rate applied to each. Nothing is bundled into a single number you cannot check.
- 03
Carrier coordination
If a claim is involved we deal with the adjuster directly, submit the documentation, and handle supplements when teardown reveals more than the first inspection showed.
- 04
Authorization and scheduling
Once the scope is approved we confirm the deposit, order parts, and give you a realistic slot. Special order parts drive the timeline more often than labor does.
- 05
Repair
Structural first, then body, then paint, then systems and interior. The sequence is not negotiable because each stage has to be right before the next one covers it up.
- 06
Quality check and delivery
Multi point inspection, systems tested under load, paint inspected under corrected lighting, and a walkthrough with you before the vehicle leaves.
Keep reading
Related pages
Related services
Vehicles we repair
Talk to a repair specialist today
Tell us what happened and we will tell you what the repair actually involves, what it costs, and how long it takes. We work directly with every major carrier and serve Westminster owners and fleets from our 35,000 square foot facility.
Posted labor rates are published on our prices page. Diagnostic and systems assessment fees are credited against an authorized repair.