Vans
Camper Van Conversion Repair for Upfitter Builds
In short
Camper van conversion repair covers upfitter and owner built vans, where the defining problem is that nobody documented what is behind the panel. Work runs from about $2,000 for leak and cabinetry repair to past $80,000 for a full rebuild. Every job starts with a survey, because the build is unique to your van.
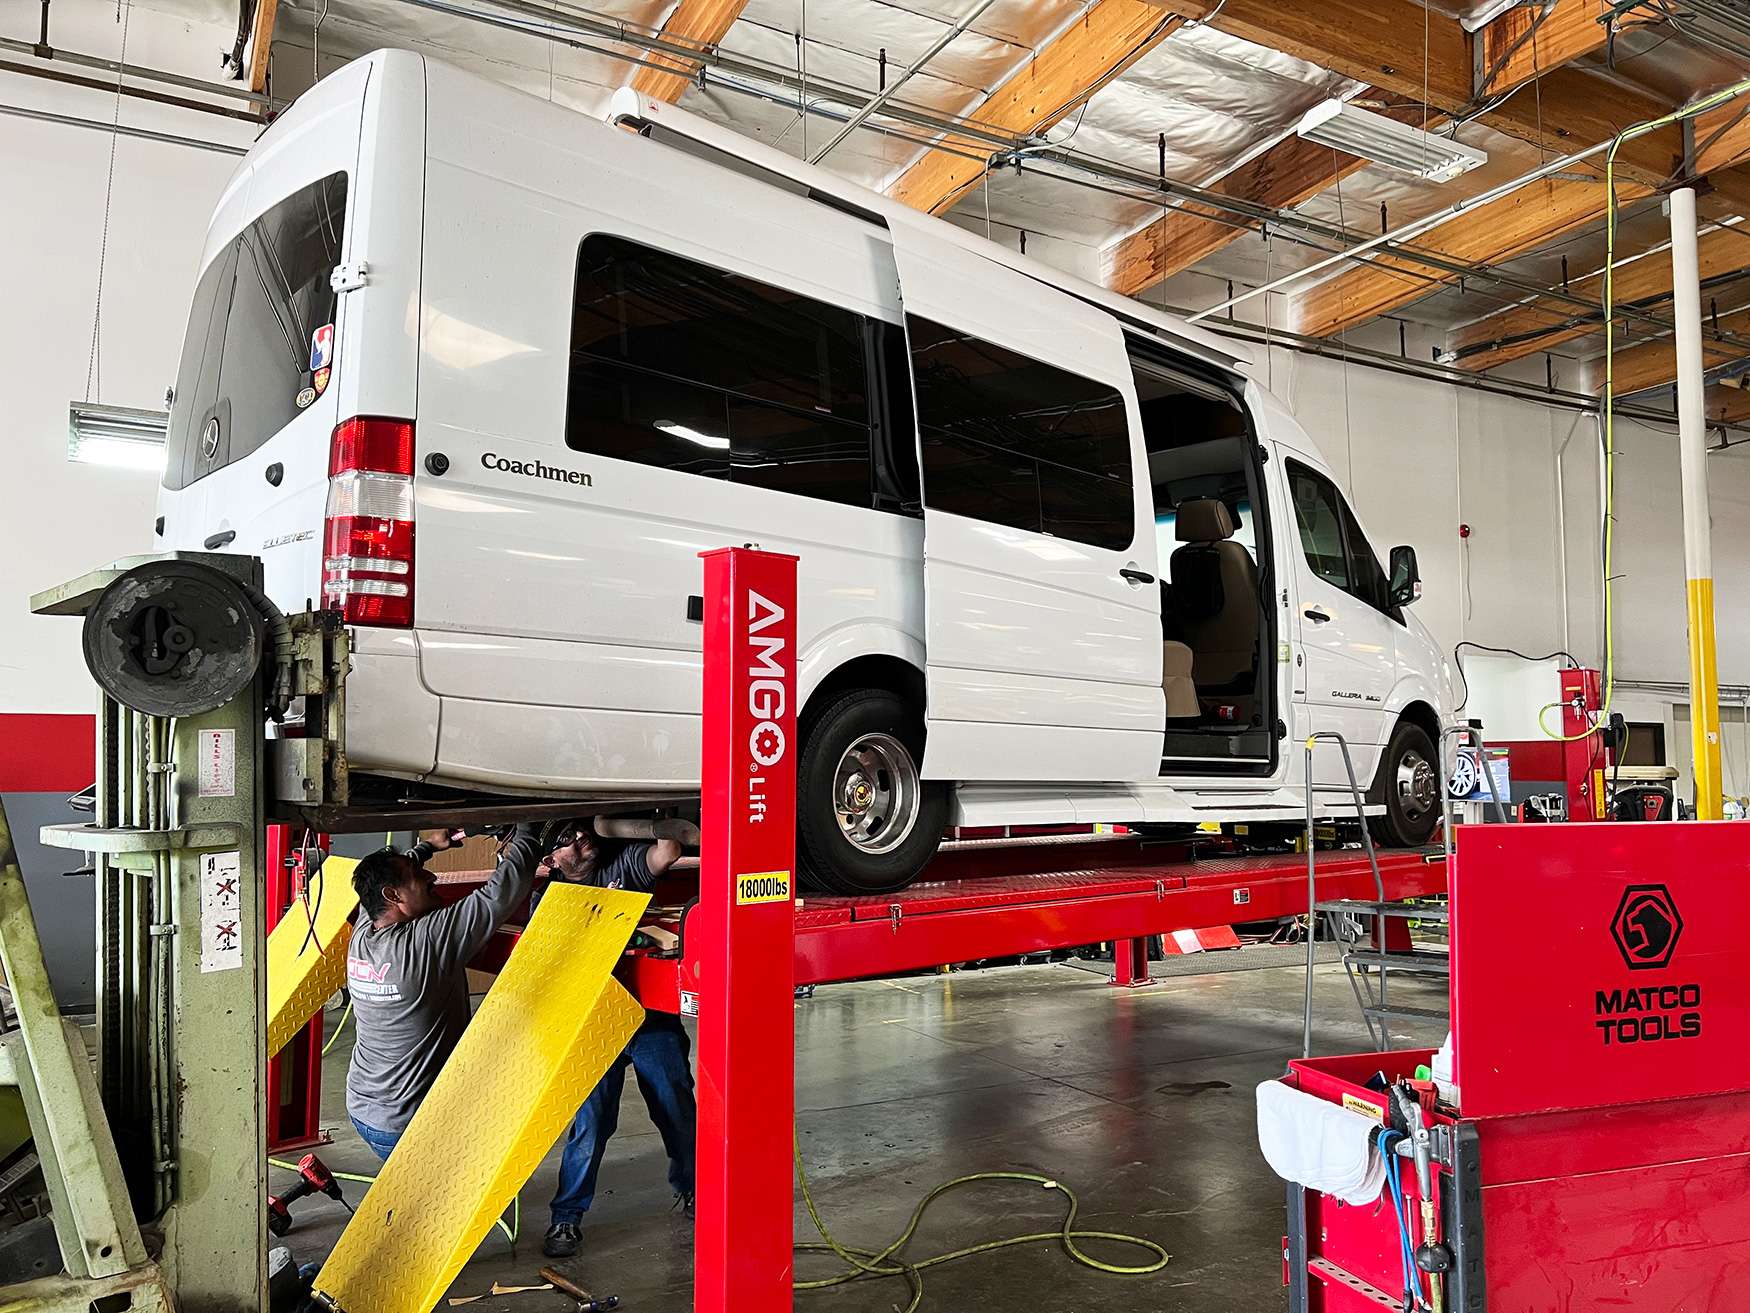
Camper van conversion repair is different from every other van we take in, and Westminster owners usually discover that when a shop opens a wall and finds three wiring runs nobody knew about. A conversion is an upfitter or owner build on any chassis: aftermarket cabinetry, aftermarket electrical, aftermarket roof and wall penetrations, and no factory record of any of it. That single fact drives the whole estimate.
Nobody Documented This Build
On a factory built coach we can look up where the wiring runs, which openings the builder cut and what the furniture part numbers are. On a conversion, none of that exists. The person who built it knew, and they are usually not available, and even a professional upfitter rarely provides an as built drawing with the van.
That means the first thing we do is survey. We map what we can see, trace circuits, locate penetrations, identify tank and battery locations, and photograph everything before a single fastener comes out. That survey is real labor and it is in the estimate honestly rather than hidden in a supplement later.
Owners sometimes push back on paying for a survey. The alternative is a shop that opens a wall, cuts a circuit nobody knew was there, and hands you a bill for finding out. The survey is the cheaper version of the same information.
- Trace and label circuits before disassembly
- Locate tanks, pumps and battery banks and their runs
- Map every roof and wall penetration and its sealing method
- Photograph the build in detail before anything is removed
- Identify what is fastened to structure and what is fastened to skin
Every Penetration Sealed by a Different Hand
A conversion typically has a roof fan, sometimes two, often solar mounts, a refrigerator or heater vent, a shore power inlet, a water fill, and cable glands. Each was cut and sealed by whoever was doing that stage of the build, to whatever standard they held that day, and there is no consistency between them.
So water intrusion on a conversion is rarely one leak. We commonly find two or three entries in a single van, which is why chasing the stain fails here more than on any other vehicle. A water test working systematically from the bottom up is the only reliable method, and it takes real time on a van with eight penetrations.
Doing it right means going back to bare substrate at each penetration, checking the steel for corrosion around the cut edge, and re bedding with the correct material for that joint. Butyl, urethane and lap sealant are not interchangeable, and a large share of what we redo was sealed with whatever was in the garage.
Aftermarket Electrical With No Diagram
House electrical is where conversions get genuinely dangerous. We regularly find lithium banks with undersized cable, no fusing at the battery, fusing sized to the wire rather than the load, chassis grounds through a cabinet screw, and inverter output tied into the same run as twelve volt lighting.
None of that is a criticism of ambitious owners. It is the predictable result of building a complex system from forum advice without a diagram. What it means for repair is that we will not simply reconnect what was there after a body repair, because putting known bad wiring back is not something a shop should do.
The usual path is to correct what we disturb to a defensible standard, document what we found in the rest of the system, and give you a scoped quote to fix the rest. You choose whether to do it. What you get either way is a written record of what is in your van, which most conversion owners have never had.
- Fusing at the battery, sized to the conductor
- Cable sized for the actual load and run length
- Grounds landed on structure, not on cabinet hardware
- Inverter output kept separate from low voltage runs
- A written diagram of the system as it actually exists
Cabinetry Fastened to Sheet Metal
The other common build shortcut is fastening cabinetry, beds and appliance mounts into the van's thin sheet metal rather than into structure. It holds fine sitting still. Under braking, over a rough road, or in a collision, those fasteners tear through the skin and the cabinet becomes a projectile.
When we rebuild an interior after damage, we land structural fasteners on ribs, pillars and floor structure, with backing plate where the load justifies it. That is not gold plating, it is the difference between an interior that stays put and one that redistributes itself during a hard stop.
It also affects body repair. A cabinet screwed into a side panel means the panel cannot be worked from the back without removing the cabinet, and the fastener holes themselves are corrosion sites we have to address while we are in there.
Insulation, Condensation and the Rust Underneath
This is the failure conversion owners least expect. Insulation installed tight against bare steel, with no vapor management and no gap, traps condensation against the metal. The van looks perfect from inside and outside while the sheet metal behind the panel corrodes for years.
We find it when a body repair opens a wall, or when an owner notices a stain low on a panel that has no leak above it. By that point there can be perforation. The repair is cutting out the corroded metal, replacing it, treating the area properly, and reinstalling insulation with an approach that does not trap moisture again.
A worked example: a rear quarter repair on a conversion with cabinetry removal, no corrosion found, typically 18 to 28 hours of body and paint at $210 for $3,780 to $5,880, plus 6 to 10 hours of interior removal and reinstallation, plus $700 to $2,000 in materials. Add corrosion repair and the number climbs quickly.
Questions
Frequently asked questions
Why do you charge to survey my van before quoting?
Because nobody documented the build and the information does not exist anywhere else. On a factory coach we look up the wiring routing and the furniture part numbers. On a conversion we have to trace circuits, locate tanks and battery banks, map every roof and wall penetration, and identify what is fastened to structure versus skin. That is real labor. The alternative is a shop that opens a wall, cuts a circuit nobody knew was there, and bills you for the discovery plus the repair. The survey is the cheaper version of the same information, and you keep the documentation afterward.
How much does camper van conversion repair cost?
The range is about $2,000 to past $80,000. Leak diagnosis and resealing multiple penetrations is typically $1,500 to $4,500. A rear quarter body repair with cabinetry removal and reinstallation is $6,000 to $10,000. Corrosion repair behind trapped insulation is $4,000 to $15,000 depending on how much metal is perforated. Electrical correction varies widely with what is found. Full interior rebuilds pass $80,000. Body and paint labor is $210 per hour, mechanical is $260, and any authorized repair above $2,000 carries a 50 percent deposit.
How is this different from a factory Class B?
A factory Class B is a complete motorhome built and sold by an OEM coach manufacturer on a chassis they purchased, produced on a line, with a build plate and documentation. A conversion is an upfitter or owner build on any chassis, with no factory record of what is behind the panel. They can look nearly identical parked next to each other and they repair very differently. On a factory coach we know where the wiring runs before we open the wall. On a conversion, finding out is a line item. We also run a separate page for the chassis platform itself, which covers body and drivetrain work regardless of what is inside.
I have water coming in but I cannot find the leak. Can you?
Yes, and expect us to find more than one. A typical conversion has a roof fan or two, solar mounts, an appliance vent, a shore power inlet, a water fill and cable glands, and each was sealed by whoever was doing that stage of the build to whatever standard they held. Multiple simultaneous entries are the norm rather than the exception, which is why chasing the stain fails on these vans. We water test systematically from the bottom up to isolate each entry, then go back to bare substrate at each one, check the steel for corrosion at the cut edge, and re bed with the correct material for that joint.
Will you just put my wiring back the way it was?
Not if what was there is unsafe, and on conversions it frequently is. We regularly find lithium banks with no fusing at the battery, cable undersized for the load, fusing sized to the wire instead of the circuit, chassis grounds landed on a cabinet screw, and inverter output sharing a run with twelve volt lighting. We correct what we disturb to a defensible standard, document what we found elsewhere in the system, and give you a scoped quote for the rest. You decide whether to do it. Either way you get a written record of what is actually in your van, which most conversion owners have never had.
My van has rust behind the wall panel and there is no leak. How?
Insulation installed tight against bare steel with no vapor management traps condensation against the metal, and the metal corrodes from the inside out for years while the van looks perfect from both sides. It is the most common failure we find in conversions and the one owners least expect. By the time a stain appears low on a panel, there can be perforation. Repair means cutting out the corroded metal, replacing it, treating the area properly, and reinstalling insulation in a way that does not trap moisture again. If we are opening a wall for other reasons, we will always tell you what the metal behind it looks like.
Can you fix cabinetry that has torn loose from the wall?
Yes, and we fix the cause rather than just re fastening it. Cabinets, beds and appliance mounts screwed into thin sheet metal hold fine sitting still and tear out under braking, on rough roads, or in a collision. We land structural fasteners on ribs, pillars and floor structure with backing plate where the load justifies it. That is a meaningful safety difference in a vehicle where the cabinet is behind your head. While the cabinet is off, we also address the fastener holes left in the panel, because each one is a corrosion site and often a water path.
How long does conversion work take?
Leak diagnosis and resealing is typically three to six business days including test time. A body repair with interior removal and reinstallation is two to four weeks. Corrosion repair behind trapped insulation is three to six weeks and is the least predictable, because the extent is only known once the panel is open. Full interior rebuilds are measured in months and we stage them. Parts are usually less of a bottleneck than on coaches, since most conversion components are current aftermarket items, but custom cabinetry has to be built and that is scheduling rather than shipping.
How the work runs
Our six step repair process
The same sequence on every vehicle, whether it is a single coach or a fleet of box trucks.
- 01
Assessment and documentation
We put the vehicle on the floor, pull panels where we need to see behind them, and photograph everything. Hidden damage found now is damage that does not become a supplement argument later.
- 02
Written estimate
You get a line by line estimate with parts, labor hours, materials, and the posted rate applied to each. Nothing is bundled into a single number you cannot check.
- 03
Carrier coordination
If a claim is involved we deal with the adjuster directly, submit the documentation, and handle supplements when teardown reveals more than the first inspection showed.
- 04
Authorization and scheduling
Once the scope is approved we confirm the deposit, order parts, and give you a realistic slot. Special order parts drive the timeline more often than labor does.
- 05
Repair
Structural first, then body, then paint, then systems and interior. The sequence is not negotiable because each stage has to be right before the next one covers it up.
- 06
Quality check and delivery
Multi point inspection, systems tested under load, paint inspected under corrected lighting, and a walkthrough with you before the vehicle leaves.
Keep reading
Related pages
Related vehicles
Services we perform
Talk to a repair specialist today
Tell us what happened and we will tell you what the repair actually involves, what it costs, and how long it takes. We work directly with every major carrier and serve Westminster owners and fleets from our 35,000 square foot facility.
Posted labor rates are published on our prices page. Diagnostic and systems assessment fees are credited against an authorized repair.