Resources
RV Damage Inspection Checklist
In short
This is a walkaround checklist an owner can run after a collision, a storm, a tow incident, or the discovery of a leak. It moves from photographs to exterior, roof, structural indicators, interior, and systems, in that order. The single most important instruction is the first one: photograph everything before you move, clean, tarp, or repair anything.
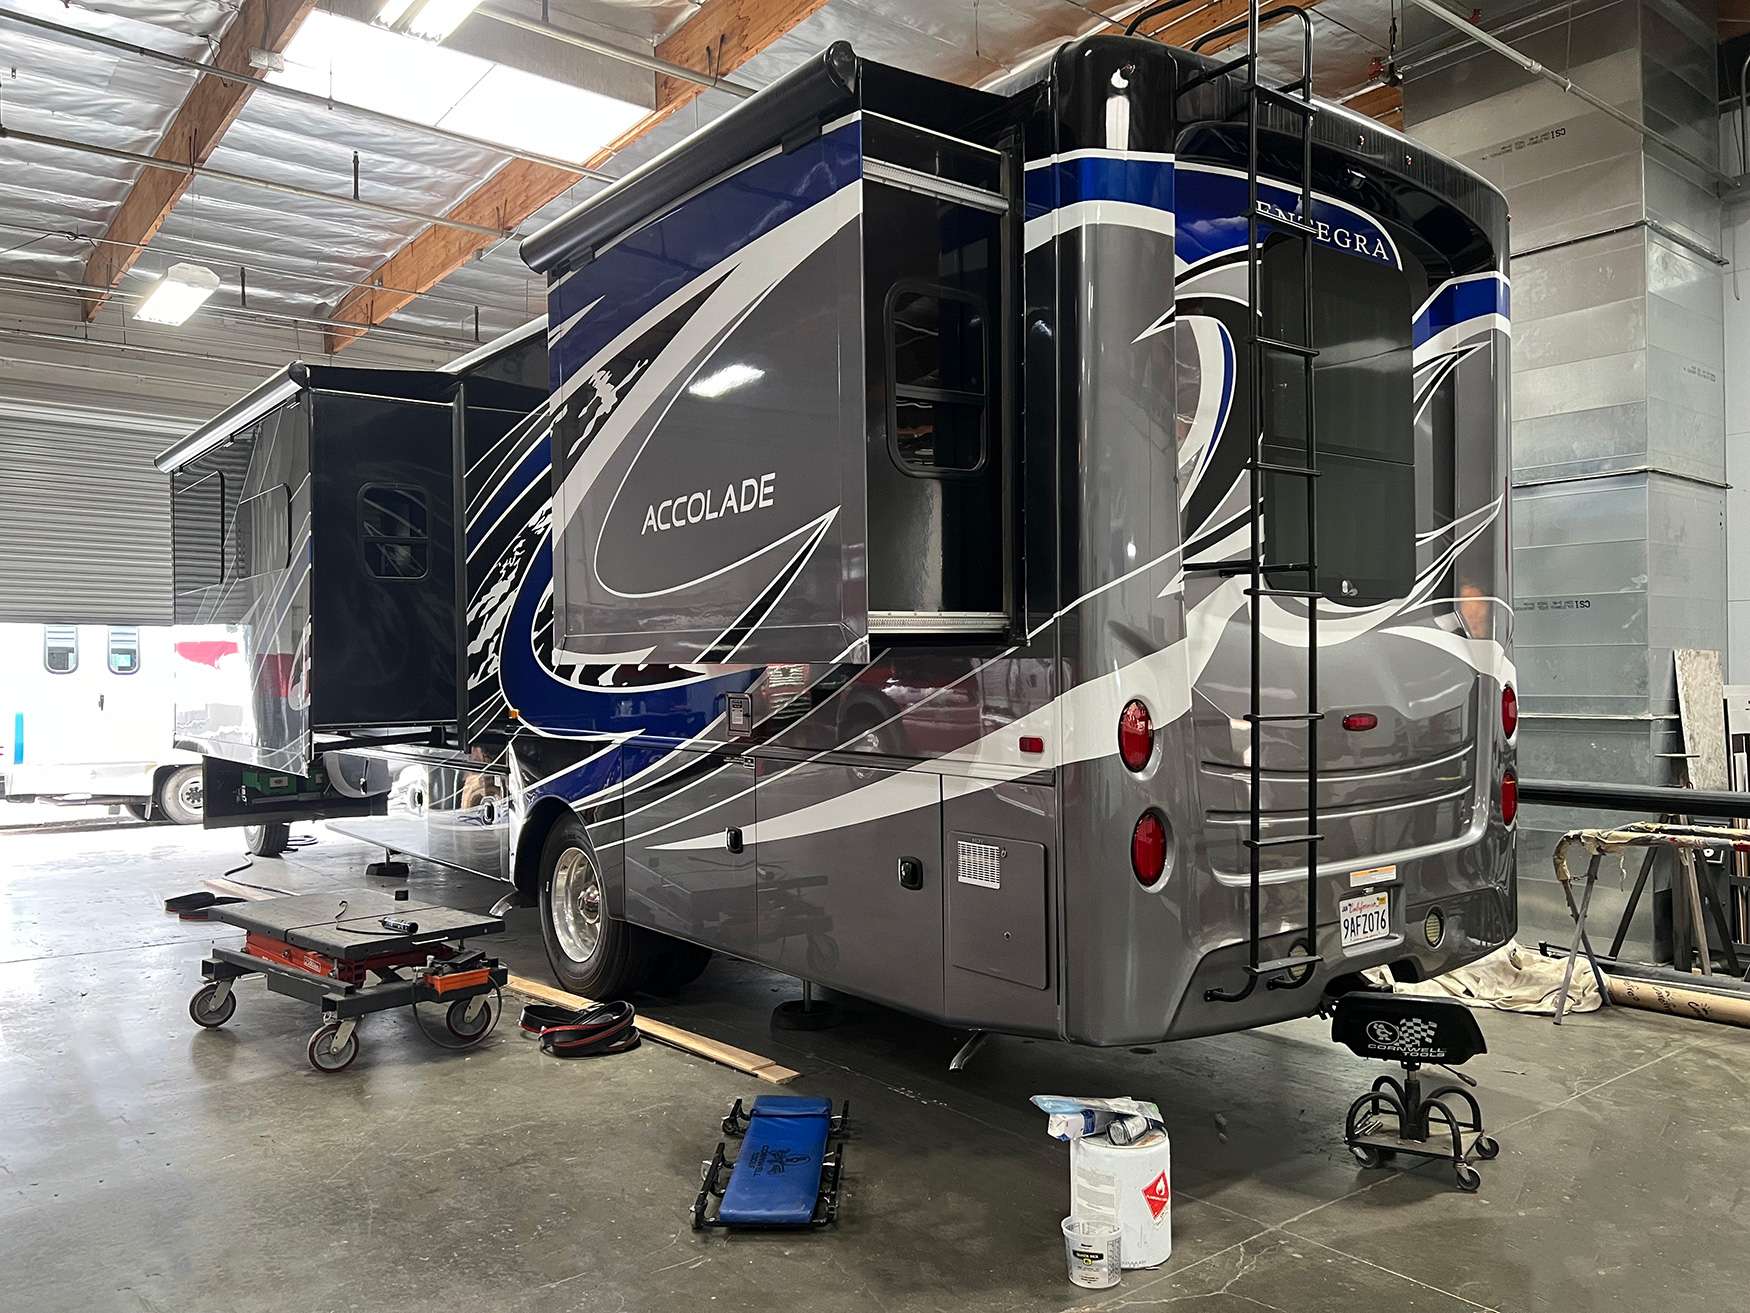
This rv damage inspection checklist is built to be run in the first hour after you discover damage, before anything gets tidied up. The order matters. Photographs come first because every later step disturbs evidence, and a claim is settled largely on what can be proven rather than what is described. Work through the sections in sequence, note every item, and resist the urge to clean, cover, or straighten anything until the documentation section is complete.
Before You Touch Anything
The most expensive mistakes in a recreational vehicle claim happen in the first thirty minutes, and almost all of them are well intentioned. Owners sweep up glass, pull a tarp over an open roof, wipe down a wall, or straighten a bent step, and in doing so remove the evidence that would have established the extent and mechanism of the loss. Adjusters approve what they can verify. Once the scene is cleaned, verification depends entirely on your word.
Safety comes before documentation, without exception. If there is a propane smell, exposed wiring, a compromised roof you would have to climb, unstable footing, or any structure that looks like it could shift, stop and get a professional. Nothing on this list is worth injury. Everything below assumes the vehicle is stable and safe to approach. If you are unsure whether a condition is safe, treat it as unsafe and stop there.
Set yourself up before you start. Charge your phone, confirm the date and time stamp is on, and if the damage happened somewhere other than where the vehicle sits now, photograph the current location too. If any temporary protection is genuinely necessary to prevent further loss, photograph the damage thoroughly first, then protect it, then photograph the protection you added.
- Confirm the vehicle is stable and safe to approach before doing anything else
- Check for propane odor, exposed wiring, and standing water near electrical components
- Verify your phone camera has date and time stamping enabled
- Photograph everything before sweeping, wiping, covering, or moving any part of the scene
- If temporary protection is needed to stop further damage, document first, protect second, then photograph the protection
- Do not discard any broken component, even if it looks like scrap
- Write down the date, time, location, and weather conditions while you still remember them precisely
Exterior Walkaround
Walk the vehicle in one continuous direction, starting at the front and returning to it, and do not skip the side that looks undamaged. Impact energy travels, and the opposite side frequently shows the evidence that establishes how much force was involved. Stand back far enough to see full panels first, then come close for detail. Distance shots show alignment problems that disappear when you are three feet away.
Look for gaps before you look for damage. Panel gaps, door gaps, window reveals, and slide seams should be consistent along their length. A gap that runs wide at one end and tight at the other is telling you something moved, and that observation is often worth more to an estimator than the dent you were photographing. Photograph the full length of any gap that changes, not only the widest point.
- Photograph all four sides from roughly twenty feet before taking any close ups
- Check every panel gap, door gap, and window reveal for consistency along its length
- Look along the sidewall from the front corner at a shallow angle to spot waviness or bulging
- Tap the sidewall with a knuckle across the damaged area, listening for hollow sound that indicates delamination
- Inspect all lower skirt and compartment doors for alignment and for doors that no longer latch
- Check every storage compartment door opens and closes normally through its full travel
- Photograph tires, including sidewalls and the inner sidewall where reachable
- Note any scuff, transfer of paint, or debris embedded in the surface and photograph it before it comes off
- Check the awning, the awning arms, and their mounting points on the wall
- Look under the vehicle at any visible frame members, steps, and jack mounting points
Roof and Upper Surfaces
Only go on the roof if it is rated for walking and you have confirmed it is sound. Many roofs are not walkable, and a compromised roof will not announce itself before it gives. If there is any doubt, use a ladder to look across the surface from the edge, or photograph it from an elevated position nearby. A roof inspection is not worth a fall.
The roof is where the majority of expensive damage originates, and it is the area owners inspect least often. Even after a collision that appears entirely lateral, check the roof, because impact into a sidewall transfers into the roof to wall joint and can open the seal there without any visible roof damage at all. Water entering at that joint may not appear inside for months, long after the claim has closed.
- Confirm the roof is rated for walking and structurally sound before stepping on it
- Photograph the entire roof surface in overlapping frames so nothing between penetrations is missing
- Inspect sealant at every penetration: vents, air conditioner, antenna, refrigerator stack, skylights, and solar mounts
- Look for cracked, lifted, shrunken, or missing sealant rather than only for holes
- Walk the perimeter seam where the roof meets the sidewalls and photograph its full length
- Note any area that feels soft or gives underfoot, and mark its boundary before you come down
- Check for membrane tears, punctures, seam separation, and areas lifted from the decking
- Inspect slide toppers for tears, sagging, and pulled mounting hardware
- Photograph the top of every extended slide roof, which collects debris and is rarely seen
- Check air conditioner shrouds for cracks and confirm mounting bolts are seated
Structural Indicators
You are not diagnosing structural damage yourself. You are collecting the signs that tell a shop the vehicle needs to go on a measuring system rather than straight to a body bay. These indicators are mostly about how things move and fit, not about how they look, and they are easy to check without any tools. Record what you find and let the measurement equipment decide the rest.
Operate everything that moves. Slides, doors, drawers, compartment latches, and steps all reference the structure around them, so they are the earliest and cheapest indicators available that something has shifted. A door that used to close with a light push and now needs a shove is meaningful information. Note the change, and note when you first noticed it. A change that developed gradually and a change that appeared the day of the incident mean very different things to an estimator.
- Operate every slide through a full cycle and note hesitation, racking, unusual noise, or a change in effort
- Open and close the entry door several times and note any change in latch effort or in how it seats
- Check whether interior doors and drawers that used to stay closed now swing open on their own
- Sight along the roof line and the lower body line from each corner, looking for waves or a break in the line
- Look for new cracks in interior wall panels, especially at the corners of window and door openings
- Check for separated or lifted trim at inside corners and where walls meet the ceiling
- On a fifth wheel, inspect the pin box and the structure around it for deformation or cracked welds
- Note any new noise while driving or towing, particularly creaking that changes with body flex
- Check that leveling jacks still deploy and retract evenly and that their mounting points look undisturbed
Interior Inspection
The interior tells you where water went and where structure moved. Work systematically, room by room, and use your hands as much as your eyes. Press on ceiling panels, walls near windows, floor around slide openings, and the floor in front of the entry door. Softness, sponginess, or a surface that flexes under moderate pressure is a finding worth photographing and marking.
Smell counts as evidence. A musty odor in a closed coach indicates moisture that has been present long enough to grow something, and it frequently appears before any visible stain. Note where the odor is strongest, because that location is usually closer to the source than the stain will be. Do not mask the odor with anything, and do not run a dehumidifier before the inspection, because both remove evidence of how much moisture is actually present.
- Photograph every room wide before photographing details, so the position of each detail is documented
- Press on the ceiling throughout, particularly along the perimeter and around every roof penetration
- Press on the floor along slide openings, in front of the entry door, and under windows
- Check inside every cabinet, especially upper cabinets on outside walls, which show ceiling leaks first
- Pull back carpet or mats at the entry and at slide openings where practical, and photograph what is under them
- Look for staining, discoloration, bubbling wallpaper, or lifted seams on interior panels
- Note any musty odor and where it is strongest
- Check window and door frames from inside for gaps, separated trim, or daylight
- Inspect the underside of the dinette, bed platforms, and any built in seating for water tracking
- Photograph anything that shifted or broke loose during the incident before you put it back
Systems Check
Systems faults are often the first evidence of damage that has not surfaced anywhere else. A wiring run pinched inside a wall, a propane line disturbed by an impact, or a water line broken behind a panel can all produce a symptom long before there is anything to see. Run each system briefly and note behavior rather than trying to diagnose it.
One firm rule: if you smell propane at any point, stop. Do not operate switches, do not run appliances, and do not continue the inspection. Shut off the supply at the tank if you can do so safely, leave, and get a professional. Propane faults are the one category on this list where continuing to investigate is genuinely dangerous. Everything else on this page can wait until a professional has cleared the system.
- Stop immediately and shut off supply at the tank if you smell propane at any point
- Connect to shore power and confirm the converter and transfer switch operate normally
- Check the 12 volt panel and the breaker panel for tripped breakers or blown fuses, and photograph the panels
- Operate interior and exterior lighting circuit by circuit and note anything dead or intermittent
- Run the water pump and listen for cycling that does not stop, which indicates a leak in the plumbing
- Check under sinks, behind the toilet, and at the water heater for active water
- Confirm the refrigerator operates on both power sources it supports
- Run the furnace and the air conditioner briefly and note any new noise or failure to start
- Check tank monitor readings for values that make no sense, which can indicate a damaged sender or tank
- Test slide operation on both the primary control and the manual override if the unit has one
Documentation and Photographs
Documentation is the part of this checklist that determines what your claim is worth, and it is the part owners rush. Adjusters work from images. A file with two hundred clear, well ordered photographs is a file where the adjuster can see everything you are claiming, and files like that get approved with fewer questions and fewer reductions than files with a dozen close ups of the worst spot.
Shoot in a consistent pattern. Wide shot for context, medium shot for the assembly, close shot for the detail, and one shot that includes something for scale. Repeat that pattern for every finding. Keep the originals unedited, in their original resolution, backed up somewhere other than the phone, and never send the only copy to anyone. Cloud storage, an external drive, or both, on the same day you take them.
- Photograph wide, medium, and close for every single finding, in that order
- Include a common object or tape measure for scale on anything where size matters
- Photograph the vehicle identification number, license plate, current odometer, and the data plate
- Photograph the scene itself if the vehicle is still where the incident occurred
- Shoot video walking the full exterior and interior with narration describing what you are seeing
- Keep original unedited files at full resolution and back them up off the phone the same day
- Write a plain timeline of what happened, when you found it, and what you did afterward
- Gather maintenance records, prior repair invoices, and any receipts for upgrades before you speak to the adjuster
- Log every conversation about the claim with date, name, and what was said
- Send copies to your carrier and to the shop, never the only set
When to Stop and Call a Shop
Some findings mean the walkaround is over and the vehicle needs professional assessment before it is operated, towed, or stored. These are not judgment calls. If any of them appear, document what you have and stop. The point of the list is not to alarm anyone. It is that a few specific conditions make continued handling of the vehicle either unsafe for you or actively damaging to the vehicle, and both outcomes are worse than a phone call. Document what you have already found, leave the rest where it is, and get a professional assessment.
Nothing on this list is diagnosable from a checklist, and that is the point. The purpose of the walkaround is to gather what a professional needs, and to identify the conditions where continuing on your own creates risk or makes the damage worse. A vehicle with compromised structure that gets towed incorrectly can turn a repairable unit into a settlement conversation.
- Any propane odor at all, at any point in the inspection
- Any exposed or damaged wiring, particularly near water
- Soft or yielding roof decking anywhere on the walkable surface
- A slide that binds, racks, or will not complete a cycle
- Visible deformation in any frame member, outrigger, crossmember, or pin box
- Sidewall waviness or hollow sound over an area larger than roughly a foot square
- Water actively entering the vehicle, or standing water inside it
- Any change in how the vehicle drives, tracks, or tows after the incident
Questions
Frequently asked questions
Why should I not clean up before photographing?
Because the debris, the transfer marks, and the position of everything at rest are the record of what happened, and once they are gone the only remaining source is your description. Adjusters approve what they can verify from images. Glass distribution shows direction of force. Paint transfer identifies what the vehicle struck. Water still standing in a compartment establishes that intrusion is active rather than historical. A broken component in place tells a different story than the same component in a trash bag. None of this survives a sweep and a wipe down. The exception is genuine ongoing loss. If rain is coming through an open roof, protect it, but photograph thoroughly before you do and then photograph the protection you installed so the sequence is documented and nobody later wonders whether the tarp was hiding something.
How many photographs is enough?
More than feels reasonable. On a coach with meaningful damage, one hundred and fifty to three hundred images is a normal, well documented file, and we have never once seen a claim harmed by having too many. The structure matters more than the count. For each finding, shoot a wide frame that establishes where on the vehicle you are, a medium frame that shows the whole assembly, and a close frame that shows the detail, plus one with something in it for scale if size is relevant. That pattern lets an adjuster who has never seen your vehicle follow you around it without confusion. Add a narrated video walkaround of the full exterior and interior. Video captures things a still frame misses, particularly how a slide sounds while it cycles or how a door now seats.
Should I run this checklist before an adjuster sees the vehicle?
Yes, and ideally before anyone else touches it. Your documentation is independent of the carrier's, which matters if the two later disagree about extent or cause. It also makes the adjuster's visit substantially more productive, because you can point directly at findings rather than discovering them together while they are on the clock. Bring a printed list of what you found and where. What you should not do is offer conclusions about cause, extent, or repair method during that visit. Describe what you observed and let the assessment come from the shop that will actually perform the work. Owners who speculate out loud about how something happened sometimes talk themselves into an exclusion that would never have applied, and a statement made casually is difficult to walk back later.
What if I find damage that seems unrelated to the incident?
Document it exactly the same way and do not attempt to sort it into categories yourself. Pre-existing damage, prior repairs, and unrelated wear are all legitimate to have, and concealing them is what creates problems. What actually happens is that teardown reveals them anyway, at which point their late appearance looks like an attempt to fold old damage into a new claim, and that suspicion can affect how the entire file is treated. Photograph everything you find and let the shop and the adjuster separate the incident related damage from the rest. It is also worth noting that some of what looks unrelated turns out not to be. Water damage exposed by a collision, for instance, is often genuinely pre-existing, but the collision is what made it findable, and how that gets handled depends on facts nobody has yet.
I found soft spots in the floor but no visible leak. What does that mean?
It means water has been present long enough to degrade the substrate, and the entry point is somewhere other than directly above the soft area. Soft flooring is a late symptom. By the time a floor yields underfoot, the material has been wet through repeated cycles and has lost structural value across an area typically larger than the part that feels soft. The absence of a visible leak is normal, because water tracks laterally inside walls and along the floor under covering and only becomes visible when there is enough of it to emerge somewhere. What this needs is moisture mapping across the floor, the lower walls, and the roof, in a grid, to find the boundary of the wet zone and trace it back upstream to the entry. Do not seal anything until that mapping is done, because sealing the wrong penetration is the most common wasted effort in this category.
Do I need to check the roof if the impact was to the side?
Yes, every time. The roof to wall joint is a sealed structural connection, and lateral impact into a sidewall transfers directly into it. The joint can open enough to admit water without producing a single visible mark on the roof surface, and the resulting leak may not show inside for months. That delay is precisely the problem, because a leak discovered a year later is a much harder claim to connect to an incident that is already closed. The same applies to slide seals and window seals on the impacted side, which are compression seals that depend on the opening staying square. If the opening moved even slightly, the seal no longer compresses evenly. Photograph the roof perimeter seam along its full length and both sides of every affected opening while the claim is still open.
How long should I keep all this documentation?
Keep it permanently, and keep it somewhere other than the phone that took it. Photographs from a repair become the baseline for everything that comes after, and they resolve disputes that surface years later. If you sell the vehicle, documented repair history supports the price. If a later claim occurs, prior documentation is what proves which damage is new. If a repair is questioned, the images taken during teardown show what was there. The practical approach is a dated folder per event containing the original full resolution images, the video, the written timeline, every estimate and supplement, all correspondence with the carrier, and the final invoice. Store it in two places, one of which is not your phone. The entire archive costs nothing to keep and is impossible to reconstruct once it is gone.
Keep reading
Related pages
More resources
Insurance reading
Talk to a repair specialist today
Tell us what happened and we will tell you what the repair actually involves, what it costs, and how long it takes. We work directly with every major carrier and serve Westminster owners and fleets from our 35,000 square foot facility.
Posted labor rates are published on our prices page. Diagnostic and systems assessment fees are credited against an authorized repair.