Body and Panel
RV Window and Glass Replacement, from Windshields to Side Frames
In short
Glass work at our Westminster shop runs from about $500 to $7,500 or more, because an RV carries three unrelated kinds of glass. A side window is a bedded frame assembly and sits at the low end, cab glass on a Class B or C is standard automotive work in the middle, and a large curved two-piece Class A windshield sits at the top and is frequently on back order for weeks.
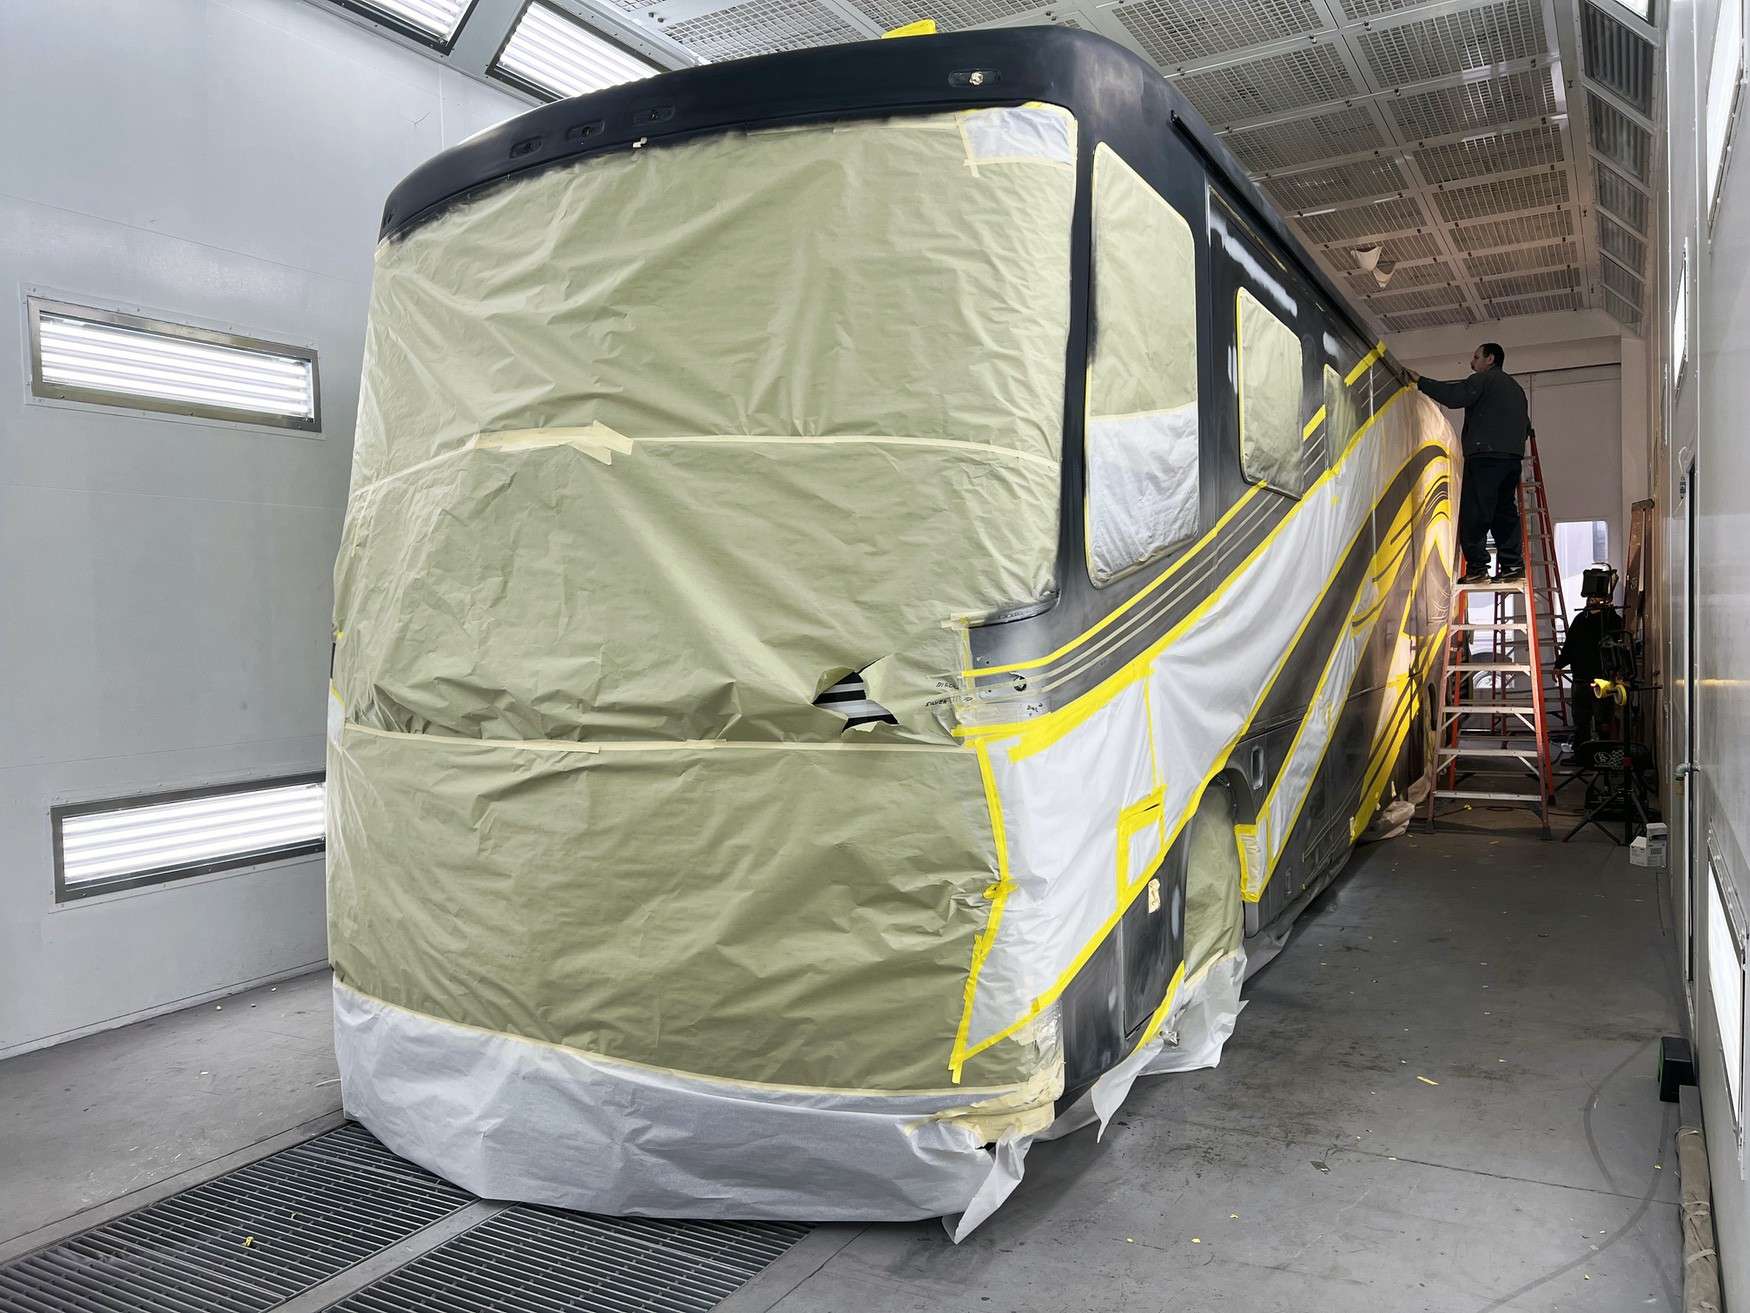
RV window and glass replacement is three separate trades wearing one label, and mixing them up is how owners end up with a leak. A Class A windshield is a huge curved panel, often installed as two pieces in a rubber gasket. Cab glass on a Class B or Class C is automotive glass with automotive urethane. RV side windows are not glued glass at all, they are frame assemblies bedded in butyl tape. Our team in Westminster prices each one differently for good reason.
Class A Windshields and the Back Order Reality
A Class A windshield is one of the most expensive single pieces of glass on any road vehicle. Many are two-piece designs with a large curved half on each side of a center divider, and each half can weigh enough that it takes two or three people plus setting tools to place safely. They are model and year specific, low volume, and made by a small number of suppliers, which is exactly the recipe for long lead times.
We check availability before quoting a completion date, not after. It is common for a specific windshield half to show a multi-week lead time, and occasionally longer, and we would rather tell you that at the estimate than have you plan a trip around a date that was never real. If your unit is drivable and the damage is not in the driver sight line or spreading, we can often schedule the teardown for the week the glass actually lands.
Installation is gasket work rather than adhesive work on most of these. The old gasket comes out, the opening flange is inspected and cleaned, and a new gasket goes in with a proper sealant bead where the manufacturer calls for one. The locking strip has to be seated correctly around the whole perimeter, and the divider post and its trim have to be rebedded. Rushing any of it produces a whistle at road speed or a drip on the dash in the first rain.
- Confirm glass availability and lead time before a completion date is promised
- Two-piece designs mean two part numbers and two chances at a back order
- New gasket every time rather than reusing a compressed original
- Opening flange inspected for corrosion and prepped before the glass goes in
- Locking strip seated fully around the perimeter to avoid wind noise
- Center divider post and trim rebedded, not just reinstalled
Cab Glass on a Class B or Class C
If your motorhome is built on a cutaway van or truck chassis, the windshield and the cab door glass are standard automotive parts, and that is genuinely good news. Availability is usually same week, pricing is a fraction of a Class A windshield, and the install procedure is well documented: cut the old urethane, prep the pinch weld, prime bare metal and the glass frit, lay a consistent urethane bead, set the glass to the correct height, and respect the safe drive-away time.
The part owners underestimate is drive-away time. Urethane needs to reach a specific strength before the glass can do its structural job, and that window depends on the product, the temperature, and the humidity. We tell you the number for the product we used rather than a rounded guess, and we do not release the vehicle early because it is inconvenient to wait.
One RV specific wrinkle: the house structure often ties into the cab area on a Class C, and the cabover bunk sits directly above the windshield. If there is any history of leaking around that transition, the windshield job is a good moment to inspect and rebed the seam above it, because the glass has to come out anyway and access is never better than it is right then.
How RV Side Windows Are Bedded Rather Than Glued
This is the concept that fixes most misunderstandings. An RV side window is a two piece aluminum frame. The outer frame has a flange that sits against the exterior wall over a bed of butyl tape. The inner clamp ring goes on from inside the coach and pulls the two halves together with screws around the perimeter. The seal is not adhesive. It is compressed butyl, held in compression by even clamping force, sandwiching the sidewall between two frame halves.
That has real consequences. There is no cure time and there is no bonding chemistry, so the seal depends entirely on getting the butyl bed continuous and getting the clamping even. It also means the window can be removed non-destructively, which is why we can pull a window to fix a leak or replace a fogged pane and put the same frame back if it is sound. And it means that a smear of exterior sealant around the outside of a frame is not a repair, it is a bandage over a compression problem.
Wall thickness matters here too. The clamp ring is sized for the original wall, so if a previous repair added a layer, or if the wall has swollen from water damage, the frame halves will not draw down correctly. We check that at teardown, because installing a window into a wall that has grown a sixteenth of an inch is a leak waiting for the next storm.
- Outer frame flange bedded on continuous butyl tape, no gaps at corners
- Inner clamp ring pulled down evenly, working around the perimeter in stages
- Wall thickness verified against the frame design before reinstall
- Screws snugged to compress butyl without stripping the frame threads
- Excess butyl squeeze-out trimmed cleanly rather than smeared
- Exterior sealant used as a weather bead only, never as the primary seal
Dual Pane Seal Failure and the Fogging Problem
A dual pane RV window is two sheets of glass with a sealed air gap between them, held apart by a spacer and sealed at the perimeter. When that perimeter seal fails, humid air gets into the gap, and every time the coach heats and cools the moisture condenses on the inner surfaces. The result is the milky fog and the mineral streaking you cannot clean, because the deposits are on faces you cannot reach.
There is no honest way to repair a failed seal in place. Drilling and venting the unit is sometimes sold as a fix, and while it may clear the visible fog for a while, it converts a sealed insulated unit into a vented one that will collect dust and lose the insulating value you paid for. The proper repair is a new insulated glass unit installed into your existing frame, which is usually far cheaper than a whole new window assembly.
Timing is the catch. Insulated units are made to order in your exact size and thickness, so we measure the frame with the old unit out and order to those numbers. Lead time is typically a couple of weeks. Because the frame has to come off the wall to open it, we plan the butyl rebedding into the same visit rather than doing the teardown twice.
Removal, Rebedding, and Clamp Ring Technique
Teardown starts inside. Interior trim comes off, then the clamp ring screws come out in a pattern rather than in a line, so the frame releases evenly instead of twisting. From outside, a plastic wedge and a wire cut the old butyl loose while a second set of hands supports the frame, because a large window that drops is a much larger repair than the one you started with.
With the window out, the opening gets a real inspection. We scrape both surfaces clean of old butyl, check the framing and substrate around the cutout for softness or staining, look for corrosion inside an aluminum frame, and verify that the flange is flat. A frame with corrosion pitting under the flange will not compress butyl evenly, and that is a common reason a window that was resealed twice still leaks.
Reinstall is a torque and sequence exercise. Fresh butyl goes down continuous with a proper overlap at the corners. The frame is set, then the clamp ring screws are brought down in stages, working around the perimeter so the butyl squeezes out evenly all the way around rather than blowing out at one edge. Screws get snugged, not torn into the aluminum, and squeeze-out gets trimmed cleanly before the weather bead goes on the top edge.
- Clamp ring screws removed and reinstalled in a staged pattern, not in a line
- Both mating surfaces scraped clean of old butyl before new tape goes down
- Opening framing checked for softness, staining, or delamination while it is open
- Aluminum frame inspected for corrosion pitting that prevents even compression
- Butyl run continuous with proper overlap at every corner
- Squeeze-out trimmed and a weather bead applied along the top edge only
Leak Testing Before the Vehicle Leaves
A window install is not finished when the screws are tight. It is finished when it has been tested. We run water over the installed unit from the top down, the way rain actually arrives, with someone inside watching the interior side of the frame and the wall below it with a light. Top down matters, because spraying upward at a frame creates a failure that rain would never produce and misses the path that rain actually takes.
For units with a history of intrusion, or where we found staining at teardown, we go further and check surrounding areas with a moisture meter so we can tell you whether the wall is dry or whether there is older damage above the window that is running down behind the frame. Diagnostic labor bills at $285 per hour and is credited against an authorized repair, and there is a $150 systems assessment that is also credited if you move forward.
The reason we are strict about this is what water does inside an RV wall. It does not drip on the floor and announce itself. It wicks along the framing, soaks the insulation, debonds the laminate, and rots the substrate for months before a stain appears inside. A bad reseal is not a cosmetic mistake, it is a delamination bill arriving later. Call our office at (949) 799-3387 to get on the schedule.
Questions
Frequently asked questions
My dual pane window is fogged. Can it be fixed without replacing it?
Not in a way we would stand behind. Fogging means the perimeter seal on the insulated unit has failed and humid air is now cycling into the gap between the panes, condensing and leaving mineral deposits on interior surfaces you cannot reach. Drilling and venting the unit is sometimes offered as a fix. It may clear the haze temporarily, but it turns a sealed insulated unit into a vented one that collects dust and no longer insulates. The correct repair is a new insulated glass unit built to your exact size and installed into your existing frame, which usually costs far less than a whole new window assembly.
How much is a Class A windshield, and why so much?
It is the single most expensive piece of glass on most motorhomes, and it drives the top of our range. Three things stack up. The glass itself is large, curved, laminated, model and year specific, and made in low volume by a small number of suppliers. Many designs are two-piece, so you are buying two parts and each half can weigh enough to require two or three people plus setting tools. And the install is gasket work with a new gasket, flange prep, sealant where specified, locking strip seating, and rebedding the center divider post and its trim. None of that is quick.
How long does a windshield back order usually take?
It varies enormously, which is why we check availability before we quote a completion date rather than after. Multi-week lead times on a specific Class A windshield half are routine, and occasionally it runs longer than that. Cab glass on a Class B or Class C is usually available the same week because it is a standard automotive part. If your unit is drivable and the damage is not in the driver sight line and not actively spreading, we will often schedule the teardown for the week the glass actually lands, so your RV is not sitting in a bay waiting on a truck.
Can you use regular automotive glass on my Class C cab?
Yes, because the cab on a Class C is a factory chassis cab, so the windshield and door glass are standard automotive parts installed with automotive urethane to automotive procedure. Cut the old urethane, prep the pinch weld, prime any bare metal and the glass frit, lay a consistent bead, set to the correct height, and respect the safe drive-away time for that specific product and the day's temperature. The RV wrinkle is the cabover bunk sitting right above the windshield. If that transition has ever leaked, the glass being out is the best access you will ever have to rebed the seam.
Why does my window still leak after someone resealed it?
Almost always because the reseal was a bead of sealant smeared around the outside of the frame rather than a real repair. An RV side window seals by compressing butyl tape between the outer frame flange and the wall, held by the inner clamp ring. If that compression is uneven, the butyl bed has a gap at a corner, the frame is pitted with corrosion, or the wall has swollen so the halves cannot draw down, water goes past the flange no matter what you put on the outside. The fix is pulling the window, cleaning both surfaces, and rebedding with fresh butyl and a staged clamp ring sequence.
Do you use butyl tape or sealant on RV windows?
Both, for different jobs. Butyl tape is the primary seal. It goes under the outer frame flange as a continuous run with proper overlap at the corners, and the inner clamp ring compresses it against the sidewall. Butyl never fully hardens, which is exactly what you want on a vehicle that flexes down the road. Exterior sealant is a secondary weather bead applied along the top edge to shed water before it reaches the flange. It is not a substitute for butyl, and using it as the primary seal is the single most common reason a window leaks again within a year.
What happens if the window frame is corroded?
We find out at teardown and call you before reinstalling anything. Corrosion pitting under the frame flange is a real problem, because butyl seals by compressing evenly against a flat surface, and a pitted flange leaves channels that water follows straight into the wall. Light surface corrosion can sometimes be cleaned, flattened, and sealed. Pitting deep enough to feel with a fingernail across the flange means the frame should be replaced, or at minimum that we tell you honestly it is likely to leak again. This is a common reason a window that has been resealed twice by someone else keeps coming back.
How do you test for leaks after the install?
We water test every glass installation before the vehicle leaves, running water from the top down the way rain actually arrives, with someone inside watching the interior frame edge and the wall below it with a light. Spraying upward at a window creates failures that real weather never produces and misses the path water actually takes. If there was staining at teardown or a known intrusion history, we also check the surrounding wall with a moisture meter to separate a new leak from older damage running down from above. Diagnostic labor is $285 per hour and is credited against an authorized repair.
Standard on every job
What is included
These are not upgrades. They are how the work is run on every vehicle that comes through the building.
Full teardown where it is needed
We do not estimate through a closed panel. If the damage path runs behind trim or skin, we open it and document what is actually there.
Written, itemized scope
Parts, labor hours, and materials listed separately against the posted rate, so every line is something you can question.
Direct carrier communication
We talk to the adjuster so you are not relaying technical detail between two parties who both expect you to already understand it.
Supplement handling
When teardown finds more than the original inspection, we document and submit the supplement rather than absorbing it into a vague overage.
Correct repair sequence
Structural before cosmetic, every time. A straight body over a bent frame is a repair that fails its second life.
Systems tested under load
Electrical, plumbing, generator, and climate systems are run and verified before delivery, not just reconnected and assumed good.
Photo documentation throughout
Before, during, and after. Useful for your records, and decisive if a claim is ever revisited.
Delivery walkthrough
We go over what was done, what was replaced, and what to watch, in person, with the vehicle in front of you.
How the work runs
Our six step repair process
The same sequence on every vehicle, whether it is a single coach or a fleet of box trucks.
- 01
Assessment and documentation
We put the vehicle on the floor, pull panels where we need to see behind them, and photograph everything. Hidden damage found now is damage that does not become a supplement argument later.
- 02
Written estimate
You get a line by line estimate with parts, labor hours, materials, and the posted rate applied to each. Nothing is bundled into a single number you cannot check.
- 03
Carrier coordination
If a claim is involved we deal with the adjuster directly, submit the documentation, and handle supplements when teardown reveals more than the first inspection showed.
- 04
Authorization and scheduling
Once the scope is approved we confirm the deposit, order parts, and give you a realistic slot. Special order parts drive the timeline more often than labor does.
- 05
Repair
Structural first, then body, then paint, then systems and interior. The sequence is not negotiable because each stage has to be right before the next one covers it up.
- 06
Quality check and delivery
Multi point inspection, systems tested under load, paint inspected under corrected lighting, and a walkthrough with you before the vehicle leaves.
Keep reading
Related pages
Related services
Vehicles we repair
Talk to a repair specialist today
Tell us what happened and we will tell you what the repair actually involves, what it costs, and how long it takes. We work directly with every major carrier and serve Westminster owners and fleets from our 35,000 square foot facility.
Posted labor rates are published on our prices page. Diagnostic and systems assessment fees are credited against an authorized repair.