Roof, Slides and Awnings
RV Roof Vent and Skylight Repair Done Right the First Time
In short
Most RV vent and skylight work runs $250 to $2,500, and a straight lid or dome swap is often done the same day. Customers in Westminster usually come in with a UV cracked acrylic dome, a fan that stopped turning, or a brown ring on the ceiling trim. The cost only jumps when water has already reached the ceiling panel.
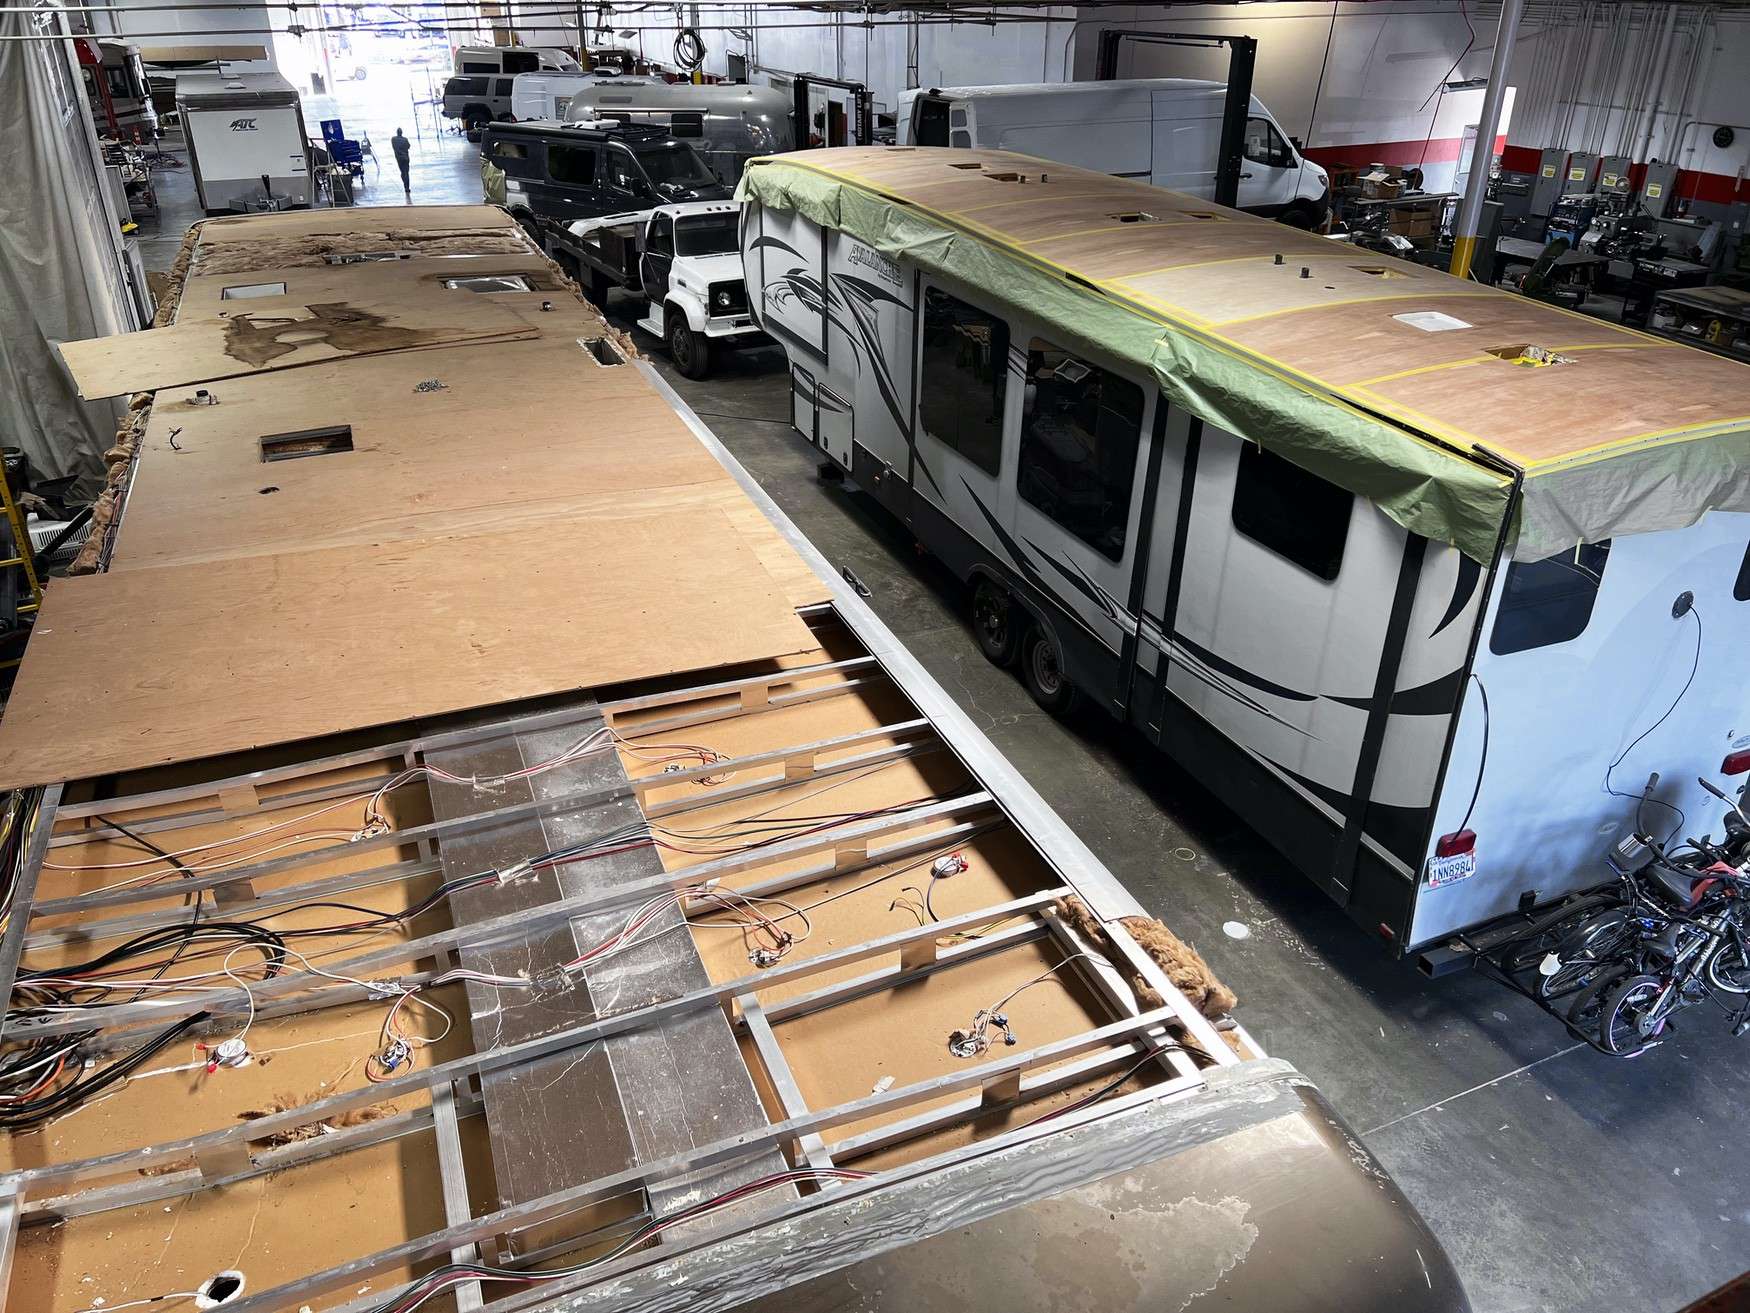
RV roof vent and skylight repair is the cheapest work we do and the most expensive work to postpone. Acrylic goes brittle under Southern California sun, a cracked dome sheds most of the rain and lets the rest run down the flange, and six months later the garnish ring is stained and the ceiling panel is soft. The part itself costs thirty dollars. The ceiling behind it does not.
Why Acrylic Domes Crack in Southern California Sun
Vent domes are acrylic or polypropylene, and both age the same way here. UV breaks down the polymer from the outside in. The surface goes chalky, then hairline crazing appears, then the material loses impact strength until a dropped branch, a hail stone, or simply a hot day followed by a cold night puts a crack straight through it. Ten years is a long life for a dome parked outside in this climate.
Smoke tinted and white domes generally outlast clear ones, because the pigment blocks a share of the UV before it reaches the polymer. A clear dome over a bathroom looks good for about five years and then starts crazing. If you park outside year round and you want the daylight, plan on replacing clear domes on a schedule instead of waiting for the failure to announce itself.
The crack itself is not the emergency. The problem is that a cracked dome flexes, and a flexing dome works the hinge, the hinge works the flange, and water starts tracking under the lid onto the vent collar. That is the whole path from a thirty dollar part to a wet ceiling, and in a normal winter it takes one season to travel.
Powered Fan Failures and What Actually Broke
Powered roof vents fail in a small number of predictable ways. The motor bearing dries out and the fan gets loud before it gets slow. The lift arm gearbox strips, usually on the plastic gear, and the lid stops opening. The rain sensor board corrodes and the lid cycles on its own at odd hours. The thermostat sticks closed and the fan runs until the house battery is flat.
Diagnosis is straightforward. We check voltage at the fan with the switch on, check the ground, then check motor draw. A fan reading full voltage and drawing nothing has an open motor. A fan drawing high current and turning slowly has a seized bearing. A fan with good voltage and a healthy motor but a dead lid has a gearbox or lift arm problem, which is often a separate and much cheaper part.
Whether we replace the motor or the whole unit comes down to age and parts availability. On a unit under about five years old from a current model line, motor and gear kits are available and the repair is worth doing. On an older discontinued unit, the labor spent chasing parts exceeds the price of a new assembly, and we will say so before we start hunting.
- Loud fan that later gets slow: motor bearing is going
- Lid will not open or close: lift arm or gearbox
- Lid cycling on its own: rain sensor or control board
- Fan runs and will not shut off: thermostat or switch
- Full voltage with no current draw: open motor winding
Hinges, Lift Arms, and Lids That Will Not Stay Closed
Vent lid hinges are the most overlooked failure on an RV roof. On most designs the hinge is a plastic pin through a thin plastic ear molded into the lid. UV embrittles the ear, road vibration works it back and forth, and one day the lid lifts at speed and folds back or departs entirely. Now the vent is open to the sky and you find out at the next rain.
The intermediate failure is worse than the total one, because you do not notice it. A hinge with one broken ear lets the lid sit crooked. Crooked means the gasket only contacts on one side. Water runs in every time it rains and evaporates before you look, until one day it does not. If you can rock a closed lid with your hand, the hinge is finished and the gasket is not sealing.
Hinge kits are inexpensive and the repair is quick. Where it gets costly is when the lid has already departed and taken part of the base with it, or when the sun has cooked the base flange enough that it cracks the moment you back out the old screws. We check base condition before quoting a lid, not after the old one is off.
Garnish Rings and the First Sign of Water Inside
The garnish ring is the interior trim ring covering the raw opening in the ceiling. It is the first thing that shows you have a vent leak, because water tracking down the vent collar hits the ring and wicks into the edge of the ceiling panel. A brown crescent on the ring, or a ring that has gone from white to yellow on one side only, is not cosmetic aging. It is a report on what is happening above it.
Owners often wipe the stain and forget about it. The next stage is the ceiling panel around the ring going soft, then the vinyl ceiling fabric releasing and sagging, then the ceiling luan turning dark and losing fastener hold. At that point the repair includes a section of ceiling panel, and the price moves from a couple hundred dollars into four figures.
When we pull a stained ring, we meter the ceiling panel edge before anything goes back together. If the panel reads wet, resealing the vent alone leaves trapped moisture sitting in the ceiling. That gets opened, dried, and verified before the new ring goes on. It adds hours to the ticket, and it is the difference between a repair and a delay.
- Brown or yellow staining on one side of the ring
- Ring that has loosened or will not sit flat
- Soft or spongy ceiling panel at the opening edge
- Vinyl ceiling fabric releasing near the vent
- Musty smell when the vent is opened after rain
Butyl Under the Flange, Self Leveling Sealant on Top
There are two sealants on a correctly installed vent and they do different jobs. Butyl tape goes under the mounting flange as the primary seal. It never fully cures, it stays plastic, and it is what actually keeps water out of the opening. Self leveling lap sealant goes on top of the flange and over the screw heads as the secondary seal that protects the butyl from UV and mechanical damage.
Most failed vents we open were installed with lap sealant only, or with silicone, which is the worst possible choice on an RV roof because nothing bonds to cured silicone, including fresh silicone. Removing a silicone repair adds an hour of scraping and solvent work before we can even begin doing the job the correct way, and that hour goes on your ticket.
Technique matters as much as material. Old butyl comes off completely, down to clean substrate. Screws go into sound decking, not into stripped holes, and a stripped hole gets a larger fastener or a backing repair. Flange screws get snugged in a cross pattern until the butyl squeezes out evenly all the way around, then lap sealant goes on in one continuous bead rather than dabbed over each screw head.
- Butyl tape under the flange as the primary water seal
- Self leveling lap sealant on top for UV and mechanical protection
- No silicone anywhere on an RV roof, ever
- Old sealant removed completely before new material goes down
- Screws snugged in a cross pattern for even butyl squeeze out
- Sealant matched to the roof material, EPDM, TPO, or fiberglass
Skylights Over a Shower Pan
A skylight over a shower pan lives a harder life than any other opening on the roof. It takes the same UV as everything else, plus steam and heat cycling from the inside every time someone showers. The acrylic goes brittle and the inner dome crazes, and the sealant around the flange sees more expansion and contraction than any other bead on the roof.
It is also the worst place on the coach to have a leak. Water coming through a shower skylight runs down the inside of the surround, behind the shower wall, and into the floor at the pan edge, which is already the most common soft floor location in any RV. By the time it shows on the floor you are looking at pan removal and decking work, not a skylight job.
We treat shower skylights as an annual inspection item rather than a fix it when it breaks item. Checking the dome for crazing and the sealant bead for cracking takes ten minutes while we are already on the roof for something else. Replacing the dome is usually under an hour. Rebuilding a shower surround and the floor underneath it is a week in the bay.
Sizing Standards, Fitment, and What a Delay Really Costs
RV roof openings are standardized more than owners expect. The common vent is a 14 by 14 inch rough opening, which is why most lids, fans, and covers interchange across brands. Skylights are far less standardized and are usually specified by the outer flange dimension and the dome rise, so a measurement of the opening alone is not enough information to order the correct part.
When we quote a skylight we need flange length and width, opening size, and dome height, and on older units we want a photo of the mounting flange because some are molded into the surround rather than bolted to it. Getting that right up front is why a skylight sometimes takes two days when a vent lid takes an hour.
Pricing runs on four rules. Body labor is $210 per hour, parts at or under $100 carry 100 percent markup, parts over $100 carry 35 percent, and the 7.75 percent tax applies to parts and materials only. A dome only replacement is about 0.75 hours, or $157.50, with a $42 dome at $84 and $18 of sealant at $36, plus $9.30 in tax, for $286.80 out the door.
A powered fan replacement with a full reseal is about 2 hours at $210, or $420, with a $265 fan assembly at $357.75, butyl at $44 and lap sealant at $68, plus $36.41 tax, landing at $926.16. Now the delayed version. A shower skylight plus a section of stained ceiling panel runs around 9 hours, or $1,890, with roughly $796.50 in marked up parts and $61.73 in tax, for $2,748.23. That one crosses $2,000, so it takes a 50 percent deposit of $1,374.12 to start.
- Standard vent rough opening is 14 by 14 inches
- Skylights ordered by flange size, opening size, and dome rise
- Body labor billed at $210 per hour
- Parts at or under $100 marked up 100 percent, over $100 marked up 35 percent
- Sales tax of 7.75 percent applies to parts and materials, not labor
- Jobs above $2,000 take a 50 percent deposit before parts are ordered
Questions
Frequently asked questions
Can I tape the crack in my vent dome until I get around to it?
Tape buys you weeks, not months, and only if you use the right tape. A proper roof repair tape applied over a clean, dry surface will shed rain through a season if you inspect it. Duct tape will not. It turns to glue in the sun and lifts at the edges, and then water runs under it and stays there against the acrylic. The deeper problem is that a cracked dome flexes, and flexing works the hinge and the flange until water gets under the vent collar. If you tape it, set a calendar reminder for thirty days.
How much is it to replace a powered roof vent?
A typical powered fan replacement with a proper reseal runs about $926. That is 2 hours of body labor at $210 for $420, a $265 fan assembly marked up 35 percent to $357.75, butyl tape and lap sealant coming to $112 after markup, and $36.41 in sales tax on parts and materials. It stays under the $2,000 threshold, so there is no deposit. It goes up if the roof decking around the opening is soft and needs a backing repair, or if the previous install used silicone and we have to scrape the flange area clean first.
Why is there a brown stain on my ceiling trim ring but no drip?
Because the water is not falling straight down, it is running along the vent collar and wicking into the edge of the ceiling panel. The trim ring is the first porous thing it touches, so it stains first. There may never be a visible drip, and that is exactly what makes this failure dangerous. By the time water drips onto the floor, the ceiling panel around the opening has been wet for months. When we pull a stained ring we meter the panel edge before anything goes back together, because resealing over a wet panel only hides it.
Can you use silicone to seal my roof vent?
No, and if a previous shop did, we have to remove it before we can do the job correctly. Silicone does not bond well to EPDM or TPO membrane, it fails at the edges within a season or two, and worst of all nothing sticks to cured silicone, including fresh silicone. Once it is on a roof, every future repair in that spot starts with scraping and solvent work. The correct materials are butyl tape under the mounting flange as the primary seal and self leveling lap sealant on top as UV protection. That combination is what the manufacturers specify.
How long do vent domes last in Southern California sun?
Smoke tinted and white domes commonly reach 8 to 12 years. Clear domes are often crazed and brittle by year five, because the pigment in a tinted dome absorbs some of the UV that otherwise breaks down the polymer. Covered storage roughly doubles those numbers. The failure is progressive, chalky surface first, then hairline crazing, then loss of impact strength, so a dome can look intact and still shatter the moment a branch hits it. If your coach parks outside year round, treat clear domes as a scheduled replacement item rather than waiting for a crack.
My skylight over the shower is cracked. Is that urgent?
More urgent than any other opening on the roof. Water coming through a shower skylight runs down inside the surround, behind the shower wall, and into the floor at the pan edge, and the floor at a shower pan is already the most common soft spot in any coach. You will not see it on the ceiling because the surround hides the path completely. By the time the floor feels spongy underfoot you are looking at removing the pan and rebuilding decking, which is a week of work instead of an hour. Get the dome replaced now.
Do all vent lids fit all RVs?
Most do, because the standard roof opening is 14 by 14 inches and the majority of manufacturers build to it. Lids, covers, and fan assemblies interchange widely across brands as a result. Where it breaks down is on older units with proprietary bases, on units where a previous repair enlarged or patched the opening, and on skylights, which are not standardized at all. Skylights are ordered by flange length and width, opening size, and dome rise, and on older coaches we want a photo of the mounting flange, because some are molded into the surround.
What makes a vent job cost $2,000 instead of $300?
Water that already got inside. A dome only swap is about $287 out the door: 0.75 hours of labor at $210, a $42 dome, sealant, and tax. Wait six months with that same crack and the picture changes. A shower skylight replacement plus a stained section of ceiling panel runs about 9 hours of labor at $210 for $1,890, roughly $796 in marked up parts, and $61.73 in tax, landing near $2,748 with a 50 percent deposit to start. Same leak, same roof, ten times the bill, because the ceiling became part of the job.
Standard on every job
What is included
These are not upgrades. They are how the work is run on every vehicle that comes through the building.
Full teardown where it is needed
We do not estimate through a closed panel. If the damage path runs behind trim or skin, we open it and document what is actually there.
Written, itemized scope
Parts, labor hours, and materials listed separately against the posted rate, so every line is something you can question.
Direct carrier communication
We talk to the adjuster so you are not relaying technical detail between two parties who both expect you to already understand it.
Supplement handling
When teardown finds more than the original inspection, we document and submit the supplement rather than absorbing it into a vague overage.
Correct repair sequence
Structural before cosmetic, every time. A straight body over a bent frame is a repair that fails its second life.
Systems tested under load
Electrical, plumbing, generator, and climate systems are run and verified before delivery, not just reconnected and assumed good.
Photo documentation throughout
Before, during, and after. Useful for your records, and decisive if a claim is ever revisited.
Delivery walkthrough
We go over what was done, what was replaced, and what to watch, in person, with the vehicle in front of you.
How the work runs
Our six step repair process
The same sequence on every vehicle, whether it is a single coach or a fleet of box trucks.
- 01
Assessment and documentation
We put the vehicle on the floor, pull panels where we need to see behind them, and photograph everything. Hidden damage found now is damage that does not become a supplement argument later.
- 02
Written estimate
You get a line by line estimate with parts, labor hours, materials, and the posted rate applied to each. Nothing is bundled into a single number you cannot check.
- 03
Carrier coordination
If a claim is involved we deal with the adjuster directly, submit the documentation, and handle supplements when teardown reveals more than the first inspection showed.
- 04
Authorization and scheduling
Once the scope is approved we confirm the deposit, order parts, and give you a realistic slot. Special order parts drive the timeline more often than labor does.
- 05
Repair
Structural first, then body, then paint, then systems and interior. The sequence is not negotiable because each stage has to be right before the next one covers it up.
- 06
Quality check and delivery
Multi point inspection, systems tested under load, paint inspected under corrected lighting, and a walkthrough with you before the vehicle leaves.
Keep reading
Related pages
Related services
Vehicles we repair
Talk to a repair specialist today
Tell us what happened and we will tell you what the repair actually involves, what it costs, and how long it takes. We work directly with every major carrier and serve Westminster owners and fleets from our 35,000 square foot facility.
Posted labor rates are published on our prices page. Diagnostic and systems assessment fees are credited against an authorized repair.