Mechanical and Systems
RV Air Conditioner Repair for Westminster Owners
In short
Most rooftop RV air conditioner failures are electrical, not refrigerant related, and a failed capacitor is the single most common reason a unit will not start. Repairs run from about $750 for a capacitor and condenser fan motor up to $4,500 or more for a ducted unit replacement with a new ceiling assembly. Mechanical labor is $260 per hour and diagnostic time is $285 per hour, credited against an authorized repair.
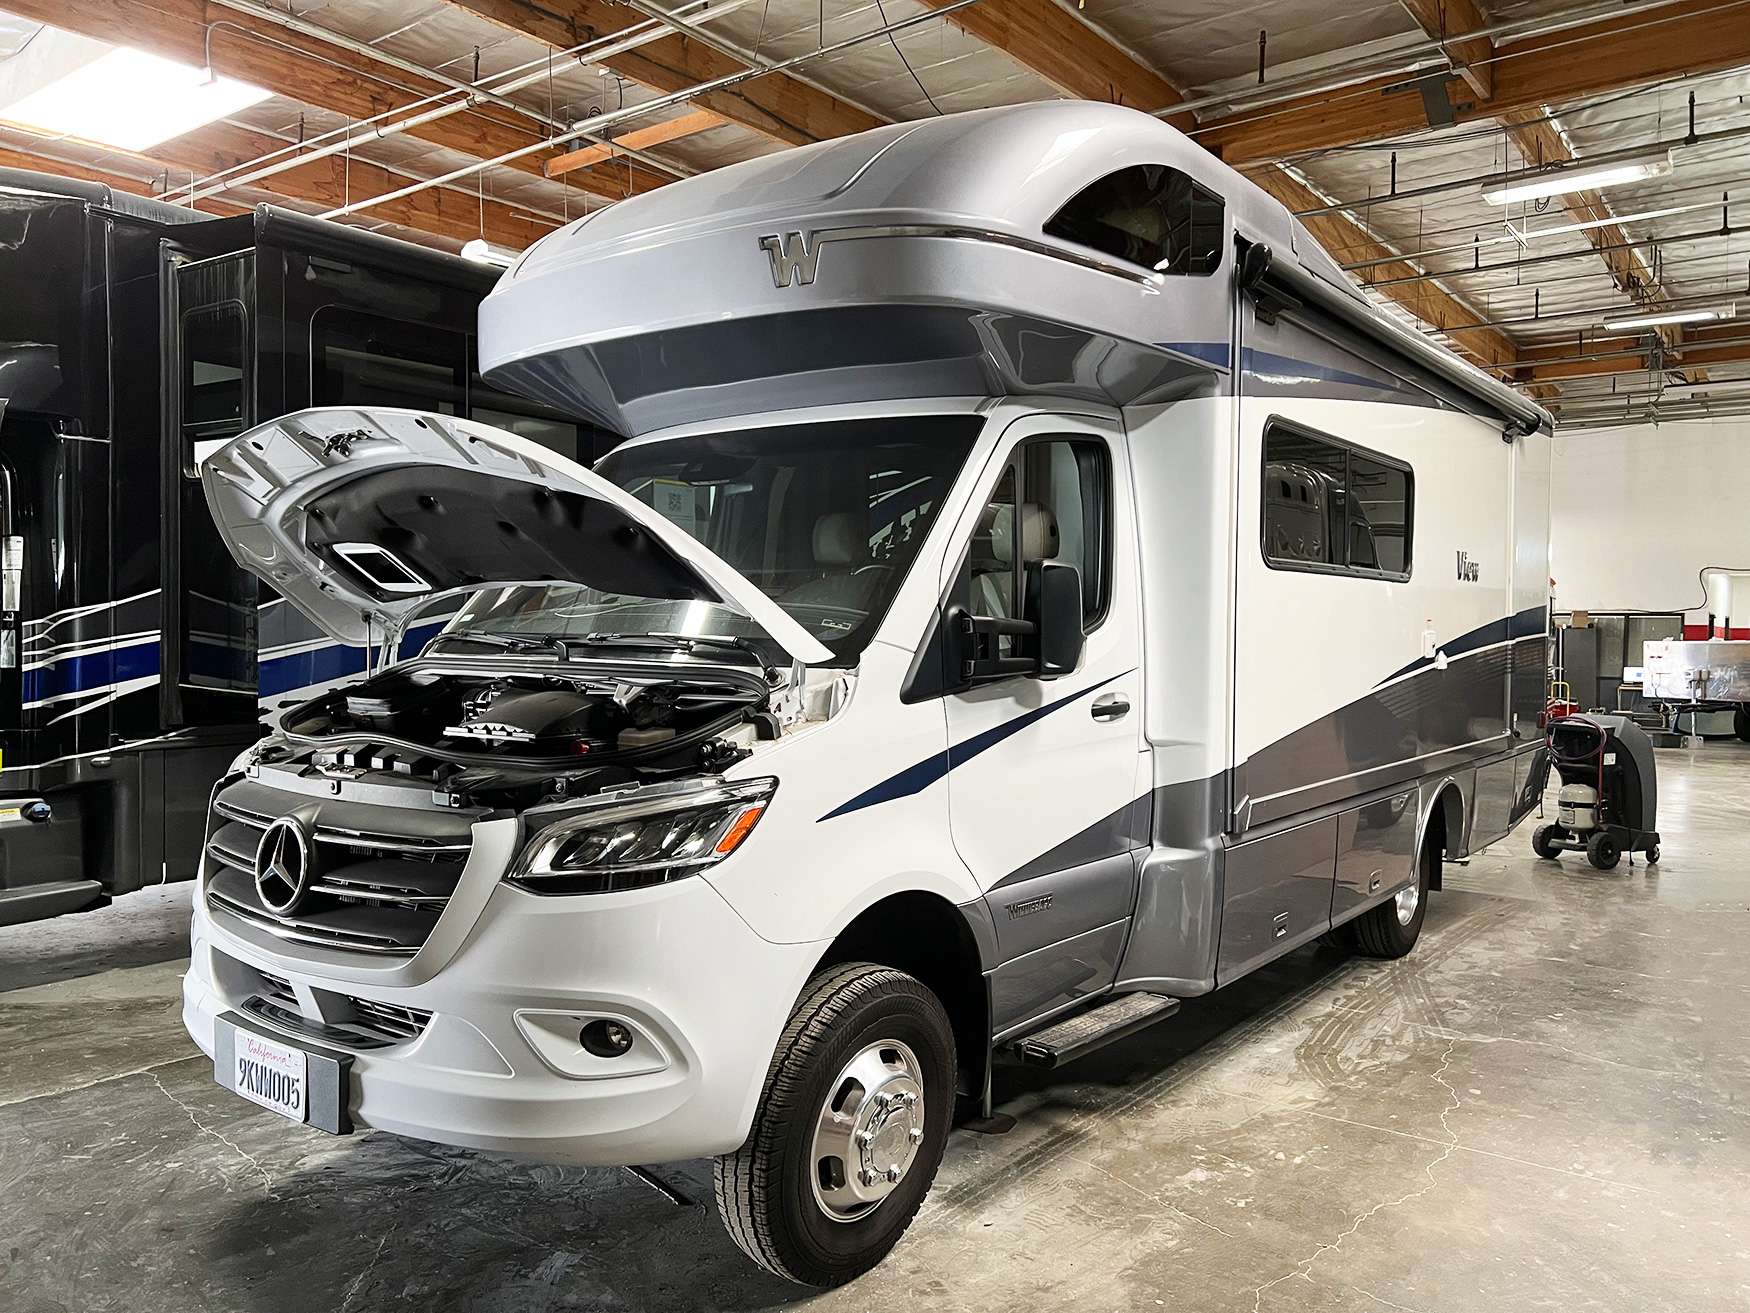
RV air conditioner repair in Orange County usually comes down to one of five things, and only one of them involves the sealed refrigerant circuit. A rooftop unit that hums but never cools is far more often a failed start capacitor, a seized fan motor, a cracked blower wheel, or an iced evaporator behind a clogged return filter. Our technicians test the electrical side first, confirm airflow, then decide whether the unit is worth repairing or should be replaced outright.
What Actually Fails Inside a Rooftop Air Conditioner
A rooftop air conditioner is a simple machine with four things that break. The run and start capacitor is first by a wide margin. It is a small can that stores the charge needed to get the compressor and the fan motor turning, and it dries out from heat cycling. When it goes weak, the fan may spin but the compressor only buzzes and trips on thermal overload, or nothing happens at all except a click from the relay. A capacitor is inexpensive and the test takes minutes with a meter that reads capacitance.
Second is the fan motor. One motor usually drives both the condenser fan on top and the squirrel cage blower that pushes air into the coach. Bearings dry out, the shaft binds, and the motor draws high amperage until the internal overload opens. You hear it as a rising whine, a rhythmic clatter, or a unit that cools for twenty minutes and then quits until it cools down. Motors are rebuildable in theory and almost never worth rebuilding in practice.
Third is the blower wheel itself. The plastic squirrel cage cracks at the hub or loses balance weights, and the whole unit shakes the ceiling. Fourth is the control board or thermostat wiring, which shows up as a unit that runs on high fan only, ignores the thermostat, or drops one function such as the fan speed control. We check all four in a fixed order so we are not chasing the wrong part.
- Weak or bulged run capacitor, the most common no start
- Seized or high amperage fan motor with dry bearings
- Cracked or unbalanced blower wheel causing vibration
- Failed control board or corroded thermostat wiring
- Compressor start relay or overload protector
- Iced evaporator caused by a clogged return filter
Why Sealed Rooftop Units Get Replaced Rather Than Recharged
Almost every rooftop RV air conditioner sold in the last twenty years is a hermetically sealed system. There are no service ports, no schrader valves, and no place to attach a gauge set. The compressor, condenser, evaporator, and metering device are brazed into one closed loop at the factory and charged with a precise weight of refrigerant. If a shop tells you they are going to top off your rooftop unit, they either mean a different kind of system or they are about to drill and tap a line that was never meant to be opened.
Opening a sealed system means brazing in a process tube, pulling a deep vacuum, weighing in a new charge, and then sealing it again. The labor alone runs past the price of a new unit, and the result is a repaired appliance with an unknown moisture load in a circuit that was designed to be untouched. That is why the honest answer on a leaking rooftop unit is replacement, and why we say so before we take a dollar of your money on a repair that will not hold.
Heat pump models add a reversing valve and a second set of controls so the unit can run backwards and produce heat down to roughly forty degrees outside. The valve and its solenoid coil are serviceable from outside the sealed loop, so a heat pump that cools but will not heat is often just a dead solenoid or a control board output. A heat pump that does neither is usually the same capacitor and motor story as any other unit.
Iced Evaporators, Filters, and the Airflow Problem Behind Them
The single most common call we get in summer is a unit that worked yesterday and today blows almost nothing. Nine times out of ten the evaporator coil is a solid block of ice. Low airflow across the coil drops its surface temperature below the point where condensation turns to frost, the frost builds into ice, the ice blocks what airflow was left, and the problem accelerates. By the time the owner notices, the drain pan is overflowing back into the ceiling assembly and dripping on the dinette.
The cause is almost always the return air filter. On a non ducted unit it is the foam or mesh pad behind the plastic grille in the ceiling. On a ducted unit it can be a filter at the return grille or a pad inside the plenum. Dust, pet hair, and Southern California road grit load that filter in a single season. Other causes include a collapsed flexible duct, a closed off register, a low blower speed from a weak capacitor, or a return path blocked by stored bedding.
The repair is not complicated but the order matters. We shut the unit down, let the coil thaw completely, clean and comb the evaporator fins, replace or wash the filter, verify blower amperage and wheel condition, then measure the temperature split across the coil under load. A healthy unit will pull the supply air roughly eighteen to twenty two degrees below the return air. If the split is short after the coil is clean, the problem is in the sealed system and we say so.
- Wash or replace the return filter at least twice a season
- Clear stored items away from the return grille
- Comb bent evaporator and condenser fins straight
- Verify the condensate drain path is open at the roof
- Measure the supply to return temperature split under load
Ducted Versus Non Ducted and the Ceiling Assembly That Ties It Together
A non ducted unit dumps conditioned air straight down through a plastic ceiling assembly with adjustable louvers, and the return air comes back through a filter in the same assembly. It is simple, it moves a lot of air into one room, and it is what most travel trailers and smaller motorhomes use. A ducted unit sends its air into a plenum that feeds flexible ducting in the roof, with registers scattered through the coach and a separate return grille, usually near the thermostat.
The two are not interchangeable without the right ceiling assembly. The assembly is not just a trim ring. It carries the plenum divider that keeps supply air from short cycling straight back into the return, holds the filter, houses the control knobs or the low voltage thermostat harness, and provides the clamping surface for the roof gasket. Put a non ducted assembly under a ducted setup and you get a unit that cools its own return air and cools nothing else in the coach.
We also see split systems in larger diesel coaches where the thermostat lives on a wall panel and speaks to a control board in the ceiling assembly over a low voltage bus. Those add a wiring layer worth checking before anyone climbs on the roof. A corroded connector at the ceiling assembly can mimic a dead compressor perfectly, and it costs a fraction of what a new unit costs to repair.
Power, Soft Start Devices, and Running Two Units at Once
A rooftop air conditioner pulls a big inrush current for a fraction of a second when the compressor starts. A 13,500 BTU unit that runs at roughly thirteen amps can spike well past fifty amps at locked rotor. On a solid 30 amp pedestal with short, heavy cord that spike passes without drama. On a long extension cord, a tired pedestal breaker, or a generator that is already loaded with a converter and a microwave, the voltage sags, the compressor cannot break away, and the overload trips.
A soft start device solves this by ramping the compressor up over about half a second instead of slamming it on. It cuts the inrush by roughly sixty to seventy percent. That is what lets a modest generator carry a unit it otherwise could not, and it is what lets two units live on one 30 amp service if you stagger them. Installation is a wiring job inside the unit shroud, not a plug in accessory, and it should be done with the shroud off and the roof gasket inspected while you are up there.
On two unit coaches we look at load balancing. Many are wired with the front unit on one leg of a 50 amp service and the rear on the other, which is fine on shore power and ugly on a generator or an adapter. If the coach has an energy management system, we verify it is actually shedding the right loads. If it does not, staggering the thermostats by a few degrees so the compressors never start together does most of the same work for nothing more than a setting change.
- Measure voltage at the pedestal under load, not at idle
- Check cord length and gauge before blaming the unit
- Install soft start devices to cut compressor inrush
- Stagger thermostat setpoints so two units never start together
- Verify the energy management system sheds loads as designed
- Confirm generator output and load balance on both legs
Roof Gaskets, Brittle Shrouds, and the Leak a Rushed Swap Creates
Every rooftop unit seals to the roof with a thick foam gasket compressed between the unit base and the roof opening. That gasket is the only thing between your ceiling and the weather. It is compressed by four bolts that run down through the ceiling assembly, and the compression is specific. Too loose and water tracks along the roof opening and into the ceiling panel. Too tight and you crush the gasket flat, distort the plastic ceiling assembly, and lose the seal anyway while cracking the trim.
This is where amateur unit swaps go wrong. Someone buys a replacement unit, hoists it up, reuses the old flattened gasket because a new one was not in the box, and torques the bolts down hard because tight feels safe. Six months later there is a soft spot in the ceiling around the assembly and a delaminated luan panel that costs several times the price of a gasket to repair. We replace the gasket every single time a unit comes off the roof, and we set the bolts to a measured compression rather than by feel.
The other roof casualty in Southern California is the shroud. That outer plastic cover takes years of direct sun and goes chalky, then brittle, then it cracks along the mounting bosses. Owners usually notice after a windy trip when a corner lifts. A cracked shroud lets rain into the condenser section and lets the fan throw water where it does not belong. Shrouds are sold separately from the unit and are a straightforward replacement while we are on the roof for anything else.
What Air Conditioner Repair Costs at Our Shop
Mechanical labor is $260 per hour. Diagnostic labor is $285 per hour and is credited against an authorized repair, so the testing time comes off the final bill once you approve the work. Parts carry 100 percent markup at or under $100 and 35 percent markup over $100. California sales tax of 7.75 percent applies to parts and materials only, since labor is not taxed. Any job above $2,000 takes a 50 percent deposit before we order parts.
Here is the bottom of the range. A 13,500 BTU non ducted unit that hums and will not start, diagnosed to a failed run capacitor and a condenser fan motor with dry bearings. Labor is 1.5 hours at $260, which is $390. The capacitor is a $42 part, doubled to $84. The motor is a $215 part at 35 percent, which is $290.25. Parts total $374.25 and tax on that is $29.00. The invoice comes to $793.25, and the $285 diagnostic you already paid credits against it, leaving $508.25 due at pickup.
Here is the top of the range. A 15,000 BTU ducted heat pump replacement on a coach whose old unit had a leaking sealed system and a cracked ceiling assembly. Labor is 3.5 hours at $260, which is $910. Parts are the unit at $1,395 marked to $1,883.25, a ducted ceiling assembly at $245 marked to $330.75, a roof gasket at $52 doubled to $104, and a soft start device at $339 marked to $457.65. Parts total $2,775.65, tax is $215.11, and the invoice is $3,900.76 with a $1,950.38 deposit up front.
What moves a job toward the top is a second unit, ducting repairs in the roof, water damage found under the old gasket, or a coach where the ceiling assembly and thermostat are part of a multiplex control system. What keeps a job at the bottom is a single accessible unit, a part we stock, and an owner who called before the coil turned into a block of ice and flooded the ceiling panel.
- Mechanical labor $260 per hour, diagnostic $285 per hour credited
- Parts markup 100 percent at or under $100, 35 percent over $100
- Sales tax 7.75 percent on parts and materials, labor not taxed
- 50 percent deposit on any authorized work above $2,000
- Roof gasket replaced on every unit removal, no exceptions
Questions
Frequently asked questions
Why does my RV air conditioner run but only blow warm air?
The fan running while the air stays warm means the blower motor has power and the compressor does not, or the compressor is trying and failing. Start with the capacitor, because a weak one lets the fan spin while the compressor only buzzes and trips its overload. Next is the compressor start relay, then the control board output. If the compressor does run and the air is still warm, we measure the temperature split across the evaporator. A short split on a clean coil with good airflow points to a sealed system that has lost refrigerant, and that is a replacement conversation rather than a repair.
Can you just recharge my rooftop air conditioner with refrigerant?
No, and neither can anyone else without cutting into it. Rooftop RV air conditioners are hermetically sealed at the factory with no service ports. To add refrigerant a technician would have to braze in a process tube, evacuate the system to a deep vacuum, weigh in an exact charge, and seal it back up. The labor for that exceeds the cost of a new unit, and the result is an old compressor in a circuit that has been exposed to moisture. When a rooftop unit loses its charge, replacement is the honest answer. We will show you the leak evidence before we recommend it.
How much does it cost to replace a rooftop RV air conditioner?
A straightforward non ducted replacement with a new roof gasket typically lands between $1,600 and $2,400 depending on the BTU rating and whether the ceiling assembly can be reused. A ducted replacement with a new ceiling assembly, a heat pump model, or a soft start device installed runs $3,000 to $4,500 or more. Our worked example of a 15,000 BTU ducted heat pump with a new assembly, gasket, and soft start comes to $3,900.76 including 3.5 hours of labor at $260 per hour, marked up parts, and 7.75 percent tax on parts. Work above $2,000 takes a 50 percent deposit.
Why does my air conditioner trip the breaker on a 30 amp pedestal?
Almost always it is the inrush current at compressor start rather than the running load. A 13,500 BTU unit runs near thirteen amps but can spike past fifty amps for a fraction of a second when the compressor breaks away. If the pedestal breaker is old, the cord is long or undersized, or the converter and water heater are already drawing, the voltage sags and the compressor stalls instead of starting. We measure voltage at the pedestal under load, inspect the cord and the transfer switch, and often recommend a soft start device, which cuts that inrush by roughly sixty to seventy percent.
Is a soft start device worth installing on my coach?
If you run a generator, camp on marginal power, or want two units on a 30 amp service, yes. A soft start ramps the compressor over about half a second instead of hitting it all at once, which drops peak current enough that a modest generator can carry a unit it otherwise stalls on. It also reduces mechanical shock on the compressor over time. If you only ever plug into solid 50 amp service and run one unit, the benefit is smaller. Installation is wiring work inside the shroud, roughly one hour of labor, and we inspect the roof gasket while the shroud is off.
Water is dripping from the ceiling around the air conditioner. What is that?
That is condensate that has nowhere to go. The evaporator coil normally pulls moisture out of the air and drains it out the roof through weep paths in the unit base. When the coil ices over from a dirty filter or restricted airflow, the ice melts faster than the drain can carry it and the pan overflows into the ceiling assembly. It can also be a plugged drain path, a distorted gasket from overtightened bolts, or an actual roof leak that happens to show up at the nearest opening. We separate condensate from rainwater before quoting anything, because the repairs are completely different.
Can I run both air conditioners at once on my generator?
It depends on generator output and how the coach is wired. Many onboard generators can carry two units running but cannot absorb both compressors starting at the same instant. The fix is usually staggering the thermostat setpoints by two or three degrees so the compressors never break away together, plus soft start devices on both units. We also check load balancing across the two legs, because a coach wired with both units on the same leg will overload one side while the other sits idle. If the coach has an energy management system, we verify it is shedding loads the way it was designed to.
How long will my RV be in the shop for air conditioner work?
A capacitor, fan motor, or blower wheel repair is usually same day to two business days once we have the coach on the lot and the part in hand. A full unit replacement is typically two to three business days if we stock the model, and five to ten business days when the unit has to be ordered, which is common for ducted heat pump models and specific color matched shrouds. Roof work also waits on weather, since we will not pull a unit off and leave an opening exposed. We give you a firm date once parts are confirmed.
Standard on every job
What is included
These are not upgrades. They are how the work is run on every vehicle that comes through the building.
Full teardown where it is needed
We do not estimate through a closed panel. If the damage path runs behind trim or skin, we open it and document what is actually there.
Written, itemized scope
Parts, labor hours, and materials listed separately against the posted rate, so every line is something you can question.
Direct carrier communication
We talk to the adjuster so you are not relaying technical detail between two parties who both expect you to already understand it.
Supplement handling
When teardown finds more than the original inspection, we document and submit the supplement rather than absorbing it into a vague overage.
Correct repair sequence
Structural before cosmetic, every time. A straight body over a bent frame is a repair that fails its second life.
Systems tested under load
Electrical, plumbing, generator, and climate systems are run and verified before delivery, not just reconnected and assumed good.
Photo documentation throughout
Before, during, and after. Useful for your records, and decisive if a claim is ever revisited.
Delivery walkthrough
We go over what was done, what was replaced, and what to watch, in person, with the vehicle in front of you.
How the work runs
Our six step repair process
The same sequence on every vehicle, whether it is a single coach or a fleet of box trucks.
- 01
Assessment and documentation
We put the vehicle on the floor, pull panels where we need to see behind them, and photograph everything. Hidden damage found now is damage that does not become a supplement argument later.
- 02
Written estimate
You get a line by line estimate with parts, labor hours, materials, and the posted rate applied to each. Nothing is bundled into a single number you cannot check.
- 03
Carrier coordination
If a claim is involved we deal with the adjuster directly, submit the documentation, and handle supplements when teardown reveals more than the first inspection showed.
- 04
Authorization and scheduling
Once the scope is approved we confirm the deposit, order parts, and give you a realistic slot. Special order parts drive the timeline more often than labor does.
- 05
Repair
Structural first, then body, then paint, then systems and interior. The sequence is not negotiable because each stage has to be right before the next one covers it up.
- 06
Quality check and delivery
Multi point inspection, systems tested under load, paint inspected under corrected lighting, and a walkthrough with you before the vehicle leaves.
Keep reading
Related pages
Related services
Vehicles we repair
Talk to a repair specialist today
Tell us what happened and we will tell you what the repair actually involves, what it costs, and how long it takes. We work directly with every major carrier and serve Westminster owners and fleets from our 35,000 square foot facility.
Posted labor rates are published on our prices page. Diagnostic and systems assessment fees are credited against an authorized repair.