Mechanical and Systems
RV Solar Panel Installation Sized to Your Real Power Use
In short
Most RV solar work at our shop lands between $1,500 and $12,000, and a typical 400 to 600 watt rooftop array with an MPPT controller takes three to five days in the bay. The number that matters is not watts, it is the amp hours you actually pull overnight. Westminster owners who audit their loads first usually buy less panel and end up with more usable power.
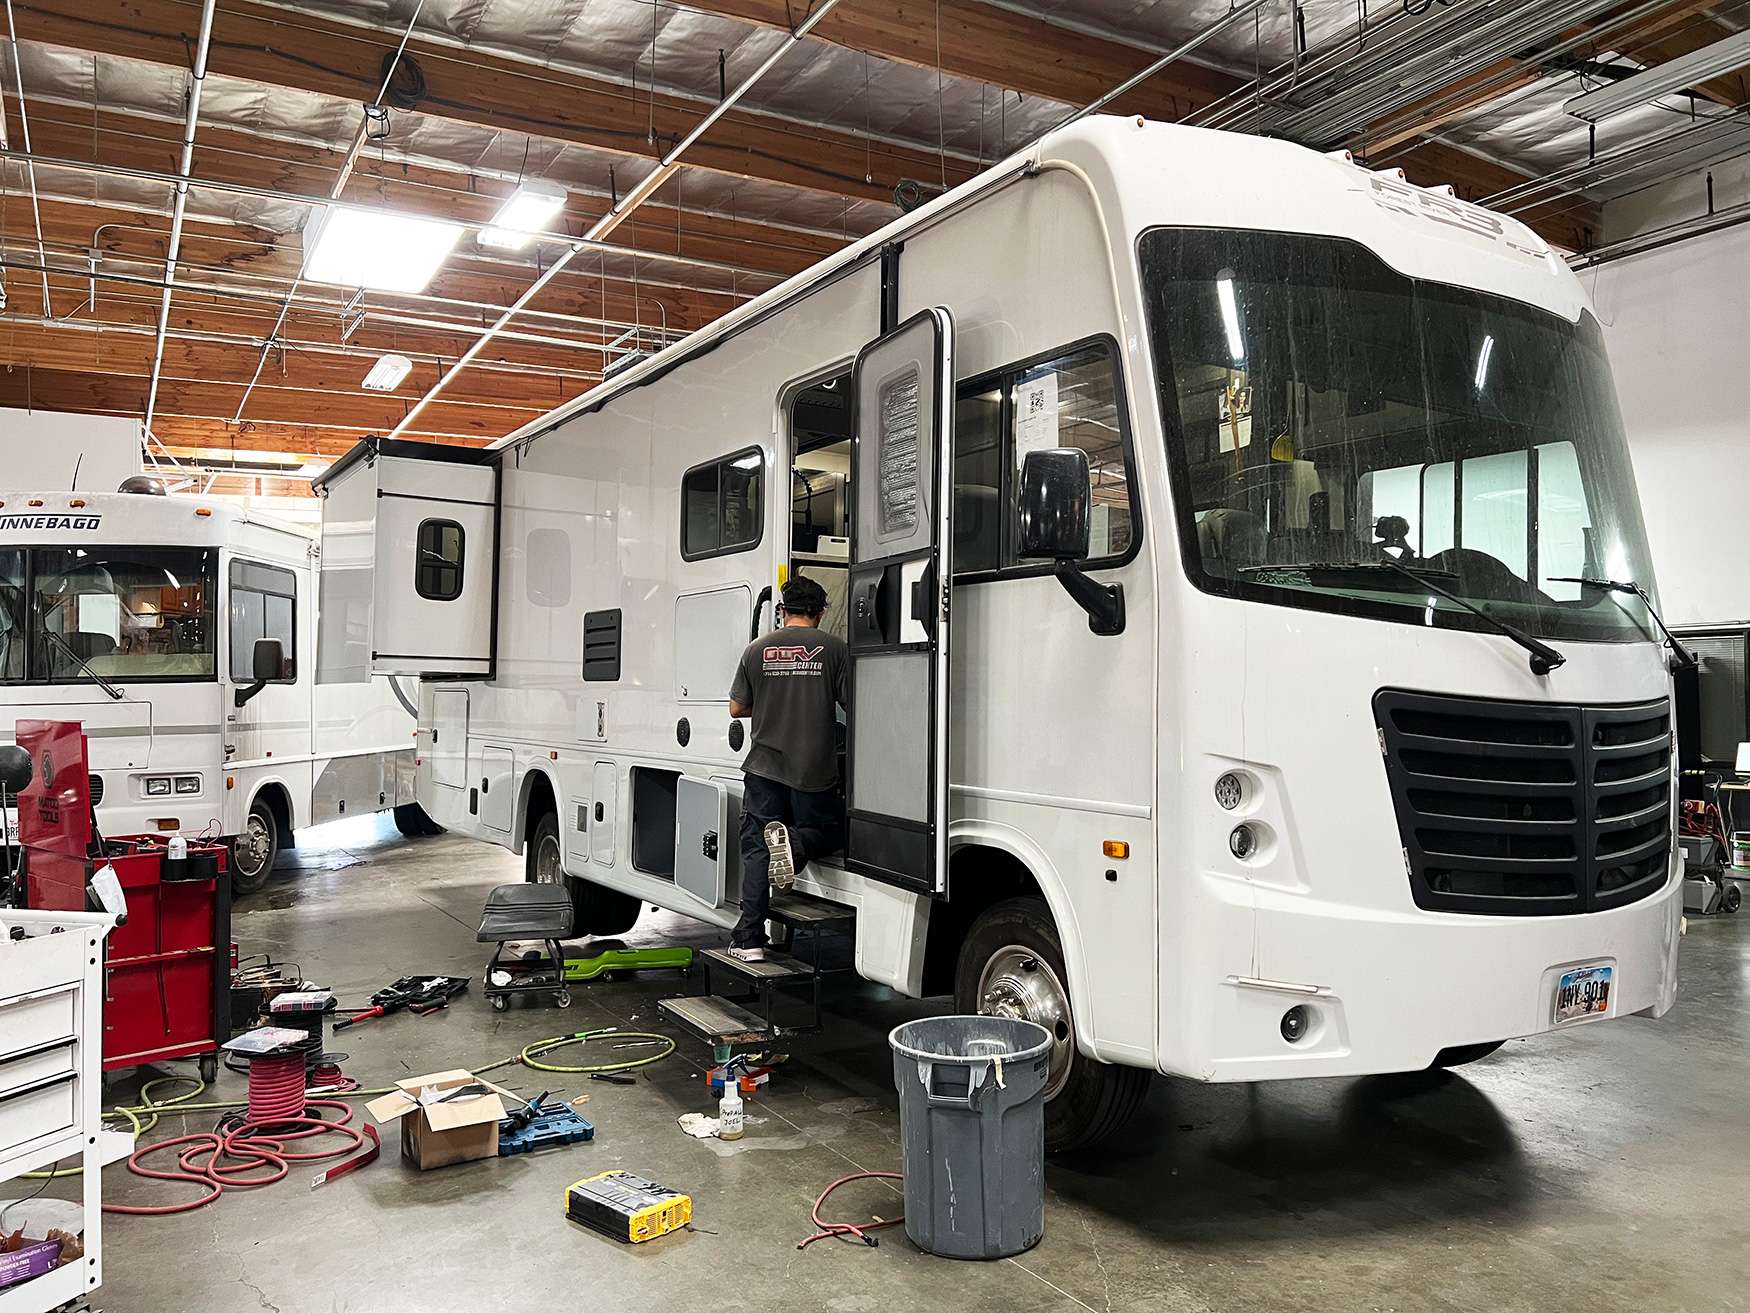
A good RV solar panel installation begins with a notebook, not a shopping cart. We meter what your coach actually draws over a full day, then size panels, controller, wiring, and battery to that number. Some owners need 200 watts to keep a battery topped off between trips. Others want 800 watts and lithium to camp off the pedestal for a week. Both are reasonable; guessing is not.
Start With a Load Audit, Not a Panel Count
The first question is never how many panels fit on the roof. It is how many amp hours you burn in twenty four hours living the way you actually live. We put a shunt based meter on the battery negative and let the coach run for a day, or we calculate it from nameplate draws if you cannot leave the rig with us. A residential style compressor refrigerator by itself can pull thirty to fifty amp hours a day in July heat. That single number reshapes every other decision in the system.
Once we have the daily figure, we size the battery bank to carry roughly two days of it without dropping below half state of charge, then size the array to replace that daily figure in the worst month you plan to camp. Sizing to June sun and then camping in December is the most common mistake we correct. It is far cheaper to add one more panel during the original build than to pull the roof apart a year later to reroute wire and upsize the controller.
Honest numbers also tell you when solar is the wrong purchase. If you camp two weekends a year on shore power, a 100 watt maintenance panel and a healthy converter will serve you better than a rooftop array. If you run a CPAP, a compressor fridge, and a laptop for a living, the math supports lithium and 600 watts or more. We would rather talk an owner out of a system than sell one that disappoints in the third week of a trip.
- Compressor refrigerator, 30 to 50 amp hours a day in summer heat
- Furnace blower on a cold night, 8 to 15 amp hours
- LED interior lighting, 4 to 8 amp hours
- Water pump under normal use, 2 to 4 amp hours
- Laptop, phones, and a television, 10 to 20 amp hours
- Inverter idle draw, 5 to 12 amp hours before you plug anything into it
Rigid Panels, Flexible Panels, and a Crowded Roof
Rigid monocrystalline panels in an aluminum frame are what we install on most coaches. A 200 watt rigid panel weighs about 26 to 30 pounds, sits on brackets with an air gap under it, and typically holds better than eighty percent of rated output past twenty years. The air gap matters more than owners expect. A panel laid flat against a hot roof runs twenty to thirty degrees warmer and loses output, because cell voltage drops as temperature climbs.
Flexible laminates have a real place, but they are a compromise. They bond directly to a curved fiberglass roof, weigh a third as much, and add almost nothing to your height. They also run hot with no way to shed that heat, and in Southern California sun most of them show meaningful degradation somewhere between year five and year eight. We install them on van roofs and low clearance builds where a framed panel simply will not work.
Then there is the roof itself. A 15,000 BTU air conditioner occupies roughly a 26 by 26 inch footprint plus clearance for airflow, and it casts a shadow across the roof at low sun angles. Add two 14 by 14 inch vents, a plumbing vent stack, a television antenna, a skylight, and the ladder landing, and a 34 foot coach often has room for four panels, not the eight the owner counted while standing in the driveway.
Controllers, Series Strings, and Shade Behavior
A PWM controller is a simple switch. It pulls panel voltage down to battery voltage and throws away the difference, so a 200 watt panel feeding a 12 volt bank behaves like a 140 watt panel on a cool morning. An MPPT controller converts that extra voltage into usable current and typically returns twenty to thirty percent more energy per day, more in cold weather. On anything above roughly 200 watts, MPPT pays for itself in the first season of real camping.
How the panels are strung changes how the array behaves under shade. Series wiring raises string voltage, which lets us use smaller and cheaper conductors over a long run and gets the controller into its working range earlier in the morning. The tradeoff is that panels in series share one current path, so a shadow from the air conditioner shroud across one panel drags the whole string down with it.
Parallel wiring is shade tolerant. Each panel does its own work, and a shaded panel only costs you that panel. The price is much higher current, larger cable, and a combiner box with a fuse on every panel leg so a shorted panel cannot backfeed the others. On most coaches we end up in the middle, with two panels in series per string and the strings paralleled at a combiner. It keeps voltage sensible and limits what one shadow can cost you.
- MPPT for arrays above 200 watts, PWM only for small maintenance panels
- Series raises voltage, allows smaller cable, and suffers under partial shade
- Parallel tolerates shade but needs heavier conductors and per panel fusing
- Size cable for under 3 percent voltage drop over the full round trip run
- Fuse every conductor at the source, including the battery positive leg
Lithium or AGM Behind the Array
Panels only matter if the bank can hold what they make. A LiFePO4 battery gives you eighty to one hundred percent of its rated capacity, holds voltage nearly flat through the discharge, accepts a very high charge current, and commonly delivers two thousand to five thousand cycles. That last part is why a 200 amp hour lithium battery can be cheaper per usable amp hour over ten years than three sets of AGM, even though the sticker on day one is three times higher.
AGM still makes sense for some owners. It costs less up front, tolerates a wide temperature range, and does not need a battery management system talking to your charging sources. The catch is that you only get about half of the rated capacity before you start shortening its life, and it charges slowly as it approaches full, so a big afternoon of sun goes partly unused. A 200 amp hour AGM pair realistically gives you 100 usable amp hours.
Switching to lithium is never just a battery swap. The converter or charger needs a lithium profile or it will hold the pack at an absorption voltage it does not want. Charging from the chassis alternator needs a DC to DC charger so the alternator is not asked to hold full field output for hours. And lithium will not accept charge below about 32 degrees without an internal heater, which matters if you take the coach up into the mountains in winter.
Mounting and Sealing Without Making a Leak
The fastest way to turn a solar project into a water damage claim is to drive screws through a membrane roof and trust sealant to hold. Our standard method on EPDM and TPO is to bond the mounting feet with structural adhesive and butyl tape first, let the adhesive carry the load, and use mechanical fasteners only where we have confirmed a rafter or a solid backer underneath. Every fastener head then gets covered with self leveling lap sealant.
Cable entry is the other common failure point. We land the array wiring in a proper roof entry gland, mounted so the cable enters from below the gland lip with a drip loop, not straight down into an open hole. Inside the coach, the run goes through a fused disconnect within a short distance of the roof penetration so the array can be shut down for service without anyone climbing up there in the dark.
On fiberglass one piece roofs we can often go fully adhesive with no penetration at all, which is what most owners want to hear. It is a legitimate method when the surface is prepared correctly and the panel count is modest. It is not a shortcut. Surface prep, adhesive cure time, and bracket geometry all have to be right, and that is why a clean install takes days rather than an afternoon.
- Adhesive and butyl bonded feet on membrane roofs, fasteners only into solid backing
- Self leveling lap sealant over every fastener head and bracket edge
- Roof entry gland with a drip loop, never a bare cable through a drilled hole
- Fused disconnect close to the roof penetration for safe service
- Air gap under rigid panels so cells run cooler and hold voltage
What This Costs and What Solar Will Not Do
A modest system near the bottom of the range looks like this. One 200 watt rigid panel, a PWM controller, a roof gland, cable, fusing, and sealant, with four hours of mechanical labor at $260 per hour. Labor is $1,040. Parts under our markup rule, 100 percent on anything at or under $100 and 35 percent above it, come to $726.50. Sales tax of 7.75 percent applies to parts and materials only, adding $56.30. Labor is not taxed in California. The ticket is $1,822.80.
A 400 watt array with an MPPT controller is the common build. Two 200 watt panels at $260 each become $351 each after markup. The controller is $297, the combiner box $170, the roof gland $90, fusing $120, forty feet of 8 gauge cable $190, mounting brackets $162, and sealant $70. Parts total $1,801, tax adds $139.58, and eight hours of installation labor is $2,080. That comes to $4,020.58. Because the job is above $2,000, a 50 percent deposit of $2,010.29 is collected before we order parts.
If you already have solar and it stopped charging, we start with diagnostic labor at $285 per hour, credited against an authorized repair. One hour usually settles it: an inline fuse that opened, a controller that lost its ground, a corroded connection inside the roof gland, or a panel with a cracked bypass diode. We would rather bill one honest hour of testing than sell a second array to cover a nine dollar fuse.
Now the part nobody enjoys. Solar will not run two roof air conditioners. A single 13,500 BTU unit pulls roughly 1,300 to 1,600 running watts, which is 110 to 135 amps at 12 volts, plus a startup surge. Two of them through a hot afternoon is ten to fourteen kilowatt hours. Covering that with panels alone would take well over 3,000 watts of roof you do not have and a battery bank most chassis cannot carry. For air conditioning off the pedestal, a generator is still the answer.
- Bottom of the range: one panel, PWM controller, existing battery, about half a day of labor
- Middle: 400 to 600 watts, MPPT controller, new cable and fusing, one to two days
- Top: 800 watts and up, lithium bank, converter reprogramming, DC to DC charging, inverter tie in
- Deposit of 50 percent applies to any authorized job above $2,000
- Sales tax of 7.75 percent is charged on parts and materials only
Questions
Frequently asked questions
How many solar panels do I need to run my air conditioner?
More than will fit on your roof, if you mean running it the way you run it on shore power. A 13,500 BTU air conditioner draws about 1,300 to 1,600 watts while running, which is 110 to 135 amps out of a 12 volt bank, plus a hard starting surge. Running one for six hours is roughly eight to ten kilowatt hours, and a 600 watt array in Southern California makes about two and a half on a good summer day. A soft start module plus 800 watts of panel and a large lithium bank can give you an hour or two of relief in the afternoon. Full days of cooling come from a generator or a pedestal.
Is flexible or rigid better on an RV roof?
Rigid for almost everyone. A framed panel sits on brackets with air moving underneath, runs cooler, holds output better, and commonly lasts twenty years or more. Flexible laminates bond flat to the roof with nowhere to shed heat, and in this climate we typically see meaningful output loss between the fifth and eighth year. Where flexible earns its keep is on curved van roofs, on coaches with a tight height limit, or where the roof structure genuinely cannot carry the weight of framed panels. If your roof is flat and strong enough, spend the money on rigid panels and better wiring instead.
Do I have to switch to lithium batteries when I add solar?
No, but the array works harder for you if you do. AGM gives you about half its rated capacity before you start shortening its life, and it tapers its charge acceptance badly near the top, so the last two hours of good afternoon sun often go unused. Lithium takes eighty to one hundred percent of rated capacity, accepts a high charge rate right up to nearly full, and lasts two thousand cycles or more. If you keep AGM, we size the array to what the bank can actually absorb. If you move to lithium, budget for a converter with a lithium profile and a DC to DC charger for alternator charging, because those are part of the job, not extras.
What does a 400 watt system actually cost installed?
A representative build runs about $4,020 out the door. That is two 200 watt panels at $351 each after markup, an MPPT controller at $297, a combiner box at $170, a roof gland at $90, fusing at $120, forty feet of 8 gauge cable at $190, brackets at $162, and sealant at $70, which totals $1,801 in parts. Sales tax of 7.75 percent on those parts adds $139.58. Eight hours of mechanical labor at $260 per hour is $2,080, and labor is not taxed in California. Because the total is above $2,000, we collect a 50 percent deposit of $2,010.29 before ordering. Adding lithium, an inverter, or a longer cable run moves that number up.
Will solar still charge my batteries in December?
Yes, at roughly two thirds of what you see in June. Southern California gives us something close to five and a half peak sun hours in midsummer and around three and a half in late December, and the sun sits low enough that flat mounted panels lose more to angle than they do in summer. A 400 watt flat array that makes about 1,900 to 2,200 watt hours on a June day usually makes 1,100 to 1,500 in December. The good news is that cold panels produce higher voltage, so an MPPT controller recovers part of that loss. Plan your winter capacity around the December number, not the June one.
Can you install panels without drilling holes in my roof?
On many roofs, yes. On a one piece fiberglass roof in sound condition, we bond the mounting feet with structural adhesive and butyl and use no fasteners at all. On EPDM or TPO membrane, we bond first and then add mechanical fasteners only where we have confirmed solid structure underneath, because the membrane itself holds nothing. Every fastener head is covered with self leveling lap sealant. The cable still has to enter the coach somewhere, and that is done through a proper roof gland with a drip loop, sealed and serviceable. Adhesive only mounting takes longer because the adhesive needs cure time before the panels can be loaded.
Does the controller type really make a difference?
It makes a large one above about 200 watts. A PWM controller pulls the panel down to battery voltage and discards the difference, so on a cool morning a 200 watt panel behaves like roughly 140 watts. An MPPT controller converts that surplus voltage into charge current and typically returns twenty to thirty percent more energy over a day, with the biggest gains in cold weather and on partly cloudy days. MPPT also lets us wire panels in series and run smaller, cheaper cable over a long roof to battery distance. For a single small maintenance panel keeping a battery topped off, PWM is fine and we will say so.
My existing solar stopped charging. What do you charge to find the problem?
Diagnostic labor is $285 per hour and it is credited against an authorized repair, so if you approve the fix the diagnostic time comes off the repair bill. Most of these resolve inside one hour. The usual suspects are an inline fuse that opened, a controller that lost its ground reference, water intrusion and corrosion at the roof gland connector, a cracked bypass diode in a junction box, or a battery disconnect switch that is doing exactly what it was left set to do. We test panel open circuit voltage on the roof, then current at the controller, then voltage at the bank, in that order, so we are chasing evidence rather than guessing.
Standard on every job
What is included
These are not upgrades. They are how the work is run on every vehicle that comes through the building.
Full teardown where it is needed
We do not estimate through a closed panel. If the damage path runs behind trim or skin, we open it and document what is actually there.
Written, itemized scope
Parts, labor hours, and materials listed separately against the posted rate, so every line is something you can question.
Direct carrier communication
We talk to the adjuster so you are not relaying technical detail between two parties who both expect you to already understand it.
Supplement handling
When teardown finds more than the original inspection, we document and submit the supplement rather than absorbing it into a vague overage.
Correct repair sequence
Structural before cosmetic, every time. A straight body over a bent frame is a repair that fails its second life.
Systems tested under load
Electrical, plumbing, generator, and climate systems are run and verified before delivery, not just reconnected and assumed good.
Photo documentation throughout
Before, during, and after. Useful for your records, and decisive if a claim is ever revisited.
Delivery walkthrough
We go over what was done, what was replaced, and what to watch, in person, with the vehicle in front of you.
How the work runs
Our six step repair process
The same sequence on every vehicle, whether it is a single coach or a fleet of box trucks.
- 01
Assessment and documentation
We put the vehicle on the floor, pull panels where we need to see behind them, and photograph everything. Hidden damage found now is damage that does not become a supplement argument later.
- 02
Written estimate
You get a line by line estimate with parts, labor hours, materials, and the posted rate applied to each. Nothing is bundled into a single number you cannot check.
- 03
Carrier coordination
If a claim is involved we deal with the adjuster directly, submit the documentation, and handle supplements when teardown reveals more than the first inspection showed.
- 04
Authorization and scheduling
Once the scope is approved we confirm the deposit, order parts, and give you a realistic slot. Special order parts drive the timeline more often than labor does.
- 05
Repair
Structural first, then body, then paint, then systems and interior. The sequence is not negotiable because each stage has to be right before the next one covers it up.
- 06
Quality check and delivery
Multi point inspection, systems tested under load, paint inspected under corrected lighting, and a walkthrough with you before the vehicle leaves.
Keep reading
Related pages
Related services
Vehicles we repair
Talk to a repair specialist today
Tell us what happened and we will tell you what the repair actually involves, what it costs, and how long it takes. We work directly with every major carrier and serve Westminster owners and fleets from our 35,000 square foot facility.
Posted labor rates are published on our prices page. Diagnostic and systems assessment fees are credited against an authorized repair.