Mobile Business Vehicles
Mobile Pet Grooming Van Repair and Floor Rebuilds
In short
Mobile pet grooming van repair runs from about $1,500 for plumbing and panel work to past $30,000 for a full floor and structural rebuild. The signature failure is corrosion under the tub, because the original build sealed a wet room into a van floor that was never designed to be wet.
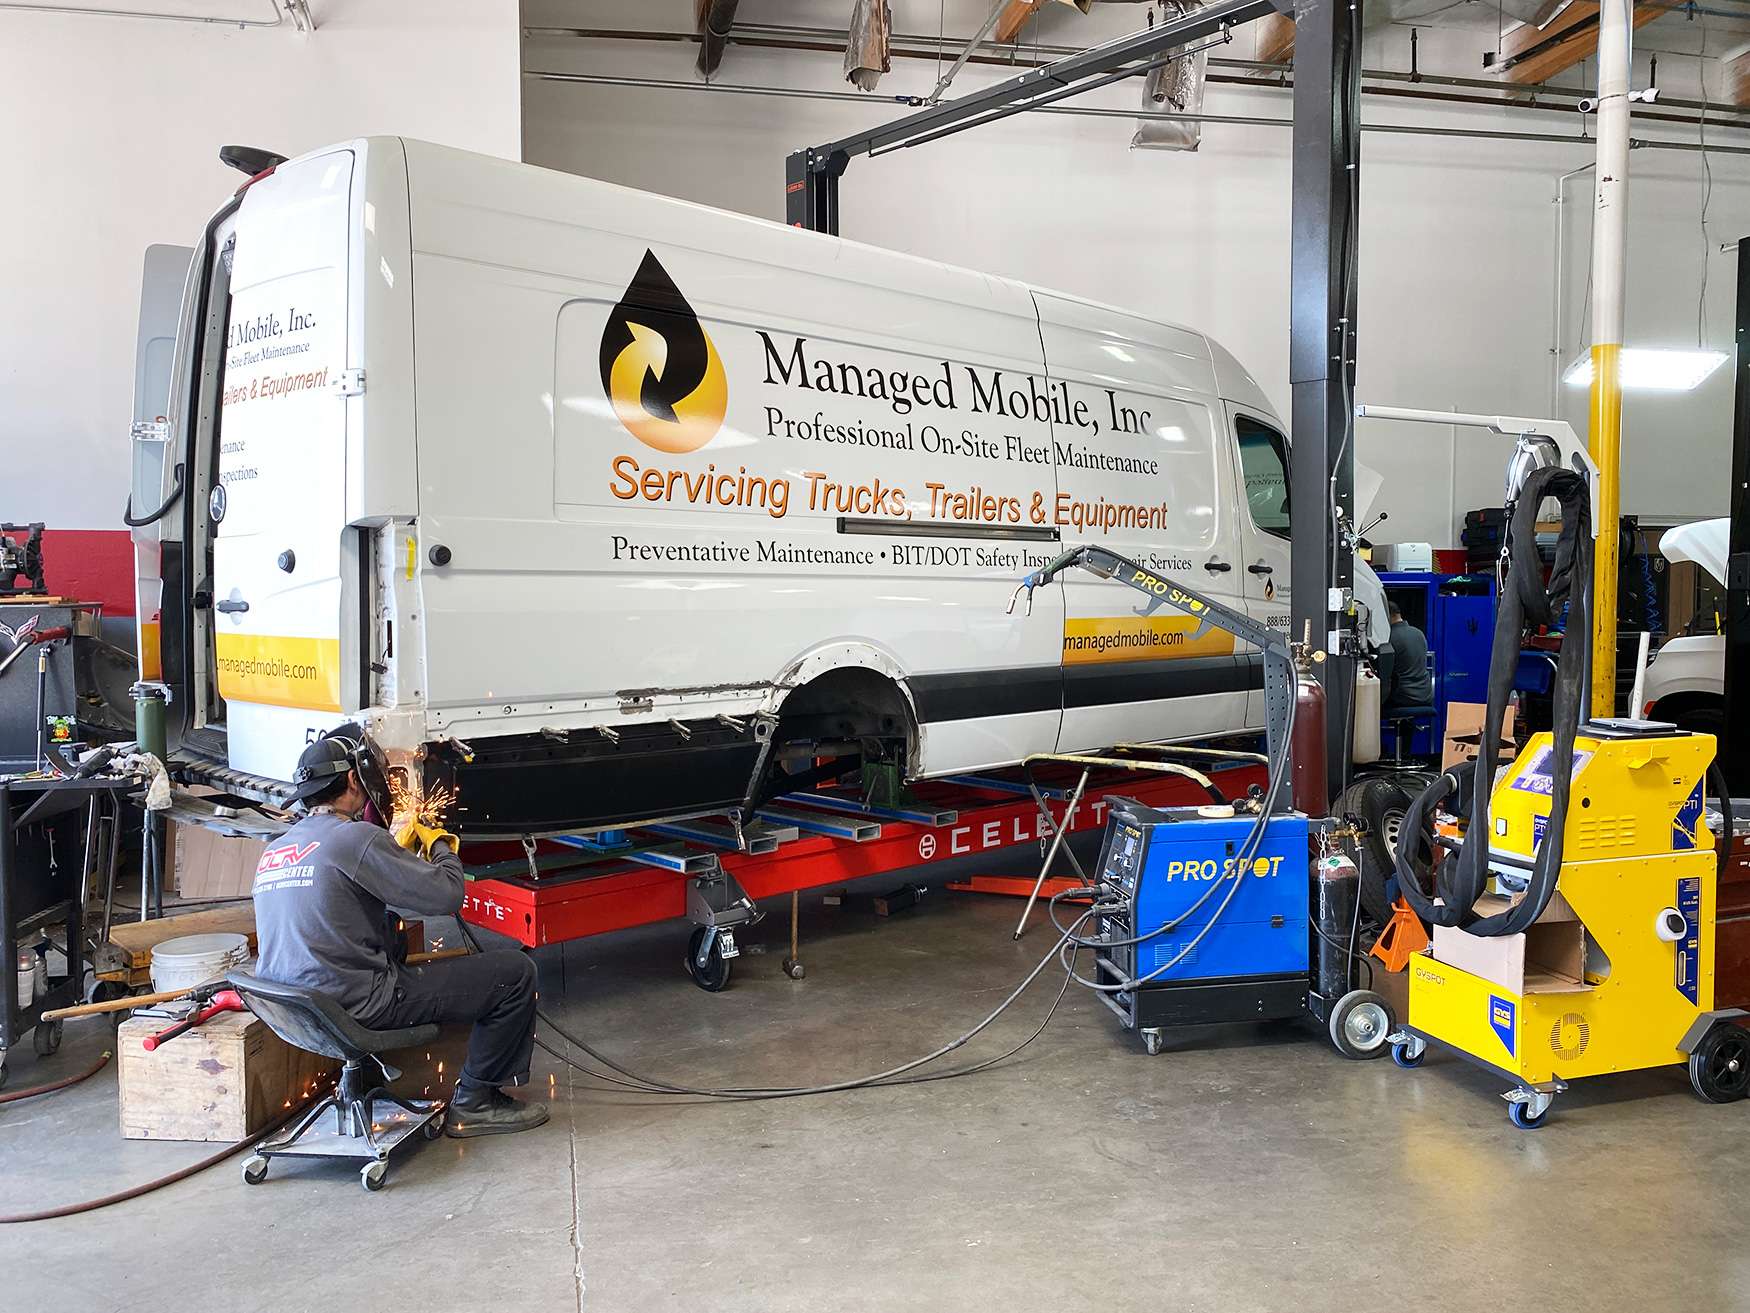
Mobile pet grooming van repair almost always comes down to the same discovery, and Westminster groomers are usually surprised by it. The floor under your tub is rotting, and it has been for years. A conversion put a wet room into a steel van floor with a drain, a hose and a dog shaking water everywhere, and the build sealed all of that against metal. This page covers that repair and everything around it.
The Floor Under the Tub Is the Whole Job
Nearly every grooming van we open has the same condition. The tub was set into a plywood floor laid over the steel van pan, the drain passes through both, and water has been finding its way under the tub since the build. Plywood softens, the steel underneath corrodes, and the whole assembly stays hidden under a non slip covering that looks fine.
The symptoms are subtle until they are not. A spot near the tub that flexes underfoot. A smell that comes back after the van has been closed up. A drain that has started to drain slowly because the fitting has shifted as the floor moved around it.
The repair is real work: tub out, floor covering out, plywood removed back to sound material, corroded steel cut out and replaced, the pan treated and coated, new substrate installed, and the tub reset with a drain detail that actually seals. Expect $6,000 to $18,000 depending on how much steel is involved.
- Press the floor around the tub perimeter for flex
- Look at the drain fitting for movement or slow draining
- Check the floor to wall junction for staining or lifting covering
- Smell the van after it has been closed up overnight
- Meter the floor rather than trusting the covering
Tub Mounting and the Structure Beneath It
A tub full of water and a large dog is a substantial moving load, and the mounting under it matters. On many builds the tub simply sits on the floor with a bead of sealant at the perimeter, which works until the floor beneath it moves.
When we rebuild a floor, we take the opportunity to mount the tub properly: onto structure, with the load spread, and with a perimeter and drain detail designed to shed water outward rather than trapping it at the joint. That is the difference between a floor that lasts three years and one that lasts fifteen.
The drain penetration is the specific detail worth paying for. A drain that passes through the floor with a proper flanged detail and a sealed transition keeps water out of the substrate. A drain that was cut with a hole saw and sealed with a bead is the reason we are opening your floor.
Tanks, Pumps and Plumbing That Runs All Day
A grooming van runs its water system harder than almost any RV. Pumps cycle constantly, hot water systems run all day, and fittings see pressure cycles that a recreational system would never see. Failures are frequent and they are usually at fittings and connections rather than at the equipment.
Tank mounting is the other item. Fresh and waste tanks carry substantial weight that moves, and mounting that has loosened will eventually take structure with it. On a van where the tanks often sit under the floor or in a rear compartment, a mounting failure is expensive.
Waste handling deserves attention too. A waste tank vent that has been blocked or routed badly makes the van unpleasant to work in and puts moisture where you do not want it. That is a straightforward fix that a surprising number of builds got wrong.
- Inspect every fitting and connection at service intervals
- Check tank mounting and strap condition under load
- Verify waste tank venting is open and routed sensibly
- Look at pump mounting isolators for collapse
- Address hot water system scaling before it kills the unit
Generator, Ventilation and Electrical Corrosion
The generator runs most of the working day, and the two things that shorten its life are heat and a compartment whose ventilation has been compromised by a later modification. We check ventilation paths, exhaust routing and mounting isolators whenever we are in a van for other reasons.
Electrical corrosion is the quieter problem. A van full of humid air with a dryer running produces moisture that finds its way into connectors, and grooming vans show corrosion at terminals and grounds far earlier than a dry van of the same age.
The fix is not glamorous: clean or replace affected terminals, protect connections properly, and move any connector that sits in a location where it collects moisture. Doing that during a floor rebuild, when things are already apart, costs a fraction of doing it later as its own job.
Non Slip Flooring, Coving and Ventilation
The floor covering in a grooming van has two jobs: keep a wet dog from slipping and keep water out of the substrate. Most builds do the first and not the second, because the covering is laid flat and terminated at the wall with a bead of sealant that fails within a couple of years.
The detail that works is coving: running the covering up the wall as a continuous surface so there is no joint at the floor to wall junction for water to find. It costs a little more during a rebuild and it is the single biggest factor in whether the new floor lasts.
Ventilation is the companion item. Moving air out of the van reduces the condensation that drives both corrosion and the smell, and most builds under ventilate. We will look at what you have and tell you honestly whether it is adequate.
Curbside Damage and Body Repair on a Working Van
Grooming vans park at the curb all day, every day, and they collect the damage that goes with it: mirror strikes, door dings, scraped rockers, and the occasional backing incident in a tight driveway. Most of it is cosmetic and easy to defer, and deferring it is usually the right call for an operator.
What is not worth deferring is anything that breaks the paint down to metal on a van that lives in a humid interior environment. Corrosion on these vans starts from the inside as often as the outside, and a chip on the outside meeting moisture from the inside makes a hole faster than you would expect.
A worked example: floor and tub rebuild with a two foot section of steel pan replaced, new substrate, coved non slip covering and the tub reset with a proper drain detail, typically 40 to 60 hours at $210 for $8,400 to $12,600, plus $1,800 to $4,500 in steel, substrate, covering, sealants, drain hardware and finish materials.
Questions
Frequently asked questions
Is floor rot really that common in grooming vans?
It is close to universal on vans more than a few years old, and it is a build problem rather than an operator problem. The original conversion put a wet room into a steel van floor: a tub set on plywood over the van pan, a drain cut through both, and a dog shaking water everywhere for hours a day. Water finds its way under the tub, plywood softens, and the steel underneath corrodes while a non slip covering hides all of it. If your van has a spot near the tub that flexes, a smell that returns after it has been closed up, or a slow drain, have the floor metered.
How much does mobile pet grooming van repair cost?
The range is about $1,500 to past $30,000. Plumbing, pump and fitting repairs are at the low end. A floor and tub rebuild with a section of steel pan replaced, new substrate, coved covering and the tub reset properly is typically $10,000 to $17,000. If the corrosion extends across most of the floor, that reaches $18,000 to $28,000. Generator and electrical work runs $1,500 to $6,000. Body labor is $210 per hour, mechanical is $260, and authorized repairs above $2,000 carry a 50 percent deposit.
Can you just replace the plywood and leave the steel alone?
Only if the steel is genuinely sound, and we will show you the meter readings and the photographs so you can see for yourself rather than taking our word for it. If the pan has surface corrosion but no section loss, we treat and coat it and lay new substrate. If there is perforation or significant section loss, laying new plywood over it means doing the whole job again in three years with worse steel underneath. Cutting out and replacing the affected pan section adds cost now and it is the difference between a floor that lasts three years and one that lasts fifteen.
How do you keep the new floor from rotting the same way?
Three details, and all three are things most original builds skipped. First, the drain gets a proper flanged detail with a sealed transition through the floor rather than a hole saw cut sealed with a bead. Second, the tub mounts onto structure with the load spread and a perimeter detail that sheds water outward instead of trapping it at the joint. Third, the non slip covering is coved up the wall as a continuous surface so there is no floor to wall joint for water to find. Those three add modestly to the rebuild cost and they are what makes it last.
My connectors keep corroding. Is that normal?
It is common in grooming vans and it happens far earlier than in a dry van of the same age. A van full of humid air with a dryer running all day puts moisture into every connector that is not properly protected, and grounds are usually the first to go. The fix is straightforward: clean or replace affected terminals, protect the connections properly, and relocate any connector sitting somewhere that collects moisture. Doing that during a floor rebuild, when things are already apart, costs a fraction of doing it later as its own visit. We will list it as an optional line.
How long will my van be out of service?
Plumbing and pump work is two to five business days. Generator and electrical work is three to six business days. A floor and tub rebuild with a section of steel replaced is two to four weeks, and if the corrosion extends across most of the floor it becomes four to six. Body work bundled into the same visit adds little because the van is already here. Tell us your booking calendar at scoping and we will build the schedule around it, order long lead parts before you drop the van, and work continuously once it is in rather than in gaps.
Should I fix the curbside dents and scrapes at the same time?
Cosmetic dents can wait, and for most operators deferring them is the right call. What should not wait is anything that has broken the paint through to bare metal, because corrosion on these vans starts from the inside as often as the outside. A chip on the exterior meeting humid interior air through a wall makes a hole faster than you would expect. If the van is already in for a floor rebuild, addressing those spots costs very little because the labor overlap is already paid for, and we will point out which ones matter and which can genuinely wait.
Can you inspect everything at once and give me a priority list?
Yes, and on a working van it is the most useful thing we do. Our $150 systems assessment, credited against the repair, covers the floor and tub area with meter readings, tank and pump condition, plumbing and fittings, waste venting, the generator compartment and its ventilation, electrical connections, interior surfaces and ventilation, and the body and structure. You get one document listing what needs attention now, what can wait a season and what is fine. Then we bundle the work into a single visit, because on a van that earns daily, every separate shop trip costs you more than the repair discount would save.
How the work runs
Our six step repair process
The same sequence on every vehicle, whether it is a single coach or a fleet of box trucks.
- 01
Assessment and documentation
We put the vehicle on the floor, pull panels where we need to see behind them, and photograph everything. Hidden damage found now is damage that does not become a supplement argument later.
- 02
Written estimate
You get a line by line estimate with parts, labor hours, materials, and the posted rate applied to each. Nothing is bundled into a single number you cannot check.
- 03
Carrier coordination
If a claim is involved we deal with the adjuster directly, submit the documentation, and handle supplements when teardown reveals more than the first inspection showed.
- 04
Authorization and scheduling
Once the scope is approved we confirm the deposit, order parts, and give you a realistic slot. Special order parts drive the timeline more often than labor does.
- 05
Repair
Structural first, then body, then paint, then systems and interior. The sequence is not negotiable because each stage has to be right before the next one covers it up.
- 06
Quality check and delivery
Multi point inspection, systems tested under load, paint inspected under corrected lighting, and a walkthrough with you before the vehicle leaves.
Keep reading
Related pages
Related vehicles
Services we perform
Talk to a repair specialist today
Tell us what happened and we will tell you what the repair actually involves, what it costs, and how long it takes. We work directly with every major carrier and serve Westminster owners and fleets from our 35,000 square foot facility.
Posted labor rates are published on our prices page. Diagnostic and systems assessment fees are credited against an authorized repair.