Collision and Structural
Minor RV Collision Damage Repair in Westminster
In short
Minor collision work on an RV usually runs $1,500 to $6,000 and takes one to three weeks. Minor means skin damage only, with no frame deflection and no new water path opened into the wall. Our Westminster shop bills body and paint labor at $210 per hour plus $55 per paint hour in supplies.
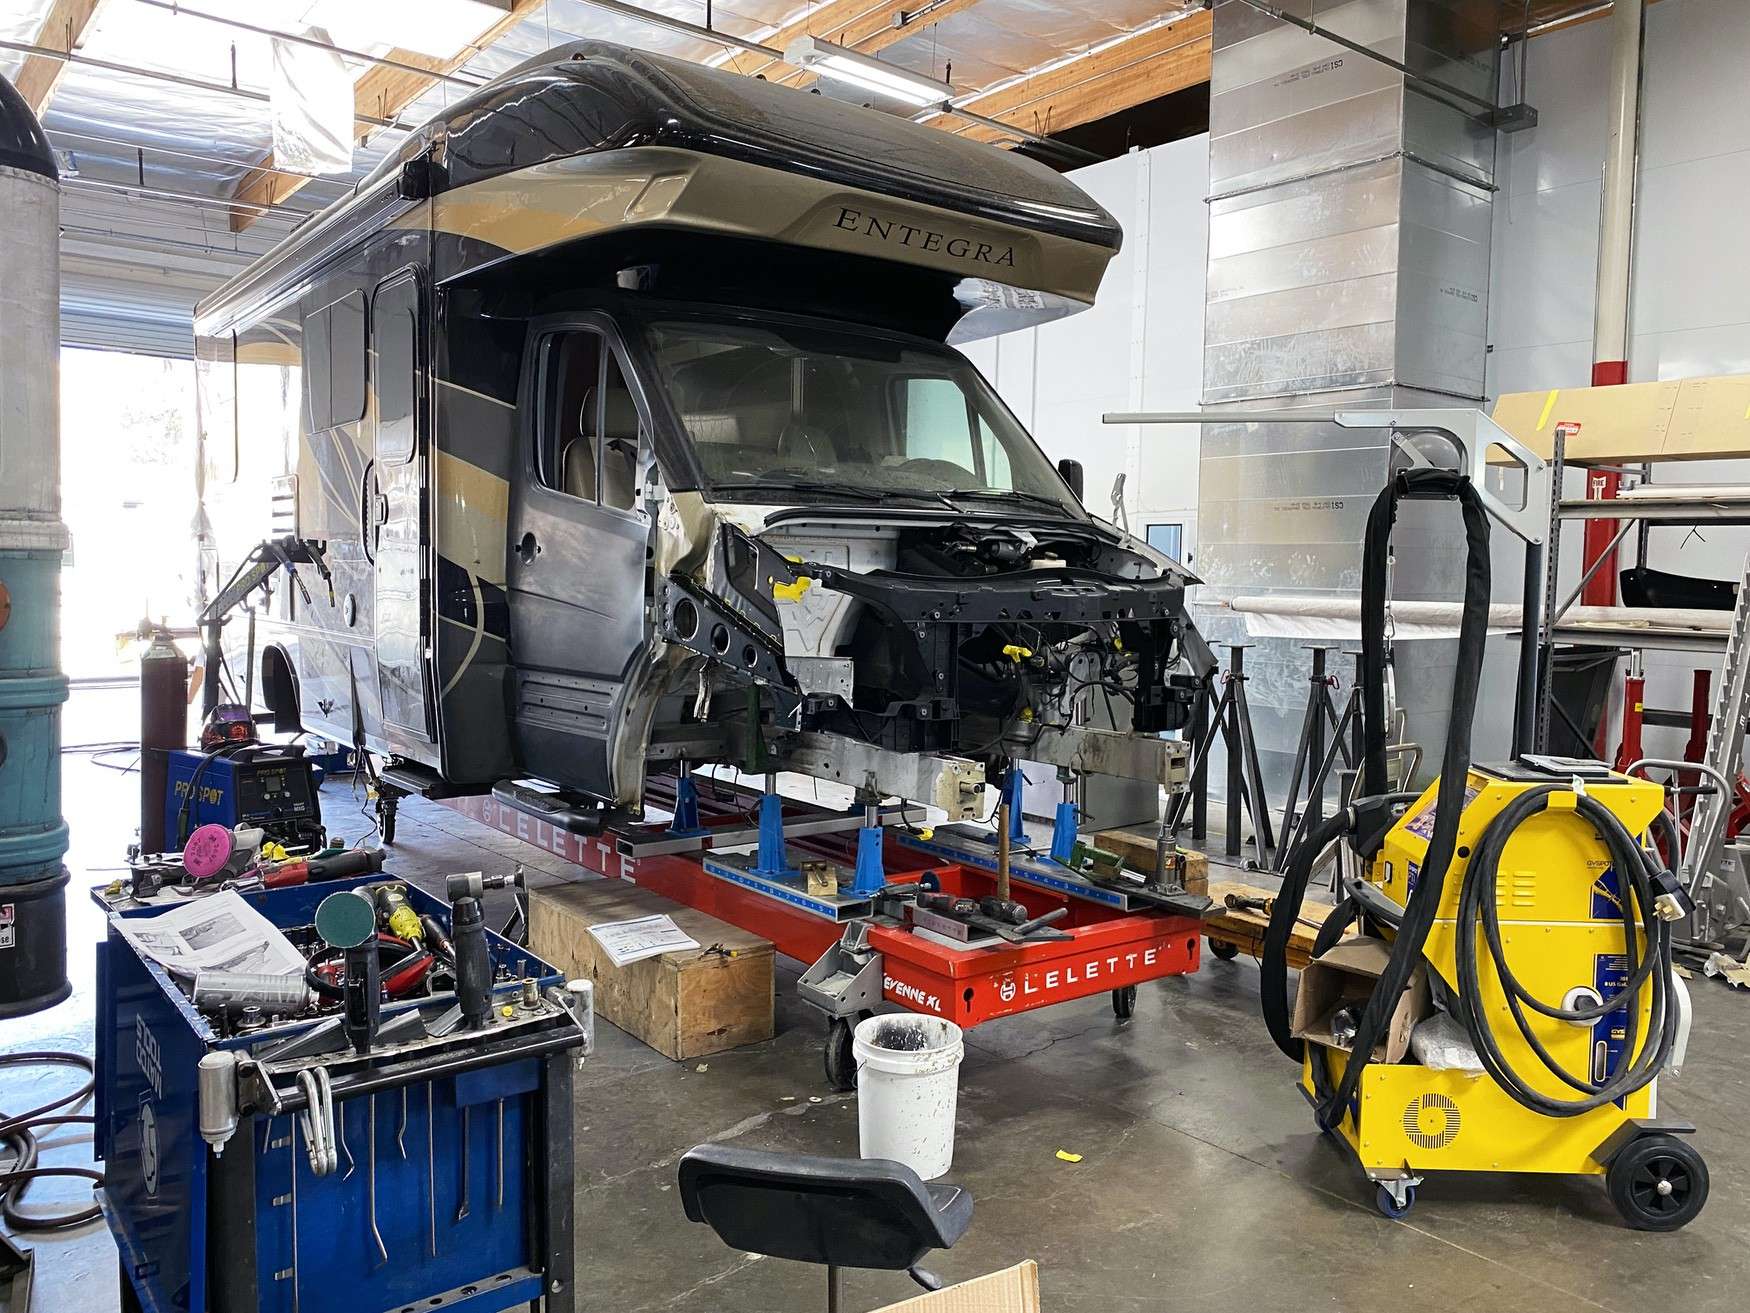
Most minor rv collision damage repair starts the same way, with a slow speed backing incident, a post in a campground loop, or a mirror clipped at a fuel island. The panel looks bruised rather than broken. What decides the bill is not the size of the scuff, it is whether the corner cap is still made, whether the sealant path is compromised, and how much blending the paint takes. Owners across Westminster bring us these jobs weekly.
What Counts as Minor Damage
Minor is a structural word before it is a cost word. On a fiberglass or aluminum sided coach, minor means the damage stopped at the skin and the substrate directly behind it. The sidewall studs or aluminum framing are still square, the roof line has not shifted, the slide still travels without binding, and the door and compartment latches close the way they did before. If any of those things changed, the job is no longer minor no matter how small the crack looks from ten feet away.
The second test is water. A scuff that only removed gelcoat is cosmetic. A crack that runs through a laminated panel, splits a termination bar, or lifts the sealant bead at a corner cap seam has opened a path into the wall. Water gets in there, wicks along the luan and the foam core, and six months later you have delamination that costs several times what the original scuff would have. We probe every crack before we call anything minor.
Third is deflection. We put a straightedge across the damaged area and compare diagonal measurements side to side. On a trailer we check the tongue and A frame for twist even after a rear corner hit, because impact energy travels through the rails. If the numbers match within about a quarter inch and nothing binds, we write the job as skin work. If they do not match, the file moves to a full structural assessment before anyone quotes a repair.
- Skin damage only, with framing and roof line unchanged
- No new water path through a seam, termination bar, or cap joint
- Slide rooms and compartment doors still operate normally
- Diagonal measurements match side to side within about a quarter inch
- No pulled or separated fasteners in the sidewall structure
- Lighting and marker lamps still work or need only a lamp swap
Why a Small Scuff Turns Into a Big Number
The scuff itself is cheap. A gelcoat repair on a flat area is two to four hours of body labor at $210 per hour plus paint time. The number climbs when the damage sits on a molded part rather than a flat wall. Front and rear caps, corner caps, and fender skirts are single molded pieces. There is no way to buy a six inch square of one. You either repair that section by hand or you buy the entire molding.
Then availability. Coach builders run cap tooling in batches and stop supporting older model years. When a corner cap for a 2013 trailer is discontinued, your options are a used part off a salvage coach, a hand laid fiberglass reproduction, or a structural repair to the original with backing cloth and a full refinish of that panel. All three cost more than the $900 the scuff looked like. A $3,500 total on a small corner hit is common, and it is not padding.
Paint drives the rest. Modern coach graphics are printed vinyl over base paint, or full paint with clear over a graphics layer. Matching a ten year old sun faded panel means blending into adjacent panels, and on a molded cap the only natural blend boundary may be the entire cap. Paint supplies bill at $55 per paint hour on top of labor, parts carry 35 percent markup over $100, and sales tax at 7.75 percent applies to parts and materials but not to labor.
Repair Versus Replace on a Corner Cap
The decision is a straight comparison, and we run it in front of you. A structural fiberglass repair on a corner cap is typically eight to twenty hours of body labor depending on crack length, whether the mounting flange is broken, and how much of the radius has to be rebuilt with cloth and resin. Add paint time for the cap and any blend panels. That lands at roughly $3,000 to $5,500 all in on a mid size trailer.
A new cap from the coach builder might be $1,100 to $2,800 in parts, but installation means peeling the roof membrane back at the front seam, removing the awning rail or drip rail, dropping trim, setting the new molding, rebedding every fastener, and then refinishing. That is often twenty to thirty five hours before paint even starts. New molded parts also arrive with shipping damage often enough that we inspect on the pallet before we sign for delivery.
We recommend repair when the original part is sound outside the impact zone, the color is close, and the crack does not cross a mounting flange. We recommend replacement when the molding is shattered, when the flange that carries fasteners is broken, or when a prior owner already buried the area in body filler over a flexing panel. Filler over flex always comes back, usually within one season of heat cycling and road vibration.
- Repair is typically 8 to 20 hours of body labor plus refinish time
- Replacement caps commonly run $1,100 to $2,800 before markup and tax
- Replacement adds roof seam, drip rail, and trim removal labor
- Discontinued caps push the job toward hand laid reproduction
- Filler over a flexing panel is a repeat failure, not a repair
Paying Out of Pocket Versus Opening a Claim
Run the deductible math before you call anyone. If your collision or comprehensive deductible is $1,000 and the repair estimate is $2,400, the carrier pays $1,400. You are trading $1,400 for a claim on your record and, on many RV policies, a rate review at renewal. An owner with a $2,500 deductible facing a $6,000 job is in a completely different position and should file. There is no universal answer, only arithmetic against your specific policy.
The other variable is scope certainty. Small hits sometimes grow during teardown. If we pull a corner cap and find crushed framing or wet luan, a $2,400 estimate becomes $7,000, and now you wish you had opened a claim on day one. When damage sits near a seam, a slide opening, or a structural corner, filing first is the safer play even if the visible damage is modest. Adjusters accept supplements. They accept them far less willingly after you already paid a shop cash and started cutting.
We write estimates both ways. You get a line item document with part numbers, labor operations, and hours that works either as a cash quote or as a claim submission. Diagnostic time at $285 per hour is credited against an authorized repair, so a paid teardown that proves the damage really is small is not money thrown away. Any authorized job over $2,000 takes a 50 percent deposit before we order parts, which is standard for build to order coach components.
How We Sequence a Low Speed Impact Job
First is documentation. Photos of the whole coach, then the damage zone, then close ups of every seam within two feet of the impact. We record model year, floor plan, and any prior repair we can see. That packet is what an adjuster reads later, and it is also what protects you if a second area of damage surfaces once trim comes off. Undocumented damage is the single most common reason a supplement gets denied.
Second is teardown to a clean edge. We remove trim, marker lamps, and the awning rail if the rail is involved, plus enough interior panel to see the back side of the impact. On a torn awning rail we check every screw hole, because a rail that pulled out took sealant and sometimes wall skin with it. Rebedding those holes with butyl and running a fresh lap sealant bead is part of the repair, not an add on.
Third is structure, then skin, then finish. Fiberglass work gets cloth and resin laid into a scarfed bevel, not filler troweled over a crack. Aluminum sided units get panel patching or full panel replacement between framing members. Only after the substrate is stable do we prime, block sand, seal, base, and clear. Rushing to paint over a repair that is still moving is the most common reason a scuff reappears the following season as a hairline crack.
- Full photo set captured before any part is removed
- Teardown carried past the crack tip to sound material
- Fastener holes rebedded with butyl and fresh lap sealant
- Scarfed and laminated fiberglass repair instead of filler over a crack
- Block sanding and sealer before base coat and clear
- Water test on any repair that touched a sealed seam
Common Low Speed Damage We See
The pattern repeats every month. Backing into a post or a tree at walking speed puts a vertical crease in the rear corner and cracks the cap radius. Pulling under a covered fuel canopy shears a mirror arm or catches the front cap edge. A tight turn drags the rear of a long trailer across a curb and tears the fender skirt loose. Wind takes an entry door out of someone hand and folds it against the sidewall, cracking the hinge area.
None of these are dramatic, and all of them can hide a real problem. A folded entry door that cracked its hinge area usually loosened the door frame in the wall, which is a water path. A torn awning rail always is. We check the boring parts first because that is exactly where the expensive surprises live. Ten minutes with a moisture meter costs a great deal less than a sidewall rebuild eighteen months from now.
- Rear corner cap cracks from backing into posts and trees
- Front cap edge chips from low canopies and covered structures
- Sheared or folded mirror arms and broken mirror glass
- Torn awning rails that pulled fasteners out of the sidewall
- Curbed and gouged fender skirts on long trailers
- Broken marker lamps, lenses, and clearance light housings
Questions
Frequently asked questions
How do I know if my damage is actually minor?
Three checks. First, does anything bind or fail to close that used to work, including slide rooms, the entry door, and compartment doors. Second, is there a crack that passes through a sealed seam, a termination bar, or a cap joint, because that is a water path regardless of size. Third, do the diagonal measurements across the damaged area still match the undamaged side within about a quarter inch. If all three pass, you are looking at skin work in the $1,500 to $6,000 band. If any one fails, you need a paid structural assessment before anyone can quote honestly.
Why did my $900 scuff turn into a $3,500 estimate?
Almost always because the damage sits on a molded part. Corner caps, front caps, rear caps, and fender skirts are single pieces. You cannot buy a small section of one, so a six inch crack means either a hand laid structural repair across the whole radius or a new molding. Add refinish time, because the blend boundary on a molded cap is usually the entire cap. Add paint supplies at $55 per paint hour, parts markup, and 7.75 percent tax on materials. A discontinued cap pushes it higher still, since reproduction work is slow hand labor rather than a part off a shelf.
Should I file an insurance claim or pay cash?
Compare the estimate to your deductible, then weigh scope risk. If the repair is $2,400 against a $1,000 deductible, the carrier only pays $1,400 and you are carrying a claim for that. If your deductible is $2,500 and the job is $6,000, filing is clearly correct. The wildcard is teardown. Damage near a seam, a slide opening, or a structural corner can grow substantially once trim comes off, and a carrier accepts a supplement much more readily than they accept a claim filed after you already paid cash and started work. We write the estimate so it works either way.
Can you match the paint on a ten year old trailer?
Usually yes, but matching is not just mixing the original code. Ten years of sun changes the base and the clear, so a code accurate mix will look wrong next to a faded panel. We spray sprayout cards, tint to the actual aged panel, and then blend into adjacent panels so the transition falls where your eye does not catch it. On a molded cap that blend often has to carry across the whole cap, which is why refinish hours on a small repair can exceed the body hours. Printed graphics over the repair area are reproduced and reapplied separately.
What if the corner cap for my RV is discontinued?
You have three realistic paths. One, a used part pulled from a salvage coach of the same model year, which is the fastest option when one exists but often arrives with its own damage. Two, a hand laid fiberglass reproduction taken off the shape of the existing part, which is accurate but is many hours of layup, fairing, and finishing. Three, a structural repair to the original using backing cloth and resin in a scarfed bevel, then a full refinish of that panel. On older units the third path is usually the best value, and it is what we recommend most often.
How long will a minor collision repair take?
One to three weeks for most jobs where parts are on hand. The clock is driven by cure and cycle times, not by how fast anyone works. A structural fiberglass repair needs layup, cure, fairing, and block sanding before primer. Primer needs to cure and get blocked again. Base and clear need bake and cure before assembly and detail. If a molded cap has to be ordered, add whatever the coach builder lead time is, which can be six to twelve weeks on discontinued or low volume parts. We tell you the parts lead time before you approve anything.
Do you charge for the estimate?
A visual walk around and photo estimate is quick and we will tell you the likely range. Anything that requires removing trim, pulling a panel, or probing for moisture is paid diagnostic time at $285 per hour, and that fee is credited against an authorized repair. There is also a $150 RV systems assessment for units where power, plumbing, or slide operation may have been affected, and that is credited as well. Paying for real teardown gets you a number that holds. A parking lot guess gets you a number that changes the moment a screwdriver comes out.
Can I keep using the RV while I wait for parts?
Sometimes, and we will tell you honestly which case you are in. If the damage is cosmetic, the seams are intact, and nothing structural moved, you can generally keep camping while a cap is on order. If a seam is open, a rail is torn, or a fastener line pulled out of the sidewall, driving it in rain will turn a $3,000 repair into a wall rebuild. In that situation we can do a temporary seal and tape the area so the unit stays dry until the part arrives, and we bill that as a short labor operation.
Standard on every job
What is included
These are not upgrades. They are how the work is run on every vehicle that comes through the building.
Full teardown where it is needed
We do not estimate through a closed panel. If the damage path runs behind trim or skin, we open it and document what is actually there.
Written, itemized scope
Parts, labor hours, and materials listed separately against the posted rate, so every line is something you can question.
Direct carrier communication
We talk to the adjuster so you are not relaying technical detail between two parties who both expect you to already understand it.
Supplement handling
When teardown finds more than the original inspection, we document and submit the supplement rather than absorbing it into a vague overage.
Correct repair sequence
Structural before cosmetic, every time. A straight body over a bent frame is a repair that fails its second life.
Systems tested under load
Electrical, plumbing, generator, and climate systems are run and verified before delivery, not just reconnected and assumed good.
Photo documentation throughout
Before, during, and after. Useful for your records, and decisive if a claim is ever revisited.
Delivery walkthrough
We go over what was done, what was replaced, and what to watch, in person, with the vehicle in front of you.
How the work runs
Our six step repair process
The same sequence on every vehicle, whether it is a single coach or a fleet of box trucks.
- 01
Assessment and documentation
We put the vehicle on the floor, pull panels where we need to see behind them, and photograph everything. Hidden damage found now is damage that does not become a supplement argument later.
- 02
Written estimate
You get a line by line estimate with parts, labor hours, materials, and the posted rate applied to each. Nothing is bundled into a single number you cannot check.
- 03
Carrier coordination
If a claim is involved we deal with the adjuster directly, submit the documentation, and handle supplements when teardown reveals more than the first inspection showed.
- 04
Authorization and scheduling
Once the scope is approved we confirm the deposit, order parts, and give you a realistic slot. Special order parts drive the timeline more often than labor does.
- 05
Repair
Structural first, then body, then paint, then systems and interior. The sequence is not negotiable because each stage has to be right before the next one covers it up.
- 06
Quality check and delivery
Multi point inspection, systems tested under load, paint inspected under corrected lighting, and a walkthrough with you before the vehicle leaves.
Keep reading
Related pages
Related services
Vehicles we repair
Talk to a repair specialist today
Tell us what happened and we will tell you what the repair actually involves, what it costs, and how long it takes. We work directly with every major carrier and serve Westminster owners and fleets from our 35,000 square foot facility.
Posted labor rates are published on our prices page. Diagnostic and systems assessment fees are credited against an authorized repair.