Mechanical and Systems
RV Appliance Repair From the Fridge to the Cooktop
In short
RV appliance jobs in Westminster run from about 400 for an igniter or thermostat to 4,500 or more for an absorption cooling unit or a residential fridge conversion. Mechanical labor bills at 260 per hour and diagnostic time at 285 per hour, credited against an authorized repair. Most appliance work finishes in 2 to 10 business days.
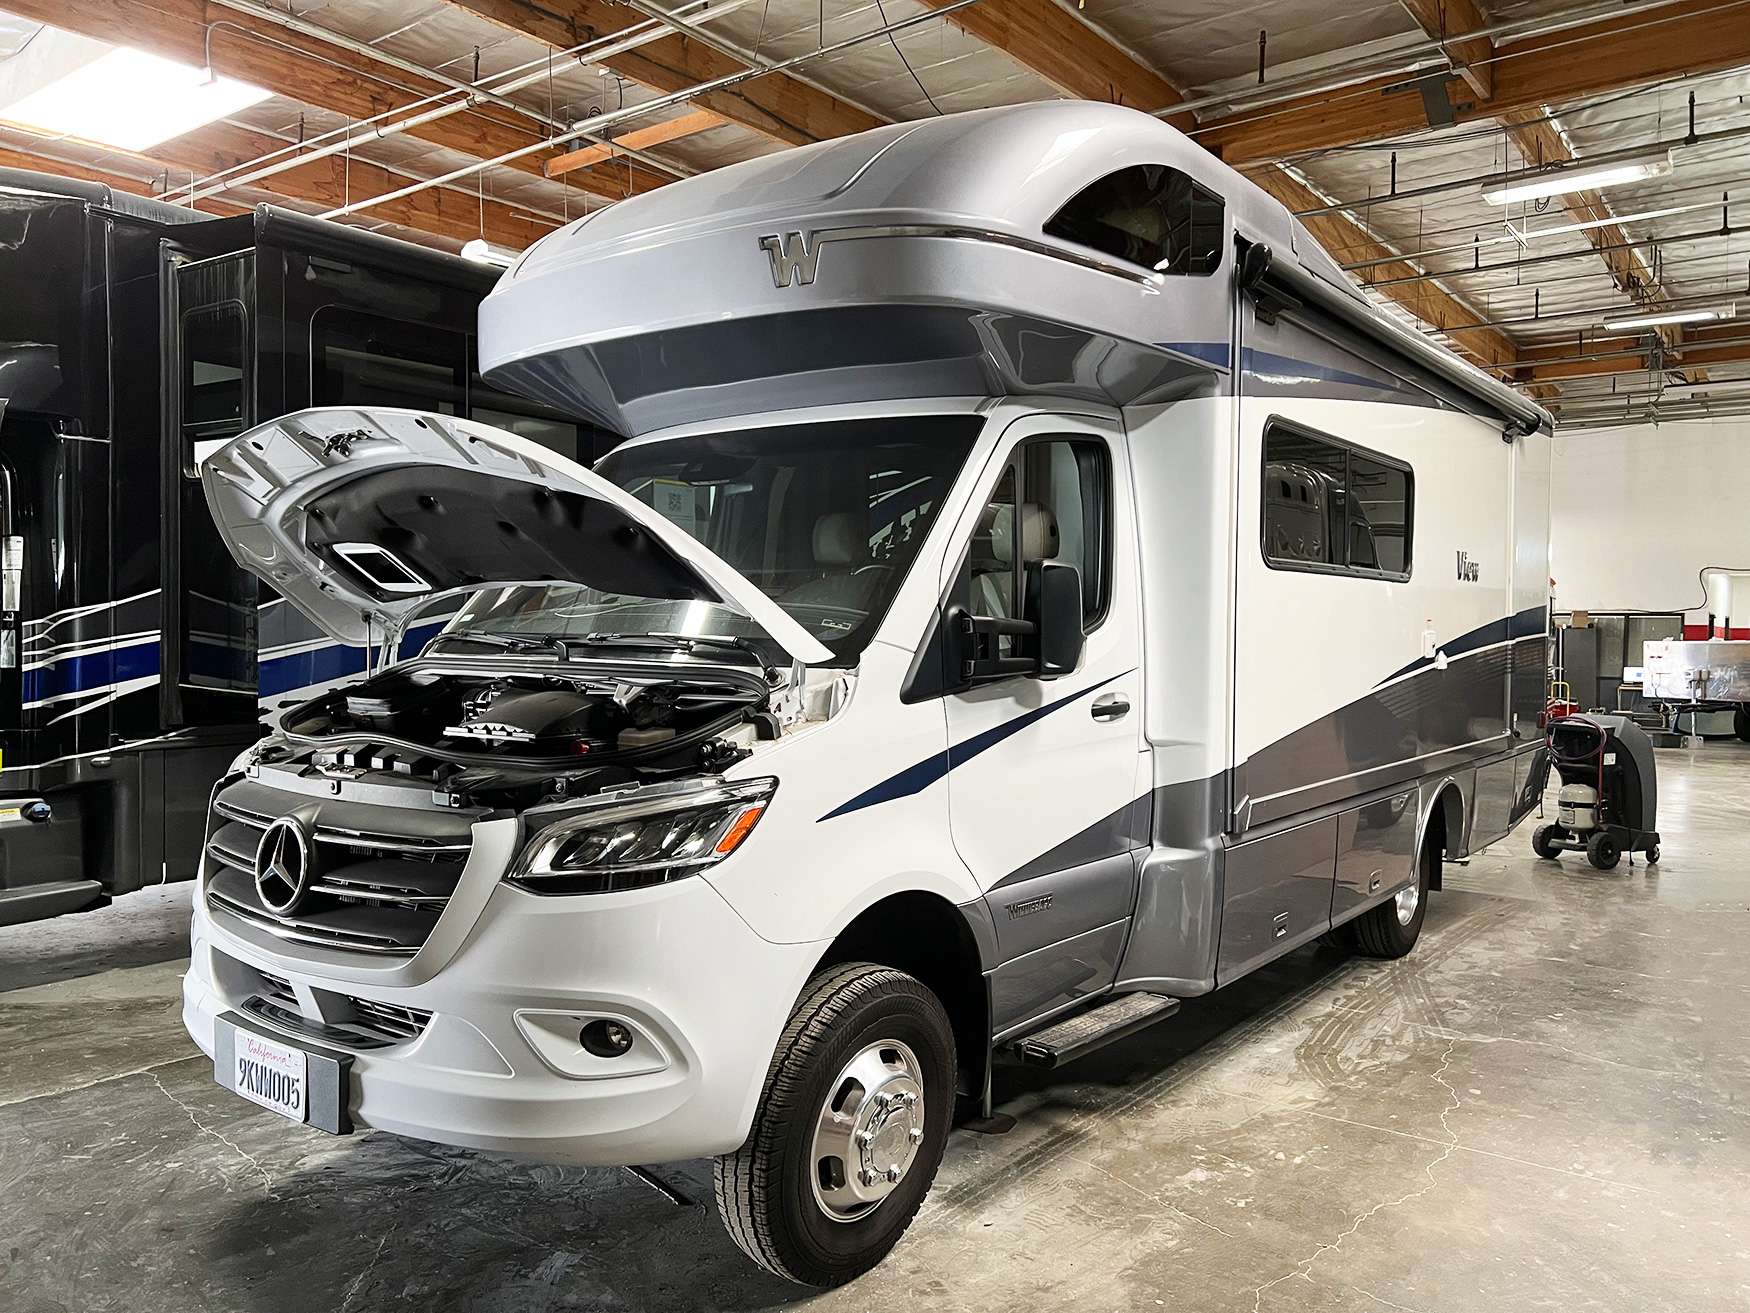
RV appliance repair covers the absorption refrigerator, the propane cooktop and oven, the microwave or convection unit, the range hood fan, and the washer dryer combo tucked into a closet. These units share two traits: they are built light for the road, and they take a beating from vibration, heat, and a power supply that swings around. Some faults are a thirty minute igniter swap. Others are a cooling unit that has already dumped its ammonia charge and will never run again.
Absorption Refrigerators and How They Die
An absorption fridge has no compressor. It uses a sealed cooling unit charged with ammonia, water, hydrogen, and a corrosion inhibitor, driven by heat from either a propane burner or an electric element at the boiler tube. Heat drives ammonia out of solution, it circulates, condenses, evaporates in the cooling coil, and absorbs back into the water. There are no moving parts in the sealed system at all, which is why these units can run for fifteen years and also why they cannot be recharged when they fail.
The dominant failure is a plugged or corroded boiler tube. Over years, the inhibitor breaks down and sodium chromate sediment settles in the boiler section, restricting flow. Symptoms are a fridge that cools poorly on both propane and electric, a boiler tube that is much hotter than it should be, and sometimes yellow residue staining down the back of the unit. Once you see yellow powder or smell ammonia at the vent, the cooling unit is finished.
Leveling damage is the other big killer. Running an absorption unit significantly off level, particularly parked overnight on a slope, lets liquid ammonia pool in the wrong section of the tubing. The circulation stops, the boiler runs dry, and the tube overheats and crystallizes internally. That is permanent. A few degrees off is tolerable while driving because the motion keeps fluid moving, but parked and off level for hours is what causes the damage.
- Poor cooling on both propane and electric points at the sealed cooling unit
- Yellow residue or an ammonia smell at the rear vent means the charge has escaped
- A boiler tube far hotter than normal indicates sediment restriction inside
- Parked and off level for hours is what causes crystallization, not brief driving tilt
- Weak cooling on propane only usually means burner, thermocouple, or gas supply
- Weak cooling on electric only usually means a failed heating element or relay
Residential Fridge Conversions
When an absorption unit is done, converting to a residential refrigerator is often the better spend. You get real cold storage, faster pull down, no leveling sensitivity, and a unit you can replace at any appliance retailer for a fraction of what an RV specific fridge costs. The cabinet opening usually needs modification, since residential dimensions rarely match the old cutout, and the mounting has to be built to hold a heavier appliance through road vibration.
The electrical side is the part owners underestimate. A residential fridge runs on 120 volt AC continuously, which means it needs inverter power when you are not on shore power, and that means the battery bank has to actually support it. A modern efficient unit draws roughly one to two kilowatt hours per day. If your coach has two group 27 lead acid batteries and a 1,000 watt inverter, the fridge will run the bank flat overnight. That conversation happens before we quote.
We also address the old vent openings. The exterior upper and lower vents that served the absorption unit become unnecessary penetrations in the sidewall and get sealed properly or repurposed for cabinet ventilation. Left open, they are a water intrusion path and a pest entry. Doing that correctly is part of the job, not an add on, and it is one of the differences between a conversion that lasts and one that causes sidewall damage two years later.
Cooktops, Ovens, Igniters, and Thermocouples
Propane cooktops and ovens are mechanically simple and they fail in predictable ways. A burner that clicks but never lights usually has a fouled igniter electrode or a blocked orifice. A burner that lights and goes out when you release the knob has a thermocouple problem, the same principle as on a water heater. An oven that runs hot or cold is a thermostat, and an oven that will not hold flame after warming up is often a safety valve losing its heat signal.
Orifices clog with dust, cooking residue, and occasionally insect debris on a rig that sat. Cleaning them is not glamorous work but it solves a lot of complaints for a fraction of what a new cooktop costs. Igniter electrodes need a clean tip, correct gap, and a solid ground. If a spark module fires all burners when you turn one knob, that is normal on many RV cooktops and not a fault, which saves people from buying a module they did not need.
The one thing we take seriously on every cooktop and oven job is the gas connection. Flare fittings, flexible connectors, and the shutoff at the appliance all get leak tested with solution or an electronic detector before the rig leaves. Vibration loosens fittings over thousands of road miles, and a slow leak behind a range is one of the few RV faults that is genuinely dangerous rather than just inconvenient.
- Clicking with no flame is usually a dirty electrode or a clogged orifice
- Flame that dies when the knob is released points at the thermocouple or safety valve
- Uneven oven temperature is typically the thermostat, not the burner
- All burners sparking together is normal behavior on many RV cooktops
- Every gas fitting disturbed during the job gets leak tested before delivery
- Range hood fans usually fail at the switch, the motor bushing, or a chafed harness
Microwaves, Convection Units, and Range Hoods
A microwave that runs, lights up, and turns the tray but does not heat has almost always lost the magnetron, the high voltage capacitor, the diode, or a thermal fuse. Those are all serviceable in principle. In practice, the parts and labor for a magnetron replacement frequently exceed the cost of a new over the range RV microwave, and we will tell you that instead of selling you the repair. Where it makes sense to repair is a door switch, a control panel, or a fan motor.
Convection microwave combos are a different calculation. They are expensive units, often built to a specific cabinet cutout and trim kit, and a direct replacement can run well over a thousand dollars before installation. On those we go further into component level diagnosis, because a failed relay on the control board or a burned out convection fan is genuinely worth fixing on a unit that costs that much to replace.
Range hoods are the simplest appliance in the coach and the one most often ignored. The failures are a worn fan motor bushing that howls, a switch that lost contact, a light socket that corroded, or a chafed harness where the wiring passes through a cabinet edge. Almost all of it is repairable for the cost of an hour or two of labor and small parts, and a working hood fan meaningfully reduces the moisture that ends up condensing in your cabinets.
Washer Dryer Combos and Control Boards
Combo washer dryer units in an RV live a hard life. They are ventless or vented condensing machines running on a chassis that flexes, often on marginal shore power, and the drum bearings and suspension take the same abuse the coach does. The failures we see most are drain pump blockages, door seal leaks, out of balance faults from a worn suspension, and a heating element or thermistor failure that leaves clothes wet at the end of a cycle.
Leveling and mounting matter more than owners expect. A combo unit that is not sitting square in its cabinet, or that lost a shipping bracket that was never removed correctly at install, will beat itself apart on spin. Before we chase electronic faults we check the mounting, the feet, and the transit hardware, because an out of balance error is far more often mechanical than it is a bad board.
Control boards do fail, and here the root cause is usually power quality. Voltage sag at a pedestal, an unstable generator, or a modified sine wave inverter feeding a machine that expects clean AC will cook the board over time. When we replace one, we look at what fed it. Putting a new board into the same bad power situation is the definition of a repeat visit, and we would rather have that conversation once.
- Clothes still wet at cycle end usually means a heating element or thermistor
- Out of balance errors are more often mounting and suspension than electronics
- Drain pump blockage from lint and debris causes most no drain complaints
- Door seal leaks show up as a stain at the front of the cabinet base
- Control board failures trace back to voltage sag or unstable generator power
- Modified sine wave inverters are hard on modern appliance electronics
Parts Availability on Discontinued Models
RV appliance manufacturers discontinue models faster than the coaches wear out. A ten year old fridge or cooktop is frequently out of production, and the factory support may be gone entirely. That does not automatically end the repair. Many components are shared across model families, and a thermostat, gas valve, igniter, or element from a current unit will often carry the same part number or a documented supersession. We check that before declaring anything unobtainable.
Where it gets hard is cabinet specific and cosmetic parts: door panels, trim kits, hinge assemblies, control fascia, and anything molded to a particular opening. Those are commonly gone with no substitute. In those cases the options are a used part from a salvage source, fabricating a replacement in house, or replacing the appliance with a current unit and modifying the opening to suit.
We are upfront about this at the estimate stage rather than after your rig is torn apart. If a critical part is questionable, we source and confirm it in hand before scheduling the labor. Nobody should have a coach sitting open in a bay waiting on a part that was never actually available, and holding a bay for weeks costs both of us.
Repair or Replace, and What It Costs
The rates are simple. Mechanical labor is 260 per hour. Diagnostic labor is 285 per hour, credited against an authorized repair. Parts carry 100 percent markup at or under 100 dollars and 35 percent over 100 dollars. Sales tax of 7.75 percent applies to parts and materials only. Jobs above 2,000 take a 50 percent deposit. Every quote we hand you is built from exactly those numbers, and we will walk the math line by line if you want it.
Worked example, oven igniter. Half an hour of diagnostic bills 142.50 and comes back as a credit on authorization. Repair labor of 1.5 hours at 260 is 390. A 62 dollar igniter is under 100, so it marks up 100 percent to 124, with 9.61 in tax. The invoice is 523.61, and that includes pulling the range, replacing the igniter, verifying flame carryover, and leak testing every fitting we touched.
Worked example, absorption cooling unit replacement. Labor of 7 hours at 260 is 1,820 to pull the fridge, transfer the controls and burner assembly, install the replacement cooling unit, repack the insulation, and commission it on both propane and electric. A 1,450 cooling unit marks up 35 percent to 1,957.50, with 151.71 in tax. Total 3,929.21, deposit 1,964.61. Compare that to a residential conversion: 9 hours labor at 260 is 2,340, a 1,100 fridge and 180 in framing materials mark up to 1,728 combined, tax 133.92, total 4,201.92.
Here is the honest call on a twelve year old absorption fridge. Spending 3,929 on a cooling unit for a box whose door seals, control board, hinges, and burner are all the same age is usually a poor trade. You have bought the one component that failed and inherited every other component about to. Unless the box is pristine or the coach layout makes a conversion genuinely impractical, we recommend either a new absorption unit or a residential conversion at a similar price with a much longer service life ahead of it.
- Bottom of the range: igniter, thermocouple, thermostat, element, or range hood fan
- Middle of the range: gas valve, control board, cooktop replacement, or washer pump and suspension
- Top of the range: absorption cooling unit, full fridge replacement, or residential conversion
- Add cost when a cabinet opening has to be modified or a doorway is too narrow for the appliance
- Diagnostic time at 285 per hour comes off the invoice once you authorize the repair
- We will tell you when a repair costs more than the appliance is worth
Questions
Frequently asked questions
My absorption fridge stopped cooling. Can it be fixed?
It depends on which part failed. If it cools poorly on propane but fine on electric, the fault is in the burner, thermocouple, or gas supply, and that is an affordable repair. If it fails on electric only, it is usually the heating element or its relay. If it cools poorly on both, the sealed cooling unit itself is the suspect, and sealed units cannot be recharged or repaired. The fix there is a replacement cooling unit, which runs close to 3,900 installed, or replacing the whole appliance. We test both heat sources and check boiler tube temperature before telling you which situation you are in.
I smell ammonia near the fridge. What does that mean?
It means the sealed cooling unit has lost its charge, and the appliance will not cool again. The system is charged with ammonia, water, hydrogen, and a sodium chromate corrosion inhibitor. When the tubing corrodes through, ammonia escapes and you get a sharp smell at the rear vent, usually along with yellow powder residue staining down the back of the unit. There is no repair for the sealed system. Ventilate the area, shut the fridge off on both propane and electric, and do not sleep in the coach until it has aired out. From there the decision is a replacement cooling unit, a new absorption fridge, or a residential conversion.
Is it worth putting a cooling unit in a twelve year old fridge?
Usually not, and we would rather say so than take the job. A replacement cooling unit installed runs roughly 3,929 in a typical case: 7 hours of labor at 260 per hour plus a 1,450 unit marked up 35 percent plus tax. For that money you have replaced one component in a cabinet where the door seals, hinges, control board, burner assembly, and thermistor are all twelve years old too. A new absorption unit or a residential conversion lands in a similar range, around 4,200 for a conversion, and gives you an appliance with its full service life ahead. The exception is a low hour coach in excellent condition.
Can I put a residential refrigerator in my RV?
Usually yes, and it is often the better value when an absorption unit dies. You get better cold storage, faster pull down, and no leveling sensitivity. Two things have to be sorted first. The cabinet opening almost never matches residential dimensions, so it needs framing modification and heavier mounting to survive road vibration. More importantly, the fridge runs on 120 volt AC continuously, drawing roughly one to two kilowatt hours a day, so you need an inverter and a battery bank that can actually carry it overnight. We size that before quoting. The old exterior vents also get sealed properly so they do not become a water intrusion path.
The oven will not stay lit. Is that the igniter?
Probably not, if it lights and then goes out. The igniter gets you a flame in the first place. Holding that flame is the job of the flame sensing circuit, which on most RV ovens is a thermocouple feeding a safety valve. If the thermocouple tip is carboned, out of position, or worn, the valve closes as soon as you release the knob. If it stays lit at first and drops out after the oven warms, the safety valve itself is often losing its heat signal. Either is a modest repair. A typical igniter or thermocouple job lands near 520, including diagnostic credit, labor, part markup, and tax.
The microwave runs but does not heat. Is that repairable?
Technically yes, economically often no. A unit that lights up, turns the tray, and runs the fan but produces no heat has normally lost the magnetron, the high voltage capacitor, the diode, or a thermal fuse. Those parts plus the labor to safely discharge the capacitor and test the circuit frequently cost more than a new over the range RV microwave. On a standard microwave we usually recommend replacement. On a convection combo unit, which can run well over a thousand dollars to replace and is often built to a specific cabinet cutout, component level repair makes real sense and we go after it.
My appliance is discontinued. Can you still get parts?
Often, but not always, and it depends on which part. Functional components like thermostats, gas valves, igniters, elements, and thermistors are frequently shared across model families or carry a documented supersession to a current part number, so a discontinued appliance is not automatically a dead one. What is genuinely hard to source is cosmetic and cabinet specific hardware: door panels, trim kits, hinges, and control fascia molded for one opening. For those the options are a salvage sourced part, in house fabrication, or replacing the appliance. We confirm critical parts are in hand before we schedule labor, so your coach is not sitting open waiting.
How is appliance diagnostic time billed?
Diagnostic labor is 285 per hour and it is credited against the repair once you authorize the work. Most appliance diagnostics take half an hour to an hour, so you are looking at 142.50 to 285 up front. If you authorize the repair, that amount comes right off the invoice. If you decide not to proceed, the diagnostic time stands as a charge, and you leave with a written account of what we found and what it would take to fix it. There is also a 150 RV systems assessment for owners who want the whole coach looked over rather than one appliance, and it is credited the same way.
Standard on every job
What is included
These are not upgrades. They are how the work is run on every vehicle that comes through the building.
Full teardown where it is needed
We do not estimate through a closed panel. If the damage path runs behind trim or skin, we open it and document what is actually there.
Written, itemized scope
Parts, labor hours, and materials listed separately against the posted rate, so every line is something you can question.
Direct carrier communication
We talk to the adjuster so you are not relaying technical detail between two parties who both expect you to already understand it.
Supplement handling
When teardown finds more than the original inspection, we document and submit the supplement rather than absorbing it into a vague overage.
Correct repair sequence
Structural before cosmetic, every time. A straight body over a bent frame is a repair that fails its second life.
Systems tested under load
Electrical, plumbing, generator, and climate systems are run and verified before delivery, not just reconnected and assumed good.
Photo documentation throughout
Before, during, and after. Useful for your records, and decisive if a claim is ever revisited.
Delivery walkthrough
We go over what was done, what was replaced, and what to watch, in person, with the vehicle in front of you.
How the work runs
Our six step repair process
The same sequence on every vehicle, whether it is a single coach or a fleet of box trucks.
- 01
Assessment and documentation
We put the vehicle on the floor, pull panels where we need to see behind them, and photograph everything. Hidden damage found now is damage that does not become a supplement argument later.
- 02
Written estimate
You get a line by line estimate with parts, labor hours, materials, and the posted rate applied to each. Nothing is bundled into a single number you cannot check.
- 03
Carrier coordination
If a claim is involved we deal with the adjuster directly, submit the documentation, and handle supplements when teardown reveals more than the first inspection showed.
- 04
Authorization and scheduling
Once the scope is approved we confirm the deposit, order parts, and give you a realistic slot. Special order parts drive the timeline more often than labor does.
- 05
Repair
Structural first, then body, then paint, then systems and interior. The sequence is not negotiable because each stage has to be right before the next one covers it up.
- 06
Quality check and delivery
Multi point inspection, systems tested under load, paint inspected under corrected lighting, and a walkthrough with you before the vehicle leaves.
Keep reading
Related pages
Related services
Vehicles we repair
Talk to a repair specialist today
Tell us what happened and we will tell you what the repair actually involves, what it costs, and how long it takes. We work directly with every major carrier and serve Westminster owners and fleets from our 35,000 square foot facility.
Posted labor rates are published on our prices page. Diagnostic and systems assessment fees are credited against an authorized repair.