Mechanical and Systems
Trailer Brake and Axle Repair That Starts With Diagnosis
In short
Trailer brake and axle work in our Westminster shop runs from about $300 for a single magnet and seal up past $6,500 for a bent axle replacement with a full spring and equalizer rebuild. Most jobs are 2 to 6 days in the shop. Mechanical labor is $260 per hour and diagnostic time is $285 per hour, credited against an authorized repair.
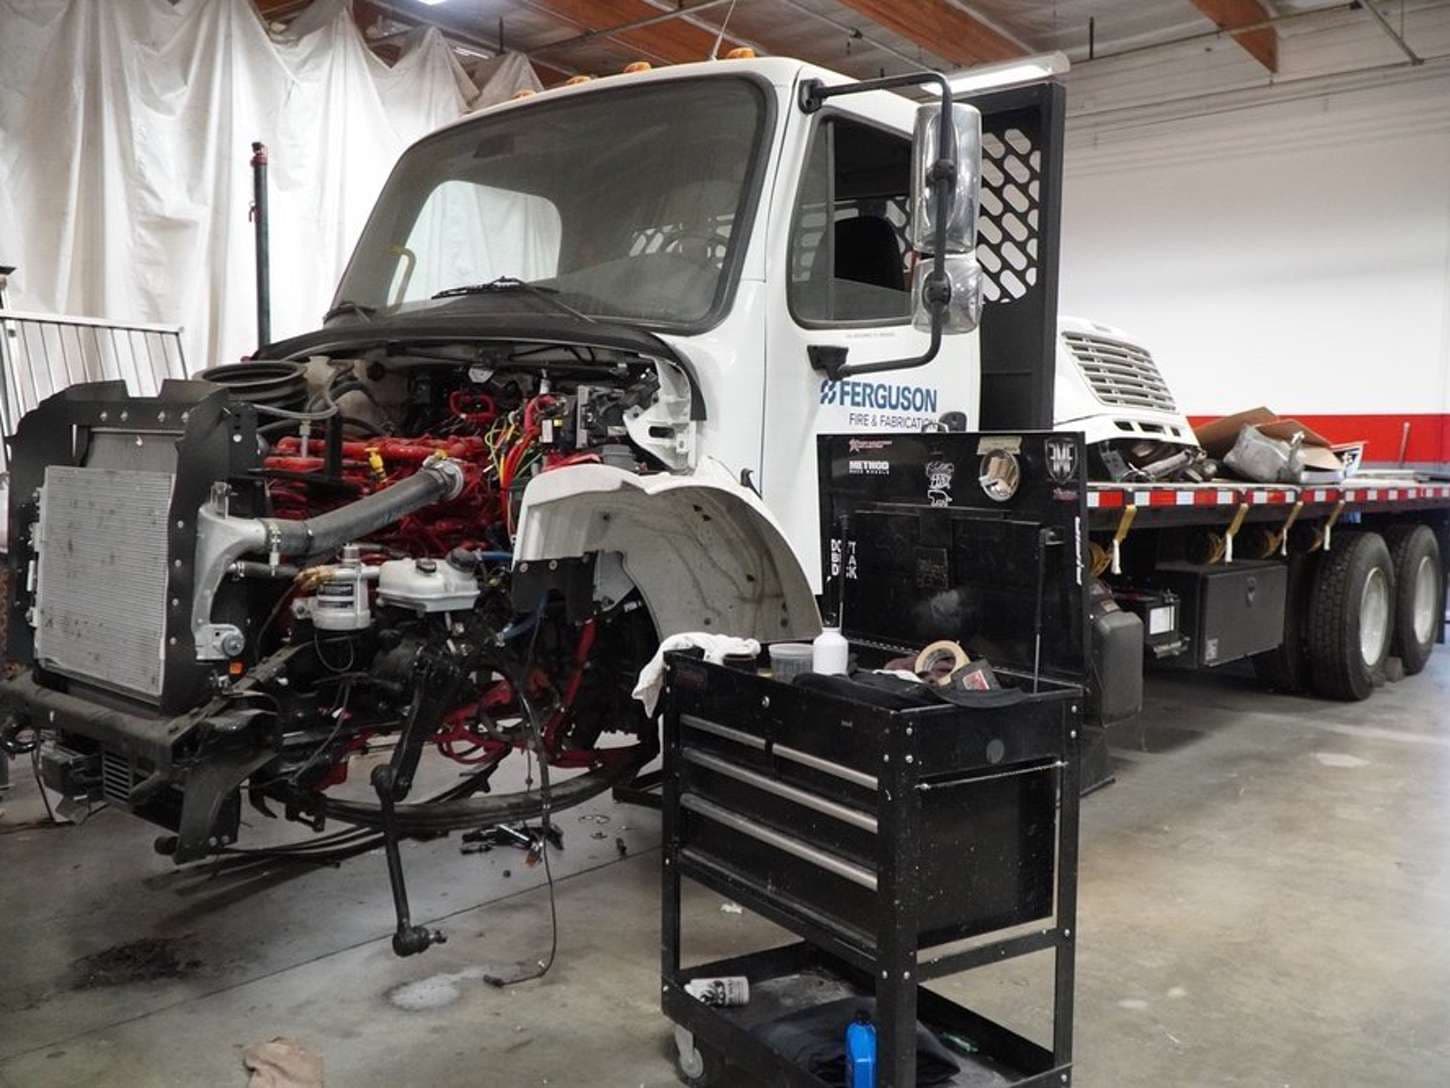
Trailer brake and axle repair is the least glamorous work in the shop and the most likely to matter on a loaded descent. Magnets wear, seals weep, bearings run dry, and a curb strike bends an axle tube a quarter inch that nobody sees until the inside edge of a tire is gone. We pull drums, measure, and show you what we found before we quote a number. Owners across Orange County bring us trailers that pull crooked.
How Electric Drum Brakes Fail on a Loaded Trailer
An electric drum brake is a simple machine. Current from the tow vehicle energizes a magnet, the magnet grabs the spinning armature face of the drum, and that drag rotates the actuating arm which pushes the shoes into the friction surface. Every part of that chain wears. The magnet face wears flat and thin, the shoes glaze, the drum armature surface scores, and the star adjuster seizes in place so the shoes never come back up to the drum as the lining thins.
The result is a trailer that stops later every month while the owner adapts without noticing. Then a real panic stop happens with 7,000 pounds behind the hitch and the trailer pushes the tow vehicle straight. We measure magnet thickness, check the armature surface for scoring, look at shoe lining down to the rivet, and read the backing plate for heat blue and cracked springs. On a tandem axle we always pull all four drums, because a single weak magnet unbalances braking side to side.
Replacing a complete backing plate assembly is usually cheaper than rebuilding one. A new plate arrives with magnet, shoes, springs, and adjuster already set, and it takes a fraction of the bench time. We rebuild individual components only when the assembly is not available for an older Dexter or Alko hub face, or when only the magnet is at fault and everything else measures inside spec.
- Magnet face worn thin or worn at an angle, which grabs unevenly
- Shoes glazed hard and shiny from long light drag
- Star adjuster seized so the shoes never take up lining wear
- Backing plate blued from heat, with springs that lost tension
- Drum armature surface scored, which chews the next magnet quickly
- Ground wire corroded at the frame, starving one brake of current
Brake Controller Gain Setup and What It Cannot Fix
Half the trailers that come in for a brake complaint have healthy brakes and a controller set wrong. Gain is the amount of current the controller sends per unit of stopping effort. Set too low and the tow vehicle does all the work, which cooks tow vehicle pads and lets the trailer shove on a grade. Set too high and the trailer locks up on gravel or in the rain, flat spotting tires and wearing the shoes down in one hard patch.
The setup is a road test, not a guess. We load the trailer to a realistic weight, find a clear low speed stretch, and use the manual override lever alone at about 25 miles per hour. Gain is correct when the trailer brakes firmly without chirping the tires. Then we repeat it with a hot brake, because a warm magnet and a warm drum behave differently than a cold one at the first stop of the morning.
What gain cannot fix is a bad ground, a corroded connector at the 7 pin, or one axle doing all the braking. If the controller reads full output and the trailer still pushes, the problem is downstream in the wiring or in the drums. We check current draw at each brake with a clamp meter before we touch controller settings, because chasing gain on a trailer with one dead magnet just overworks the three that still function.
Bearings, Seals, and the Wheel That Ends Up in a Ditch
Trailer bearings are tapered rollers packed in grease and held in a bath that only stays sealed while the inner seal lives. Grease breaks down with heat and time. Water gets past a tired seal at a launch ramp or in standing rain. Once the grease is contaminated or gone, the roller cage overheats, the rollers blue and gall, the race spalls, and the spindle turns into a lathe. The final act is the hub walking off the spindle at speed.
We repack every 12 months or 12,000 miles on conventional bearings, sooner on a trailer that sees water. Repacking means the hub comes off, everything is washed, the races are inspected under light, and new grease is worked into the rollers by hand rather than pumped through a fitting and hoped for. A grease fitting on the spindle end pushes grease into the cavity, but it does not force it between the rollers the way hand packing does.
The other half of this job is the inner seal. A leaking seal throws gear grease onto the shoes, and grease soaked lining does not clean up. Once contaminated, the shoes are done. That is why a seal costing a few dollars turns into a brake job on both sides of the axle. When we find one leaking seal, we quote both sides, because the other one is the same age and has the same miles on it.
- Repack conventional bearings every 12 months or roughly 12,000 miles
- Replace the inner seal every time the hub comes off, without exception
- Grease on the shoe lining means new shoes, not cleaning
- Blue or galled rollers mean the race and often the spindle are suspect
- A hub that runs hot after a short drive is a warning, not a quirk
- Bearing buddies help on wet duty but do not replace hand packing
Bent Axles, Camber, and Reading Tire Wear
A trailer axle is not straight. It is built with a deliberate arch, and on a properly rated axle that arch flattens under load so the tires stand upright when the trailer is loaded. Hit a curb hard, drop a wheel into a deep pothole with a full tank, or overload one side, and the tube takes a set. The arch is gone or reversed, camber goes negative, and the tires start wearing on their inner edges.
Tire wear is the honest diagnostic. Wear on the inside edge of both tires on one axle points to a bent tube or an overloaded axle. Wear on the outside edge suggests too much arch or a chronically light load. Feathered wear across the tread points at toe, which on a trailer means the spindles are no longer square to the direction of travel. Scalloped or cupped wear usually means a worn spring, a bad shackle bushing, or a brake that is grabbing.
We check axle alignment with the trailer level and loaded the way the owner actually tows it, measuring from a common point at the coupler back to each spindle, then across the spindles for camber and toe. A light bend in a spindle can sometimes be corrected. A bent tube is replaced, because heating and bending a loaded structural member is not something we will send back out on a public road.
Springs, Shackles, Wet Bolts, and Equalizers
Leaf springs on a trailer take the whole load with nothing damping them. Over years the leaves lose arch, the main leaf eye cracks, and the plain steel bolts holding everything together wear oval in their bushings. On a tandem, the equalizer between the two springs is what lets the axles share load over a bump. When its bushings egg out, one axle carries more than its share and the tires tell you about it within a season.
Wet bolts are the fix worth paying for. They are grease fitting bolts riding in bronze bushings, and they let you push fresh grease into the pivot instead of letting a dry steel bolt saw through a hanger. Converting a tandem trailer to a full wet bolt kit with new bronze bushings and a heavier equalizer is a half day job that pays for itself the first time you avoid a snapped shackle on the road.
We look at ride height side to side first. A trailer sitting an inch lower on one corner has a tired spring, and replacing one spring instead of the pair leaves you with mismatched rates. Springs go in as axle sets. If the hangers themselves are elongated or cracked at the weld, that becomes a fabrication repair, and we will tell you before we start rather than after the trailer is apart.
- Flattened or reverse arched leaf springs, replaced in matched sets
- Cracked main leaf eyes, which usually fail with no warning
- Plain shackle bolts worn oval, upgraded to greaseable wet bolts
- Equalizer bushings egged out so one axle carries the load
- Hangers elongated at the frame, which becomes a welding repair
Disc Conversions, Load Ratings, and GVWR
Electric over hydraulic disc brakes are the upgrade owners ask about most, usually after one bad descent. The system uses an electric pump and actuator that reads the controller signal and produces real hydraulic pressure at caliper mounted rotors. Stopping is stronger, more consistent when hot, and far less affected by water. The tradeoff is cost and complexity: a pump, a reservoir, hard lines, calipers, rotors, and hubs, plus wiring that has to be done properly the first time.
It is not always the right call. On a light single axle trailer that tows a few thousand miles a year, well maintained drums stop it fine and cost a quarter as much to keep up. The conversion earns its money on heavy tandem and triple axle trailers, on anything towed loaded through long grades, and on trailers that see salt or launch ramps. We will say so plainly when we think the money is better spent on axles or tires.
Everything here is bounded by ratings. Each axle has a rated capacity, the springs have a rating, the tires have a rating, and the trailer has a GVWR that is not a suggestion. Upgrading brakes does not raise any of those numbers. If a trailer is chronically overloaded, the honest answer is a heavier axle set or less cargo, and we would rather have that conversation than sell brakes that get abused into an early grave.
What Brake and Axle Work Costs in Our Shop
Mechanical labor is $260 per hour. Diagnostic time bills at $285 per hour and is credited against an authorized repair, so the road test and the drum pull are not lost money if you have us do the work. Parts carry 100 percent markup at or under $100 and 35 percent above $100. California sales tax of 7.75 percent applies to parts and materials only; labor is not taxed. Any job above $2,000 takes a 50 percent deposit before we order parts.
A single axle trailer needing shoes and magnets on both sides runs about 2.5 hours, so $650 in labor. Two shoe and magnet kits at $64 each are under the $100 line, so they bill at $128 each, or $256 for the pair. Tax on parts is $19.84. The invoice lands at $925.84 with no deposit required, because the total is under $2,000.
A tandem trailer getting four complete backing plate assemblies and four bearing and seal kits is closer to 5.5 hours, or $1,430 in labor. Four plates at $88 each bill at $176 each, which is $704. Four bearing kits at $42 each bill at $84 each, which is $336. Parts total $1,040, tax adds $80.60, and the job comes to $2,550.60. That crosses the threshold, so a $1,275.30 deposit starts the work.
A bent axle replacement with new springs and wet bolts is roughly 6 hours at $1,560. The axle beam costs $640, so with 35 percent markup it bills at $864. The spring and wet bolt hardware costs $220 and bills at $297. Parts come to $1,161, tax is $89.98, and the total is $2,810.98 with a $1,405.49 deposit before parts are ordered.
- Bottom of the range: one magnet, one seal, or a repack on a single axle
- Middle: full drum rebuild on a tandem with bearings and seals
- Top: bent axle replacement, spring rebuild, or a disc conversion
- Diagnostic time at $285 per hour is credited on an authorized repair
- Deposit of 50 percent applies to anything above $2,000
- Sales tax of 7.75 percent hits parts and materials, not labor
Questions
Frequently asked questions
How do I know if my trailer brakes are even working?
Do a manual test. On a clear low speed stretch, get to about 25 miles per hour and use the controller override lever by itself, with your foot off the tow vehicle brake. The rig should slow noticeably and evenly. If it barely slows, or if you feel it pull to one side, something is wrong. After a short drive, carefully feel each drum with the back of your hand. A brake that is not working stays cool while the others are warm. A brake that is dragging is noticeably hotter than its neighbors. Both are worth a look before your next loaded trip.
How often do trailer wheel bearings need to be repacked?
Every 12 months or roughly 12,000 miles for conventional tapered bearings, whichever comes first, and sooner if the trailer sees water. A boat trailer that gets backed down a ramp needs attention more often, because hot hubs pull water past the seal as they cool. Repacking properly means the hub comes off, the old grease is washed out, the races are inspected for spalling and discoloration, the rollers are packed by hand, and a new inner seal goes in. Pumping grease through a spindle fitting fills the cavity but does not reliably force grease between the rollers, which is exactly where the wear happens.
Both tires on one axle are wearing on the inside edge. Why?
That is usually a bent axle tube or a badly overloaded axle. A trailer axle is built with an upward arch so that under rated load the tube flexes flat and the tires stand vertical. A curb strike, a deep pothole hit with the tanks full, or years of running over the rating will take that arch out. With the arch gone or reversed, the tops of the tires lean in, camber goes negative, and the inside edges scrub off. We measure camber across the spindles with the trailer loaded normally. A bent tube gets replaced; we do not heat and bend structural axle tubes.
Is an electric over hydraulic disc conversion worth the money?
It depends on the trailer and how you use it. On a heavy tandem or triple axle trailer, on anything you tow loaded through long grades, and on trailers that see salt or water, discs are a real improvement. They resist fade, they behave the same wet or dry, and they need far less adjustment attention over the years. On a light single axle trailer that sees a few thousand miles a year, healthy drum brakes stop it fine and cost roughly a quarter as much to maintain. The conversion adds a pump, an actuator, hard lines, calipers, rotors, and hubs, so it is a real project, not a bolt on.
Can you just replace the magnet instead of the whole backing plate?
We can, and sometimes it is the right call, but usually it is not the cheaper one. A complete backing plate assembly arrives with the magnet, shoes, springs, and adjuster already installed and set, so the bench time is a fraction of rebuilding a plate piece by piece. By the time a magnet is worn out, the shoes have usually glazed, the adjuster has usually seized, and the return springs have lost tension from heat. We replace individual magnets when everything else measures inside spec, or when the complete assembly is not available for an older hub face.
Can a bent trailer axle be straightened instead of replaced?
A light bend in a spindle can sometimes be corrected with the right fixture. A bent axle tube is replaced. Straightening a loaded structural member by heating and bending changes the steel where you heated it, and there is no practical way to verify the result on a trailer that is going to carry weight on a public road at speed. Replacement on a common Dexter or Alko axle is a predictable job, usually around 6 hours of labor plus the beam. We measure alignment before and after, because a new axle installed on tired springs or worn hangers will wear tires the same way the old one did.
What are wet bolts and does my trailer need them?
Wet bolts are shackle and equalizer bolts with a grease fitting in the head, running in bronze bushings instead of directly against steel. They let you push fresh grease into the pivot, which is the difference between a suspension that lasts and one where a dry steel bolt saws an oval into the hanger and the shackle plate. Any tandem or triple axle trailer benefits, and the conversion is worth doing the first time you have the suspension apart for anything else. Budget about half a day of labor plus the kit, then actually grease them a couple of times a year.
Do I pay for the diagnosis if I decide not to do the repair?
Yes. Diagnostic time bills at $285 per hour, and on a brake or axle complaint that means a loaded road test, pulling drums, measuring magnets and lining, checking current at each brake, and measuring axle camber and toe. If you authorize the repair, that diagnostic time is credited against the job. If you take the report and decide to wait, the diagnostic time stands as its own invoice. You get the measurements, the photos, and a written breakdown either way, so nothing about the inspection is wasted if you change your mind later in the season.
Standard on every job
What is included
These are not upgrades. They are how the work is run on every vehicle that comes through the building.
Full teardown where it is needed
We do not estimate through a closed panel. If the damage path runs behind trim or skin, we open it and document what is actually there.
Written, itemized scope
Parts, labor hours, and materials listed separately against the posted rate, so every line is something you can question.
Direct carrier communication
We talk to the adjuster so you are not relaying technical detail between two parties who both expect you to already understand it.
Supplement handling
When teardown finds more than the original inspection, we document and submit the supplement rather than absorbing it into a vague overage.
Correct repair sequence
Structural before cosmetic, every time. A straight body over a bent frame is a repair that fails its second life.
Systems tested under load
Electrical, plumbing, generator, and climate systems are run and verified before delivery, not just reconnected and assumed good.
Photo documentation throughout
Before, during, and after. Useful for your records, and decisive if a claim is ever revisited.
Delivery walkthrough
We go over what was done, what was replaced, and what to watch, in person, with the vehicle in front of you.
How the work runs
Our six step repair process
The same sequence on every vehicle, whether it is a single coach or a fleet of box trucks.
- 01
Assessment and documentation
We put the vehicle on the floor, pull panels where we need to see behind them, and photograph everything. Hidden damage found now is damage that does not become a supplement argument later.
- 02
Written estimate
You get a line by line estimate with parts, labor hours, materials, and the posted rate applied to each. Nothing is bundled into a single number you cannot check.
- 03
Carrier coordination
If a claim is involved we deal with the adjuster directly, submit the documentation, and handle supplements when teardown reveals more than the first inspection showed.
- 04
Authorization and scheduling
Once the scope is approved we confirm the deposit, order parts, and give you a realistic slot. Special order parts drive the timeline more often than labor does.
- 05
Repair
Structural first, then body, then paint, then systems and interior. The sequence is not negotiable because each stage has to be right before the next one covers it up.
- 06
Quality check and delivery
Multi point inspection, systems tested under load, paint inspected under corrected lighting, and a walkthrough with you before the vehicle leaves.
Keep reading
Related pages
Related services
Vehicles we repair
Talk to a repair specialist today
Tell us what happened and we will tell you what the repair actually involves, what it costs, and how long it takes. We work directly with every major carrier and serve Westminster owners and fleets from our 35,000 square foot facility.
Posted labor rates are published on our prices page. Diagnostic and systems assessment fees are credited against an authorized repair.