Mechanical and Systems
RV Electrical System Repair for Coaches and Trailers
In short
RV electrical work runs from $285 for a single diagnostic hour plus a small part up to $5,000 or more for a coach that needs feeders and a panel rebuilt. Most jobs finish in 1 to 6 business days. Westminster owners get a written estimate before anything is opened, and the first diagnostic hour is credited against an authorized repair.
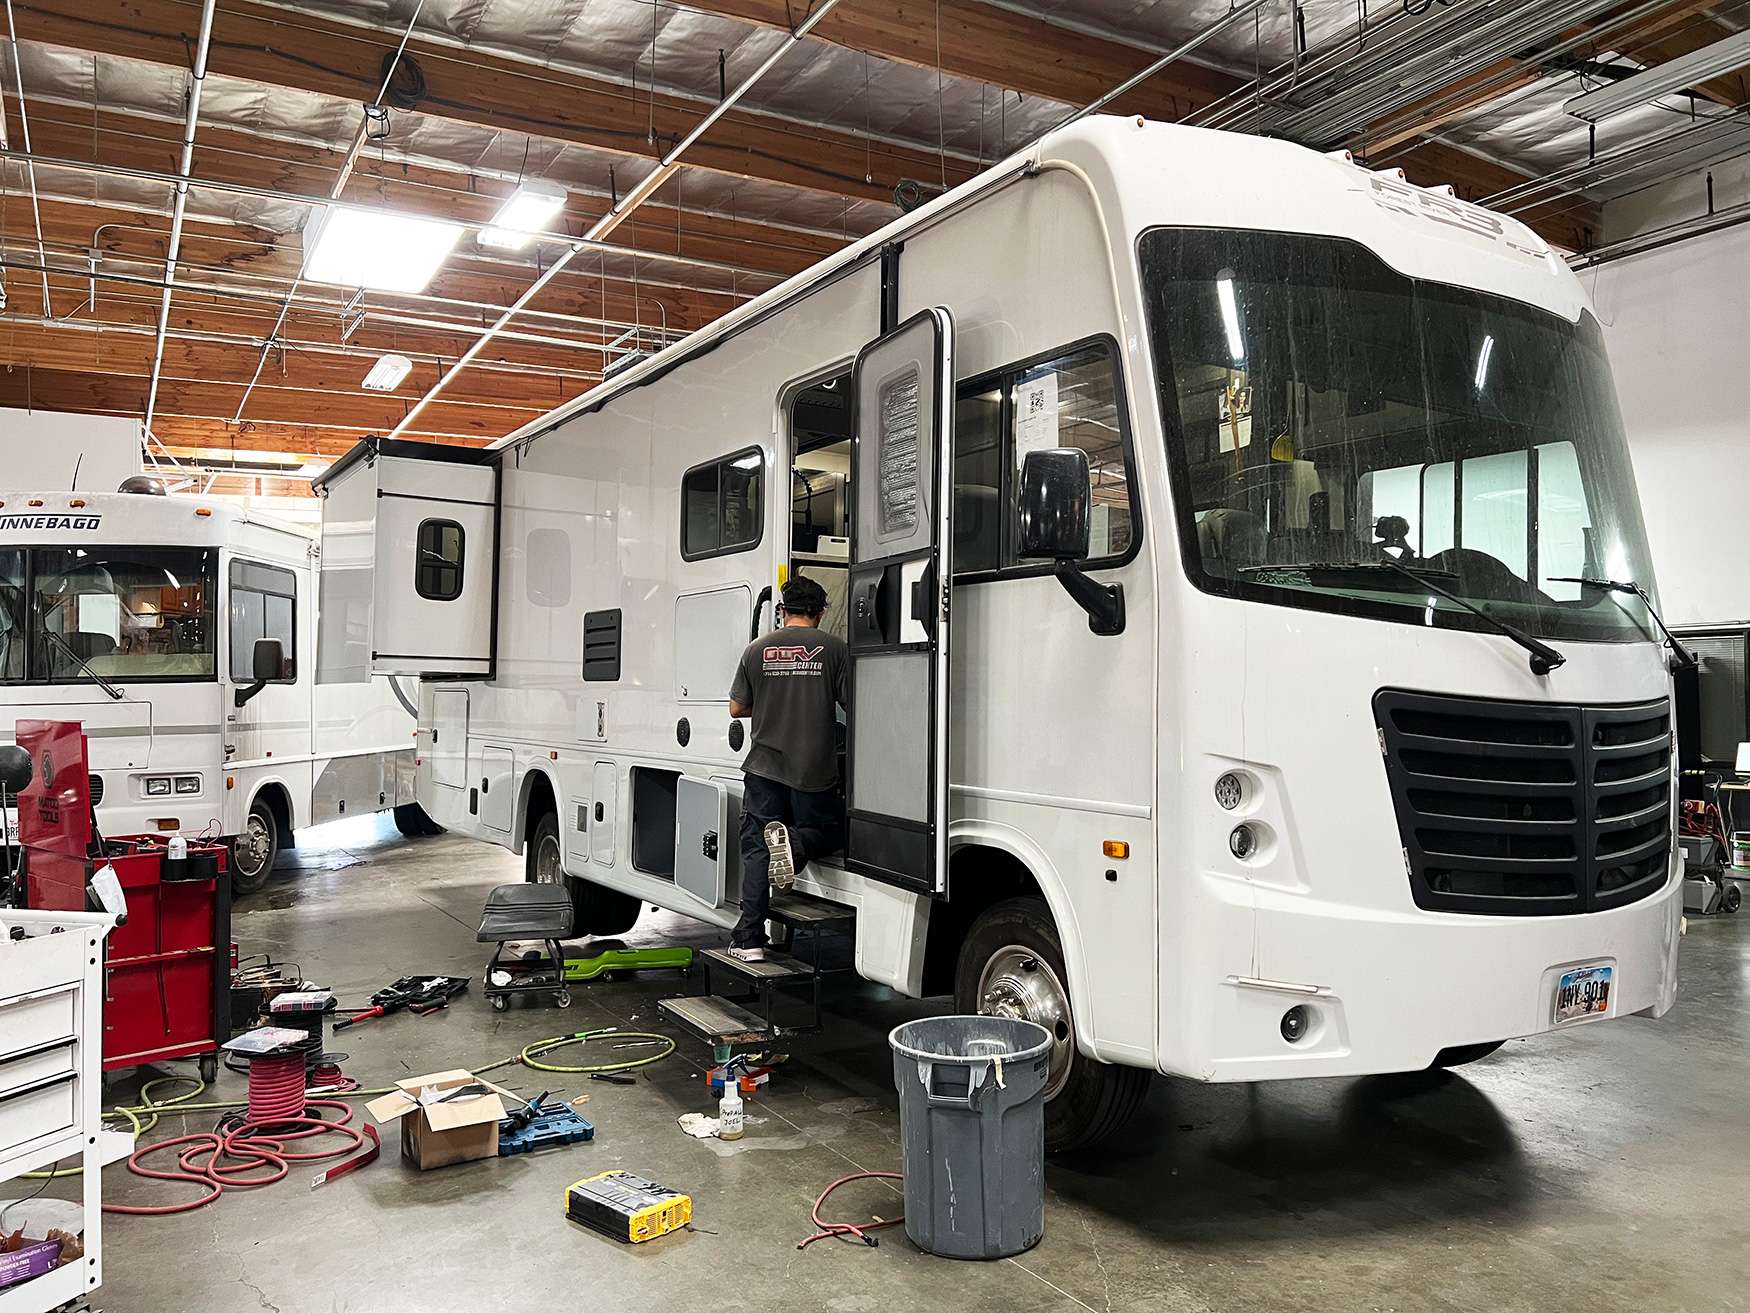
Nearly every RV electrical system repair starts with a symptom that points at the wrong part. Dim lights get blamed on batteries. A slow slide gets blamed on the motor. A dead outlet gets blamed on the converter. In practice the fault is usually a connection, a ground, or a bridge device between the three separate electrical systems in the coach. We test in order, isolate the system, and quote the actual repair before touching a single component.
Three Systems, One Coach, and Why That Matters
The single most useful thing an owner can learn is that an RV has three electrical systems and they fail differently. Chassis 12 volt runs the engine, the starter, the dash, and the running lights. House 12 volt runs interior lights, the water pump, control boards, slide motors, and jacks. The 120 volt system runs outlets, roof air, the microwave, and the converter that feeds the house bank. Tell us which of the three misbehaves and the diagnosis gets shorter and cheaper.
They are not fully separate. An isolation solenoid or a DC to DC charger connects chassis to house so the engine alternator can charge the house bank while you drive. The converter turns 120 volt shore power into 12 volt house power. An inverter runs the other way. When one of those bridge devices sticks partly closed or partly open, faults cross over and appear in a system that is perfectly healthy. A dead chassis battery after two nights parked is usually a stuck solenoid.
So the first thing we do is separate them physically. Shore cord off, generator off, house disconnect open, and each system tested alone with a known load. That takes time and it is why the first hour is diagnostic. Once the fault is confined to one system, the rest of the work moves fast. Skip this step and you end up replacing a converter, then a battery, then a board, while the original bad connection is still sitting there.
- Chassis 12 volt: starter, alternator, engine controls, dash, running lights
- House 12 volt: lights, water pump, furnace and refrigerator boards, slides, jacks
- 120 volt: outlets, roof air, microwave, converter input, residential refrigerator
- Bridge devices: isolation solenoid, DC to DC charger, converter, inverter, transfer switch
- First test: shore off, generator off, disconnect open, then load each system alone
Voltage Drop, Grounds, and the Math Nobody Runs
At 12 volts, wire resistance matters in a way it never does at 120 volts. Take a 15 amp load 20 feet from the panel on 14 gauge copper. Out and back is 40 feet of conductor, roughly 0.1 ohms, and 15 amps through 0.1 ohms drops about 1.5 volts. The load sees 11.1 volts instead of 12.6. A water pump runs slow. A slide motor stalls. An inverter shuts off on low input voltage while the battery monitor still reads full.
Grounds are worse, because the ground is usually the part nobody upgraded. A house ground strap bolted to a painted frame rail, or a ring terminal that has been damp for eight seasons, adds resistance in series with everything that returns through it. A meter will lie to you if you check it in ohms, because an ohmmeter pushes a few milliamps and finds almost nothing. The only honest test is a voltage drop test with the circuit loaded and working.
The threshold we use is simple. Under load, more than about 0.2 volts across a single ground connection is a bad connection, and more than about 0.5 volts across the whole positive feed is a wire or connector problem. We clean to bright metal, use a serrated ring terminal or a star washer, add dielectric grease, and torque the stud. That connection then stays good for years instead of coming back next season wearing a new set of symptoms.
30 Amp Versus 50 Amp Service and What Fits on Each Leg
A 30 amp RV cord is one hot leg at 120 volts, one neutral, one ground. That is 3,600 watts total for the entire coach. A 50 amp cord is two hot legs at 120 volts each, sharing a neutral and a ground, so 12,000 watts total split across two 50 amp legs. It is not a small upgrade. It is more than three times the capacity, and the panel inside the coach is wired so that roughly half the circuits sit on each leg.
On 30 amp service the math gets tight fast. A 15,000 BTU roof air pulls about 13 to 16 amps running and much more at startup. A residential refrigerator adds 2 to 3. A converter charging a depleted bank pulls 8 to 10. A microwave is 12 to 14 by itself. Run the roof air and the microwave together on 30 amps and the pedestal breaker opens. That is not a fault, that is arithmetic, and a soft start on the compressor helps the surge but does not create capacity.
On 50 amp service the common complaint is different. One leg trips and half the coach goes dark. Usually the load is unbalanced, with both air conditioners and the water heater element landed on the same leg. Rebalancing the panel is real work and it is worth doing once. The other frequent cause is a scorched cord end or pedestal contact, which we check before touching the panel, because a hot connection there mimics almost every other electrical fault in the coach.
- 30 amp: one 120 volt leg, 3,600 watts total for the whole coach
- 50 amp: two 120 volt legs, 12,000 watts total, roughly half the circuits per leg
- 15,000 BTU roof air: about 13 to 16 amps running, much higher at startup
- Microwave: 12 to 14 amps while it runs
- Converter in bulk charge: 8 to 10 amps on the 120 volt side
- Check the cord end and pedestal contacts before opening the panel
GFCI Trips, Parasitic Draw, and the Slow Hunts
A GFCI opens when current leaving on the hot does not return on the neutral within about 5 milliamps. On an RV that usually means moisture in an exterior outlet or its cover, a shared neutral between two circuits, a heating element with a leaking sheath in the water heater or the refrigerator, or a generator neutral bond fighting the bond at the pedestal. We isolate by unplugging every load downstream, resetting, and adding loads back one at a time until the device trips again.
Parasitic draw hunting is the slowest job in the shop and the one owners most want quoted flat. Baseline draw on a modern coach with the disconnect open is usually 30 to 90 milliamps, mostly the LP detector, a radio memory, and a control board keeping time. Anything above roughly 150 milliamps will flatten a bank over a couple of weeks. We clamp the negative cable, pull fuses one at a time, and watch where the number falls.
The complication is that some faults only appear when the coach is warm, or when the slide is halfway out and a harness is stretched over a corner, or after a bump in the road. Those take longer and we say so before we start. If the draw is intermittent we will sometimes ask to keep the coach overnight with a recording meter on the negative cable. That is honest diagnostic time, billed by the hour, and it beats buying parts on a hunch.
Aluminum, Copper, and Harnesses the Rodents Found
Some coaches, especially older ones and many 50 amp installations, use aluminum conductors for the main feeders. Aluminum is not bad wire, but it expands and contracts more than copper, it grows a resistive oxide film, and it needs the right lugs, an antioxidant compound, and correct torque. An aluminum feeder landed in a device rated only for copper will loosen, heat, and discolor its insulation. When we open a panel and find aluminum feeders, the inspection gets longer and we tell you why.
Rodent damage is the other recurring find. Mice and rats nest in the chassis harness area during storage and chew insulation off whatever is convenient. The symptom is usually strange enough to be memorable: turn signals that flash the marker lights, a slide that runs one direction only, a code that no scan data explains. We pull the harness down, unwrap the loom, and look. Repairs get soldered and covered with adhesive lined heat shrink, not crimped with butt connectors and taped over.
Sometimes the honest answer is that a harness section is past repair and a replacement section is the better spend. We will tell you when that line is crossed. Chasing forty chewed conductors at $260 per hour passes the cost of a new harness section quickly, and a patched harness carrying dozens of splices is a coach that comes back with a new symptom every trip. That conversation happens before we keep going, not after the invoice is written.
- Aluminum feeders: correct lugs, antioxidant compound, torque to spec, recheck after a heat cycle
- Discolored insulation at a lug means heat, and heat means a loose or corroded connection
- Rodent chew: unwrap the loom and look, do not trust a resistance reading alone
- Repairs get soldered and sealed with adhesive lined heat shrink
- Past roughly twenty splices in one section, replacement is the better spend
What Electrical Work Costs in Our Shop
Diagnostic labor is $285 per hour and the first hour is credited against an authorized repair on the same visit. The credit applies to labor and cannot take the ticket below that first diagnostic hour plus parts, so a very small job still bills the hour. Repair labor is $260 per hour. Parts carry 100 percent markup at or under $100 and 35 percent above $100. Sales tax is 7.75 percent on parts and materials, and California does not tax labor.
Small example. An exterior outlet trips its GFCI every time it rains. One diagnostic hour finds water in the box and a cracked in use cover. The fix is 0.5 hours of repair labor at $260, which is $130 and falls inside the credited hour, so labor bills at $285. The GFCI receptacle is $28 and doubles to $56 under the markup rule. The cover is $22 and doubles to $44. Parts total $100, tax is $7.75, and the invoice is $392.75.
Larger example. A stored coach arrives with a stalled slide, dead marker lights, and a refrigerator code, all traced to a rodent chewed chassis harness. Two diagnostic hours at $285 is $570 and the repair takes 4.5 hours at $260, which is $1,170. Labor subtotal is $1,740, less the $285 credit, so $1,455. Parts are $88 of loom, connectors, and a ground strap kit doubled to $176, plus a $215 junction module at 35 percent, which is $290.25. Parts total $466.25, tax is $36.13, and the invoice is $1,957.38.
Top of the range. A 50 amp coach needs the panel rebalanced, the converter replaced, and a burned feeder run replaced end to end. Three diagnostic hours at $285 is $855 and 14 hours of repair labor at $260 is $3,640, so labor is $4,495 less the $285 credit, or $4,210. Parts at $1,300 carry 35 percent, which is $1,755, and tax on that is $136.01. The invoice lands at $6,101.01, and because it is above $2,000 we collect a 50 percent deposit before ordering.
- Diagnostic labor: $285 per hour, first hour credited against an authorized repair
- Repair labor: $260 per hour
- Parts: 100 percent markup at or under $100, 35 percent above $100
- Sales tax: 7.75 percent on parts and materials, none on labor
- Deposit: 50 percent on any authorized job above $2,000
Questions
Frequently asked questions
Why does my battery read 12.6 volts but everything runs slow?
Resting voltage tells you very little about a battery under load, and it tells you nothing at all about the wiring between the battery and the load. A bank at 12.6 volts can drop to 10 volts the moment a slide motor pulls 40 amps, either because the plates are sulfated or because a corroded ground eats the difference. We load test the bank, then run a voltage drop test on the positive feed and the ground path while the circuit is working. More than about 0.2 volts across a single ground connection under load is the fault, not the battery.
Can you tell me over the phone what my electrical problem is?
We can usually narrow it to one of the three systems, which is worth doing before you drive over. Tell us whether the problem happens on shore power, on the generator, on battery only, or in all three states, and whether it started after storage, after a trip, or after someone else worked on the coach. That conversation is not a diagnosis. Anyone who quotes you a part over the phone is guessing, and the guess gets billed to you. The first diagnostic hour is $285 and it comes off the ticket when you authorize the repair.
What can I actually run at the same time on 30 amp service?
Thirty amp service is one 120 volt leg, so 3,600 watts total. A 15,000 BTU roof air takes 13 to 16 amps while running. A microwave takes 12 to 14. A converter charging a depleted bank takes 8 to 10. A residential refrigerator takes 2 to 3. Add the air conditioner and the microwave and you are at or past the limit before the water heater element wakes up. Practically, run one large load at a time, put the water heater on gas while cooking, and expect the pedestal breaker to open if you ignore the arithmetic.
My GFCI keeps tripping. Do I need a new one?
Sometimes, but the device is the last thing we suspect. A GFCI opens when the current leaving on the hot does not return on the neutral within about 5 milliamps, so it is doing its job when it trips. On an RV the usual causes are moisture in an exterior outlet or its cover, a water heater or refrigerator heating element with a leaking sheath, a shared neutral between two circuits, or a generator neutral bond fighting the bond at the pedestal. We isolate by unplugging everything downstream and adding loads back one at a time until it trips.
Something is draining my batteries while the RV is parked. How do you find it?
We clamp the negative cable with the disconnect open and read the baseline. A modern coach normally sits at 30 to 90 milliamps, mostly the LP detector, a radio memory, and a clock. Above roughly 150 milliamps something is awake that should not be. From there we pull fuses one at a time and watch where the number falls, which sounds simple and is genuinely slow. Intermittent draws are worse, and for those we sometimes ask to keep the coach overnight with a recording meter on the cable. It is billed at the diagnostic rate by the hour.
Is aluminum wiring in an RV a problem?
Not by itself. Aluminum is used for main feeders in plenty of 50 amp installations and it works when it is terminated correctly. The problems come from the terminations. Aluminum expands and contracts more than copper and it grows a resistive oxide film, so it needs lugs rated for aluminum, an antioxidant compound, correct torque, and a recheck after a heat cycle. An aluminum conductor landed in a copper only device will loosen and heat. When we open a panel and find aluminum feeders, we inspect and torque every termination and tell you exactly what we found.
Mice chewed my wiring. Is it worth repairing?
Usually yes, up to a point. We pull the affected harness down, unwrap the loom, and count the damage. Individual chewed conductors get cut back to good insulation, soldered, and covered with adhesive lined heat shrink, because a crimped butt connector in a vibrating chassis becomes next season's problem. The point where it stops being worth it is roughly twenty splices in one section. Past that, a replacement harness section costs less than the labor at $260 per hour and gives you a coach that does not come back with a new symptom every trip.
How long will an electrical repair keep my RV in the shop?
Most electrical jobs run 1 to 6 business days. A GFCI, a ground strap, or a converter swap is often the same week. Harness work takes longer because access is the job, and reaching a chassis harness sometimes means dropping a belly pan or pulling interior panels. Panel rebalancing and feeder replacement on a 50 amp coach is usually a full week. Parts drive the rest, and control boards for specific appliances are the slowest items. We give you the parts timeline with the estimate and we do not open the coach until parts are confirmed.
Standard on every job
What is included
These are not upgrades. They are how the work is run on every vehicle that comes through the building.
Full teardown where it is needed
We do not estimate through a closed panel. If the damage path runs behind trim or skin, we open it and document what is actually there.
Written, itemized scope
Parts, labor hours, and materials listed separately against the posted rate, so every line is something you can question.
Direct carrier communication
We talk to the adjuster so you are not relaying technical detail between two parties who both expect you to already understand it.
Supplement handling
When teardown finds more than the original inspection, we document and submit the supplement rather than absorbing it into a vague overage.
Correct repair sequence
Structural before cosmetic, every time. A straight body over a bent frame is a repair that fails its second life.
Systems tested under load
Electrical, plumbing, generator, and climate systems are run and verified before delivery, not just reconnected and assumed good.
Photo documentation throughout
Before, during, and after. Useful for your records, and decisive if a claim is ever revisited.
Delivery walkthrough
We go over what was done, what was replaced, and what to watch, in person, with the vehicle in front of you.
How the work runs
Our six step repair process
The same sequence on every vehicle, whether it is a single coach or a fleet of box trucks.
- 01
Assessment and documentation
We put the vehicle on the floor, pull panels where we need to see behind them, and photograph everything. Hidden damage found now is damage that does not become a supplement argument later.
- 02
Written estimate
You get a line by line estimate with parts, labor hours, materials, and the posted rate applied to each. Nothing is bundled into a single number you cannot check.
- 03
Carrier coordination
If a claim is involved we deal with the adjuster directly, submit the documentation, and handle supplements when teardown reveals more than the first inspection showed.
- 04
Authorization and scheduling
Once the scope is approved we confirm the deposit, order parts, and give you a realistic slot. Special order parts drive the timeline more often than labor does.
- 05
Repair
Structural first, then body, then paint, then systems and interior. The sequence is not negotiable because each stage has to be right before the next one covers it up.
- 06
Quality check and delivery
Multi point inspection, systems tested under load, paint inspected under corrected lighting, and a walkthrough with you before the vehicle leaves.
Keep reading
Related pages
Related services
Vehicles we repair
Talk to a repair specialist today
Tell us what happened and we will tell you what the repair actually involves, what it costs, and how long it takes. We work directly with every major carrier and serve Westminster owners and fleets from our 35,000 square foot facility.
Posted labor rates are published on our prices page. Diagnostic and systems assessment fees are credited against an authorized repair.