Mechanical and Systems
RV Inverter and Converter Repair Done in the Right Order
In short
Converter and inverter work runs from about $750 for a converter section replacement to $4,500 or more for a pure sine inverter charger with new cabling and a remote panel. Most jobs sit in the shop 2 to 8 business days. Diagnostic time bills at $285 per hour and the first hour is credited against an authorized repair.
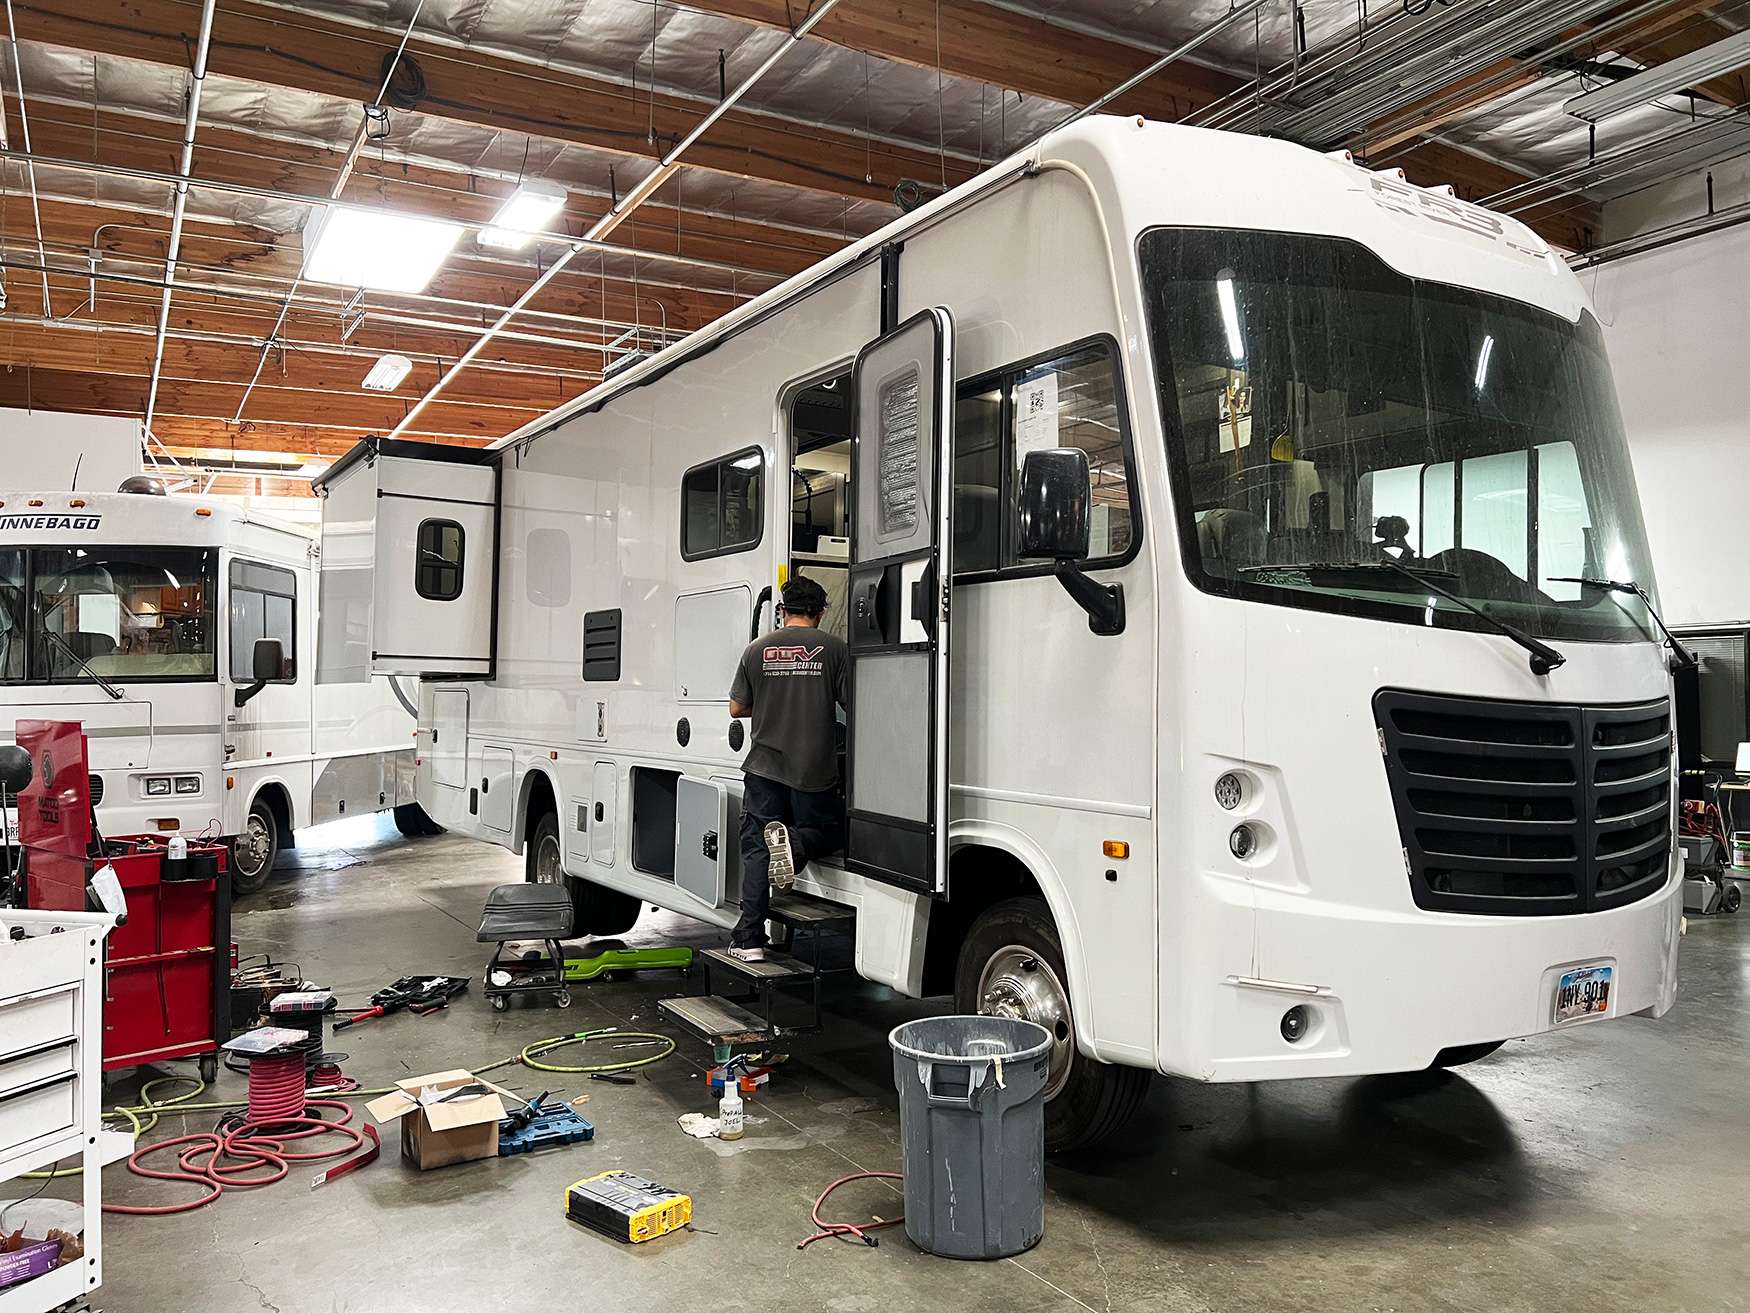
Most RV inverter and converter repair calls start with the two devices getting mixed up, and that is understandable, because a lot of coaches now carry one box that does both jobs. A converter turns shore power into 12 volt power. An inverter turns battery power into 120 volt power. Westminster owners usually call us after buying one and finding the other was the problem. We test the bank, the converter, the transfer switch, and the inverter in that order.
What a Converter Does and What an Inverter Does
A converter takes 120 volt shore or generator power and turns it into 12 volt DC to run the house loads and charge the battery bank. An inverter does the opposite. It takes 12 volt DC from the bank and makes 120 volt AC so you can run outlets, a microwave, or a residential refrigerator with no shore power. Many coaches now use a combined inverter charger that does both in one box, which is exactly why owners describe the wrong device on the phone.
The quick test for which one you have a problem with is what works when. If the interior 12 volt system is weak only while you are plugged in, and fine on battery, look at the converter. If the outlets are dead only when you are off shore power, look at the inverter. If everything is dead on shore power but fine on the generator, look at the transfer switch. Three different parts, three different price points, and one careless guess can cost a couple thousand dollars.
The other reason the two get confused is that they share a battery bank and a set of cables. A weak bank makes the inverter shut down on low input voltage, which looks like a dead inverter. A bad converter leaves the bank chronically undercharged, which makes the inverter shut down for the same reason. We measure bank health, then converter output, then inverter behavior, in that order, because working out of order usually means buying a part you did not need.
- Converter: 120 volt in, 12 volt out, charges the bank and runs house loads
- Inverter: 12 volt in, 120 volt out, runs outlets with no shore power
- Inverter charger: both functions in one box, and one failure point
- Transfer switch: chooses shore power or generator, and fails as a dead coach
- Symptom timing tells you which device to test first
Modified Sine, Pure Sine, and What Appliances Care About
A modified sine wave inverter makes a stepped waveform that averages out to something a resistive load does not object to. A toaster, an incandescent lamp, or a heating element does not care. A pure sine inverter makes a smooth waveform that matches what a utility supplies. Anything with a motor, a transformer, a variable speed compressor, or a switching power supply cares a great deal, and the difference shows up as heat, buzz, and shortened life rather than an instant failure.
The practical rule we give owners is this. If you plan to run a residential refrigerator, a modern television, a CPAP machine, an inverter microwave, or any tool with a brushless motor, buy pure sine and stop thinking about it. If the inverter only ever runs a coffee maker and phone chargers, modified sine is survivable. Retrofitting a modified sine unit into a coach that already has a residential refrigerator is the most common mistake we get called in to correct.
Symptoms of a waveform mismatch are specific enough to recognize. A refrigerator compressor that hums and never starts. A television with bars rolling through the picture. A microwave that takes noticeably longer to heat than it does on shore power. A CPAP that alarms. None of those are broken appliances. They are the appliance telling you the waveform is wrong, and swapping the inverter is the correct fix, not replacing the appliance that complained.
Transfer Switches and the Fault That Looks Like a Dead Inverter
An automatic transfer switch decides whether the coach panel sees shore power or generator power, and it does that with contactors carrying the full load. Contacts pit and burn over time, especially if the coach was ever plugged into a loose pedestal. A pitted contact carries current until it does not, so the failure is usually intermittent and heat related. The classic report is that everything works for twenty minutes and then half the coach drops out with no warning.
Because the transfer switch sits upstream of the inverter charger in most installations, a failing switch shows up as an inverter that will not charge, an inverter that faults on AC input, or a coach that runs on the generator but not on shore power. Owners buy an inverter. The new inverter does the same thing. We open the transfer switch box first on any complaint where shore power and generator power behave differently, because it is quick and cheap to check.
Inspection is visual and thermal. We look for burned contacts, discolored terminals, and melted insulation, then run each source and measure voltage on both sides of the switch under load. If the input reads 122 volts and the output reads 108 with a roof air running, the switch is done. Replacement is straightforward on most coaches and the part costs far less than an inverter, which is a good outcome for an owner who was told to buy the wrong thing.
Charge Profiles, Cooked Batteries, and Lithium Conversions
A modern converter charger runs stages. Bulk at roughly 14.4 volts to push current in, absorption to finish the top of the charge, and float around 13.2 to 13.6 volts to hold it. Older single stage converters just sat at 13.8 volts forever, which slowly boils the electrolyte out of flooded lead acid batteries and dries out sealed ones. If an owner is adding water every month or buying batteries every eighteen months, the converter is usually the reason, not the batteries.
Lithium iron phosphate conversions bring the opposite problem. Lithium wants a lower absorption voltage held for a shorter period, a float near 13.4 volts or none at all, and no equalize stage. A lead acid converter left in place will either overcharge the pack until the battery management system disconnects, which reads to the owner as a dead coach, or undercharge it so the pack never reaches full and the owner concludes the expensive batteries were defective.
A proper conversion is more than dropping in new batteries. The converter or inverter charger needs a lithium profile, the alternator path needs a DC to DC charger so the engine charging system is not asked to hold a lithium pack at full current, the solar controller needs its own profile set, and the low temperature charge cutoff has to be respected. We check all four charge sources before we call a lithium conversion complete.
- Lead acid: absorption near 14.4 volts, float roughly 13.2 to 13.6 volts
- Lithium: lower absorption, shorter hold, float near 13.4 volts or none, no equalize
- Four charge sources to reconcile: converter, alternator, solar, portable charger
- Add a DC to DC charger on any lithium conversion that charges off the alternator
- Respect the low temperature charge cutoff built into the battery management system
Cable Size, Lug Torque, and Load Math for a Real Bank
Inverter cable size is not a preference. A 2,000 watt inverter at full output pulls roughly 175 amps from a 12 volt bank once you account for conversion loss. A 3,000 watt unit pulls closer to 265 amps. Those currents want 2/0 cable for short runs on the smaller unit and 4/0 on the larger one, with a correctly sized class T or ANL fuse close to the battery positive terminal. Undersized cable does not fail dramatically. It sags, heats, and makes the inverter fault on low input voltage.
Lug terminations matter as much as the cable itself. A hydraulic crimp, the right lug for the strand count, adhesive lined heat shrink, and a torque wrench on the stud. Every loose lug we find has a discolored washer and a smell you learn to recognize. Retorquing after the first heat cycle is worth doing. A connection that reads fine cold can drop half a volt under 200 amps, and at 12 volts that is a meaningful share of the entire supply.
Run the load math before buying anything. A residential refrigerator uses roughly 1.2 to 1.6 kilowatt hours per day, which at 12 volts is about 100 to 133 amp hours per day once you include inverter overhead. A 1,500 watt microwave pulls about 131 amps while it runs, so ten minutes costs around 22 amp hours. A 400 amp hour lithium bank gives you close to 400 usable amp hours, which is roughly two days of a residential refrigerator and normal house loads with no solar and no engine charging.
- 2,000 watt inverter: roughly 175 amps from a 12 volt bank at full output
- 3,000 watt inverter: roughly 265 amps, which wants 4/0 cable on short runs
- Fuse the positive cable close to the battery, sized to the cable, not the inverter
- Hydraulic crimp, correct lug, adhesive lined heat shrink, torque to spec
- Residential refrigerator: about 100 to 133 amp hours per day at 12 volts
- 1,500 watt microwave: about 131 amps running, roughly 22 amp hours per ten minutes
Fault Codes and Remote Panels
Most inverter chargers report faults through a remote panel or a status light pattern, and those codes are more useful than owners expect. Low battery, high battery, over temperature, overload, and AC input out of range each point at a different part of the system. Over temperature on a unit installed in a sealed basement compartment is an installation problem, not a failed inverter. Overload on a 2,000 watt unit running a 1,500 watt microwave plus a coffee maker is arithmetic, not a defect.
Remote panels fail on their own, usually at the communication cable. A blank panel with a working inverter is a cable or a connector, and we check that before condemning anything expensive. On the other side, a panel showing a state of charge that has drifted badly usually means the shunt was never configured for the actual bank capacity, or loads were landed on the wrong side of the shunt so some current never gets counted at all.
We log what the panel reports, then verify it with our own instruments, because a panel reading is a sensor reading and sensors drift. Battery voltage at the terminal, voltage at the inverter input under load, AC output voltage and frequency, and compartment temperature during a sustained run. That set of measurements tells us whether the box failed or the installation around it did, and those two answers carry very different price tags.
What Inverter and Converter Work Costs
Diagnostic labor is $285 per hour and the first hour is credited against an authorized repair on the same visit. The credit applies to labor and cannot take a ticket below that first diagnostic hour plus parts. Repair labor is $260 per hour. Parts carry 100 percent markup at or under $100 and 35 percent above $100. Sales tax is 7.75 percent on parts and materials, and California does not tax labor. Any authorized job above $2,000 takes a 50 percent deposit.
Bottom of the range. A converter section has failed and the bank never charges past 12.9 volts on shore power. One diagnostic hour at $285 plus 1.5 hours of repair labor at $260, which is $390, makes labor $675, less the $285 credit, so $390 bills. The replacement converter section is $260 and carries 35 percent, which is $351. Tax on the part is $27.20. The invoice is $768.20 and the coach is done in two business days.
Middle of the range. A 2,000 watt pure sine inverter charger replaces a failed modified sine unit. Diagnostic runs 1.5 hours at $285, which is $427.50, and installation takes 5 hours at $260, which is $1,300. Labor totals $1,727.50 less the $285 credit, so $1,442.50. Parts are the inverter charger at $1,180 plus 35 percent, or $1,593, a $96 cable and lug kit doubled to $192, a $68 fuse and holder doubled to $136, and a $165 remote panel at 35 percent, or $222.75. Parts total $2,143.75, tax is $166.14, and the invoice is $3,752.39, with a deposit of about $1,876 up front.
Above the range. A 3,000 watt inverter charger with all new 4/0 cabling, a class T fuse, and a remote panel runs 1.5 diagnostic hours and 8 hours of installation. Labor is $427.50 plus $2,080, less the $285 credit, so $2,222.50. Parts are $2,957.50 after markup and tax on them is $229.21, which puts the invoice at $5,409.21. That is why the posted range carries a plus sign. Cable, fusing, and mounting are most of the difference, not the box.
- Diagnostic labor: $285 per hour, first hour credited against an authorized repair
- Repair labor: $260 per hour
- Parts: 100 percent markup at or under $100, 35 percent above $100
- Sales tax: 7.75 percent on parts and materials, none on labor
- Deposit: 50 percent on any authorized job above $2,000
Questions
Frequently asked questions
How do I know if it is my inverter or my converter?
Go by when the problem happens. If the house 12 volt system is weak only while you are plugged in, and the batteries hold up fine off shore power, the converter is the suspect. If the 120 volt outlets are dead only when you are not plugged in, the inverter is the suspect. If nothing works on shore power but everything works on the generator, look at the transfer switch before either device. Many coaches use a combined inverter charger, in which case both symptoms point at one box, and the real fault could still be the battery bank feeding it.
Do I really need a pure sine inverter?
It depends entirely on what you plan to run. Resistive loads like a toaster, a kettle, or an incandescent lamp do not care about waveform. Anything with a motor, a transformer, a variable speed compressor, or a switching power supply does. If your coach has a residential refrigerator, a modern television, a CPAP machine, or an inverter microwave, pure sine is the correct answer, and modified sine will produce hums, rolling picture bars, slow heating, and shortened appliance life. If the inverter only runs chargers and a coffee maker, modified sine is survivable and cheaper.
My batteries keep dying even though I stay plugged in. Why?
That pattern usually means the converter is not finishing the charge or is holding the wrong voltage. An older single stage converter parked at 13.8 volts will slowly dry out sealed batteries and boil water out of flooded ones. A converter stuck in float never brings the bank to full. We measure output voltage at the battery terminals in each stage, check for voltage drop between the converter and the bank, and confirm the charge profile matches the battery chemistry. If you converted to lithium and kept the lead acid converter, that alone explains the whole complaint.
I switched to lithium batteries. Do I need a new converter?
Almost always, and probably more than that. Lithium iron phosphate wants a lower absorption voltage held for a shorter period, a float near 13.4 volts or none at all, and no equalize stage. A lead acid converter will either overcharge the pack until the battery management system disconnects, which reads as a dead coach, or leave it short of full. There are also three other charge sources to reconcile: the alternator, which needs a DC to DC charger, the solar controller, which needs its own profile, and any portable charger. We check all four.
Can I run my residential refrigerator off the batteries overnight?
Overnight, yes, with a reasonable bank. A residential refrigerator uses about 1.2 to 1.6 kilowatt hours per day, which at 12 volts is roughly 100 to 133 amp hours per day once you include inverter overhead. Overnight alone is maybe 40 to 55 amp hours, and a 200 amp hour lithium bank handles that comfortably. Running for several days with no solar and no engine charging is a different question, and that is where owners get caught, because the refrigerator is a continuous load and the bank never gets a chance to recover.
My inverter shuts off when the microwave starts. Is it undersized?
Possibly, but check the input side first. A 1,500 watt microwave pulls about 131 amps from a 12 volt bank while it runs. If the cable is undersized, a lug is loose, or the bank is weak, the inverter input voltage sags below its low voltage cutoff and the unit shuts down to protect itself. The inverter is doing exactly what it should. We measure voltage at the inverter terminals during the surge, not at the battery, because the difference between those two readings is the whole diagnosis.
What is a transfer switch and why would it be the problem?
It is the box that decides whether the coach panel sees shore power or generator power, and it carries the entire load through mechanical contacts. Those contacts pit and burn over the years, especially after a loose pedestal connection. Because it sits upstream of the inverter charger in most installations, a failing switch shows up as an inverter that will not charge, faults on AC input, or drops half the coach after twenty minutes of running. Owners buy a new inverter and get the same symptom. It is quick to check, so we check it first.
How much of the diagnostic charge comes back if I approve the repair?
The first diagnostic hour, $285, is credited against the authorized repair on the same visit. If the diagnosis takes two hours, you pay for the second hour. The credit applies to labor and cannot reduce the ticket below that first hour plus parts and tax, so a very small repair still bills the diagnostic hour. If you decide not to authorize the work, you owe the diagnostic time and you keep a written report of every measurement we took, which any other shop can act on without repeating it.
Standard on every job
What is included
These are not upgrades. They are how the work is run on every vehicle that comes through the building.
Full teardown where it is needed
We do not estimate through a closed panel. If the damage path runs behind trim or skin, we open it and document what is actually there.
Written, itemized scope
Parts, labor hours, and materials listed separately against the posted rate, so every line is something you can question.
Direct carrier communication
We talk to the adjuster so you are not relaying technical detail between two parties who both expect you to already understand it.
Supplement handling
When teardown finds more than the original inspection, we document and submit the supplement rather than absorbing it into a vague overage.
Correct repair sequence
Structural before cosmetic, every time. A straight body over a bent frame is a repair that fails its second life.
Systems tested under load
Electrical, plumbing, generator, and climate systems are run and verified before delivery, not just reconnected and assumed good.
Photo documentation throughout
Before, during, and after. Useful for your records, and decisive if a claim is ever revisited.
Delivery walkthrough
We go over what was done, what was replaced, and what to watch, in person, with the vehicle in front of you.
How the work runs
Our six step repair process
The same sequence on every vehicle, whether it is a single coach or a fleet of box trucks.
- 01
Assessment and documentation
We put the vehicle on the floor, pull panels where we need to see behind them, and photograph everything. Hidden damage found now is damage that does not become a supplement argument later.
- 02
Written estimate
You get a line by line estimate with parts, labor hours, materials, and the posted rate applied to each. Nothing is bundled into a single number you cannot check.
- 03
Carrier coordination
If a claim is involved we deal with the adjuster directly, submit the documentation, and handle supplements when teardown reveals more than the first inspection showed.
- 04
Authorization and scheduling
Once the scope is approved we confirm the deposit, order parts, and give you a realistic slot. Special order parts drive the timeline more often than labor does.
- 05
Repair
Structural first, then body, then paint, then systems and interior. The sequence is not negotiable because each stage has to be right before the next one covers it up.
- 06
Quality check and delivery
Multi point inspection, systems tested under load, paint inspected under corrected lighting, and a walkthrough with you before the vehicle leaves.
Keep reading
Related pages
Related services
Vehicles we repair
Talk to a repair specialist today
Tell us what happened and we will tell you what the repair actually involves, what it costs, and how long it takes. We work directly with every major carrier and serve Westminster owners and fleets from our 35,000 square foot facility.
Posted labor rates are published on our prices page. Diagnostic and systems assessment fees are credited against an authorized repair.