Resources
RV Collision Repair Case Studies
In short
These are six representative RV collision repair case studies built from the kinds of jobs that come through our doors most often. Each one describes what arrived, what teardown exposed, how the scope changed, and roughly what the repair cost and how long it took. They are composites of common work, not records of identified customers.
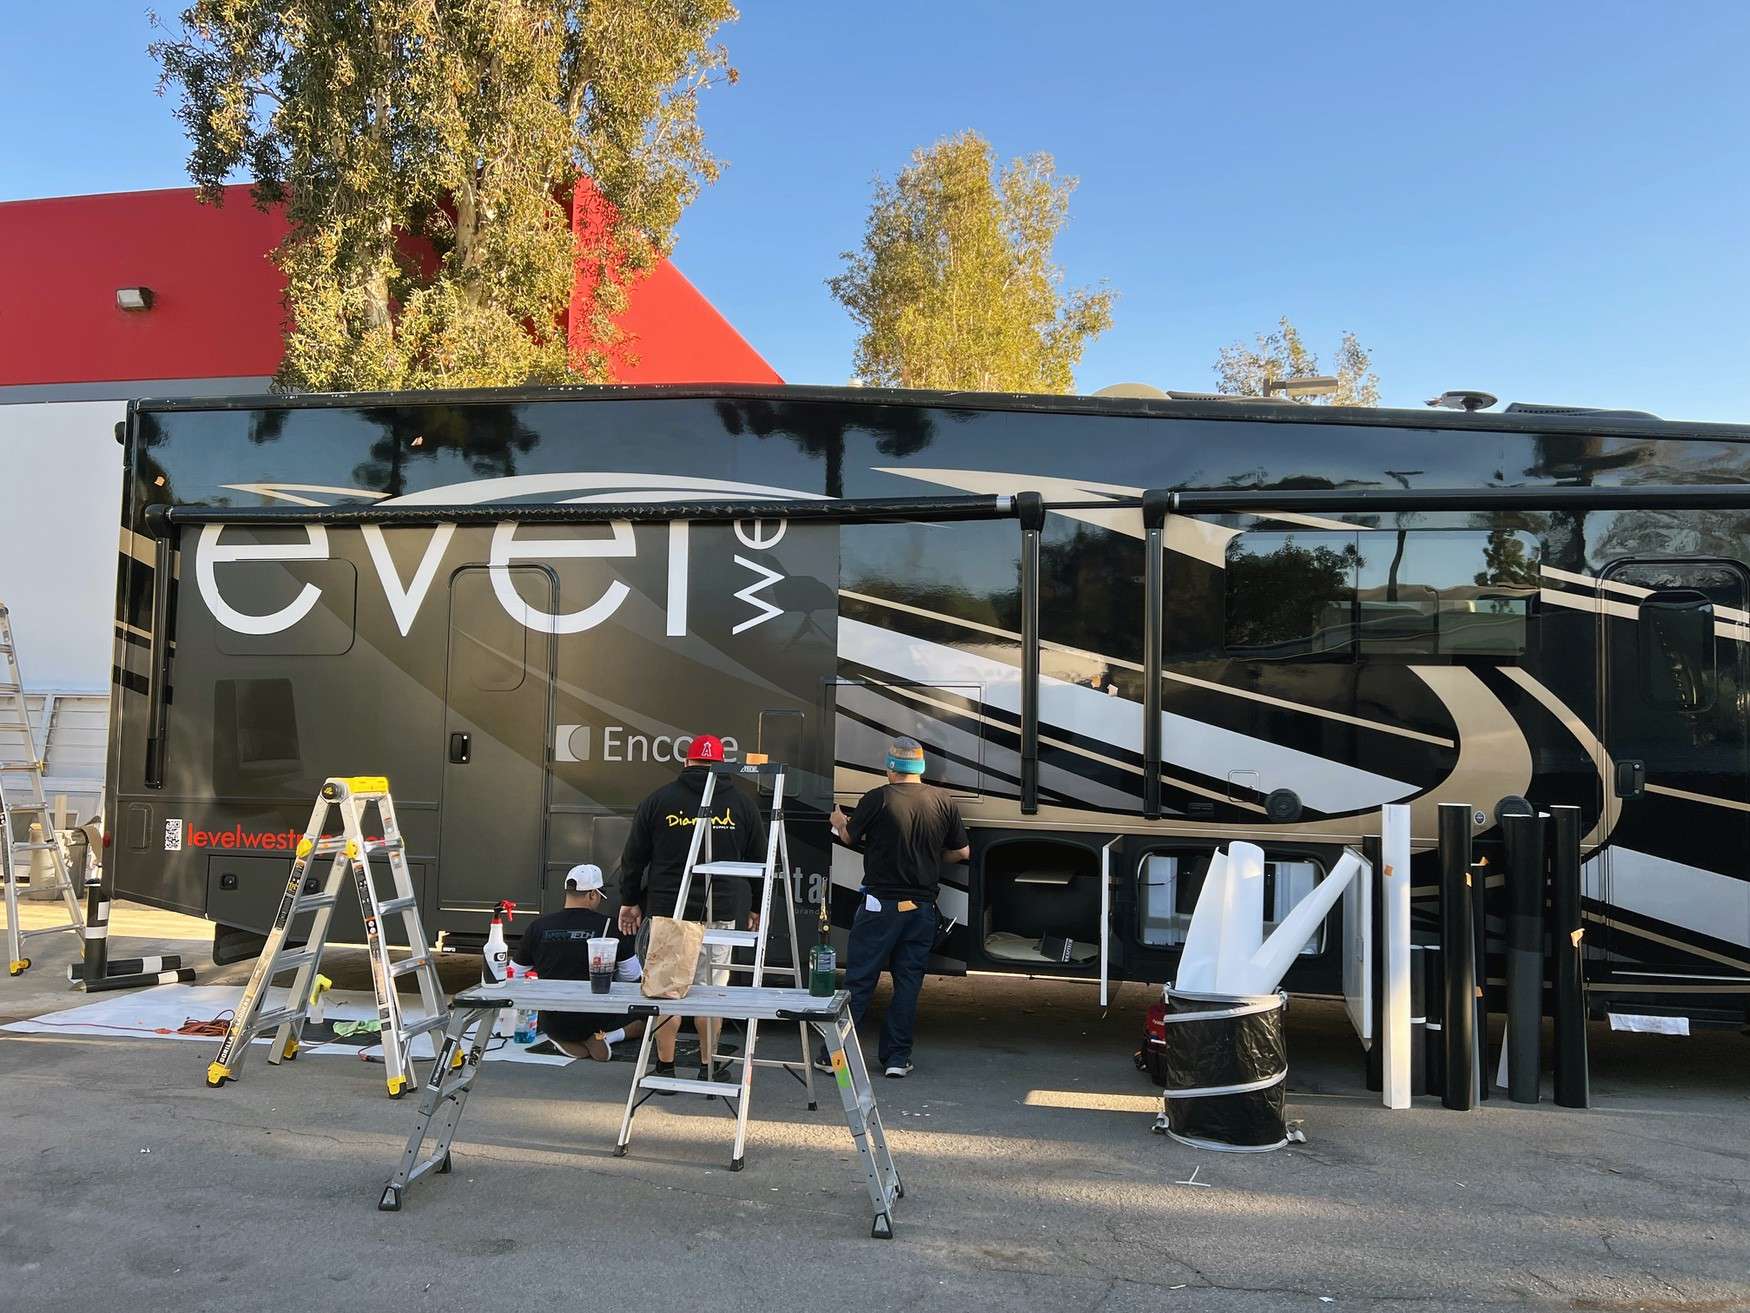
These rv collision repair case studies are composites. Each one is assembled from the recurring pattern of a job type we see regularly, with no customer name, no date, no plate, and no identifying detail of any kind. Nothing here describes one specific person's vehicle, and nothing here should be read as a promise about yours. What they do show accurately is the shape of these repairs: how much of the final scope was invisible at drop off, and where the time actually goes.
How to Read These Cases
Every scenario below is a composite. We build them by taking the pattern that repeats across many jobs of one type and describing that pattern, which means no case corresponds to a single customer, a single vehicle, or a single claim. There are no names, no dates, no unit identifiers, and no details that could point at anyone. OCRV Center does not publish identified customer repair records, and no reader should treat these as such.
The cost figures are ranges, not quotes. They reflect posted labor rates and the parts and materials a job of that description typically consumes. Your unit's actual number depends on its construction, its finish, its parts availability, and what teardown finds. The timelines are calendar time from drop off to release, including the parts wait, because that is the number owners actually plan around.
The most useful thing in each case is not the dollar figure. It is the gap between what the damage looked like in the parking lot and what it looked like with the panels off. That gap is the single most consistent feature of coach collision work, and it is why any estimate written without disassembly is a starting point rather than an answer.
Case One: Class A Diesel Coach, Rear Corner Impact
A 40 foot diesel coach arrived after a low speed rear corner contact in a campground. The visible damage read as modest: a cracked rear cap at the corner radius, a broken taillight housing, and scuffing across about three feet of the rear quarter. The owner had been told by a general shop that it looked like a two week job. It was not.
Teardown told a different story. The crack in the cap ran further than the surface showed and had propagated into the bond line where the cap meets the sidewall laminate. Behind the quarter, the rear outrigger was deflected, and the rear slide had begun racking on cycle, which is the symptom that turns a body repair into a structural one. Measurement confirmed the rear section had moved enough to require anchoring and a controlled pull before anything cosmetic could proceed.
The final scope covered rear cap replacement, sectioning and replacement of the damaged outrigger with post repair measurement verification, re-lamination of roughly four feet of rear sidewall, slide opening realignment, and paint across the new cap with blend carried into both rear quarters because the coach had painted graphics that had to line up across the seam. Structural verification was completed and recorded before any finish work was scheduled.
- What came in: cracked rear cap corner, broken lamp housing, quarter panel scuffing
- What teardown found: crack propagation into the cap to sidewall bond, deflected rear outrigger, racking rear slide
- Structural work: anchoring, controlled pull, outrigger section replacement, measurement records before and after
- Body work: cap replacement, four foot sidewall re-lamination, slide opening realignment
- Paint: new cap refinished, graphics reproduced, blend carried into both rear quarters
- Rough cost range: 46,000 to 58,000 dollars
- Rough calendar time: 10 to 12 weeks, of which about 4 were the cap lead time
Case Two: Fifth Wheel Trailer, Roof Membrane and Substrate
A fifth wheel came in with a ceiling stain above the bedroom slide and no known impact history. The owner had noticed the stain over a season and had resealed around the nearest roof vent twice, which is the most common and most understandable wrong move in this entire category. Water almost never enters directly above where it appears. It arrives somewhere else entirely, and often on a different plane.
Moisture mapping across the roof and upper walls found elevated readings running from the front air conditioner opening rearward along the roof decking, well past the vent that had been resealed. The gasket under the air conditioner had compressed and channeled water into the decking, where it spread laterally under an intact membrane. From outside, the roof looked serviceable. Nothing about it would have prompted a repair on visual inspection alone.
Scope became full membrane removal, replacement of roughly nine feet of soft decking, repair of two rafters that had lost strength, reinstallation of the air conditioner on new sealing material, new membrane, and resealing of every penetration on the roof rather than only the ones near the damage. The interior ceiling panel in the affected area was replaced. Every remaining seal was reset at the same time, since the labor to be up there was already committed.
- What came in: interior ceiling stain, no impact, sealant already reapplied twice by the owner
- What moisture mapping found: wet decking running rearward from the air conditioner opening under an intact membrane
- Structural work: nine feet of decking replaced, two rafters repaired
- Roof work: full membrane replacement, all penetrations resealed, air conditioner remounted on new sealing material
- Interior: ceiling panel section replaced in the affected area
- Rough cost range: 12,000 to 19,000 dollars
- Rough calendar time: 3 to 5 weeks
Case Three: Class C Motorhome, Front Cap and Windshield Frame
A Class C arrived after a front end collision at moderate speed. Cab structure had taken most of the energy, the front cap above the windshield was cracked across its width, and the windshield itself had failed. The chassis cab is a known quantity on these units and is repaired to chassis manufacturer procedure. The coach portion above and behind it is not, and that is where the time went.
Disassembly found the cab to coach transition compromised. The overhead cap had shifted relative to the cab roof, opening the sealed joint between them, and the plywood substrate behind the cap had absorbed water at some earlier point that the collision then exposed. The windshield frame was distorted enough that a new glass set would not have sealed correctly without correction.
The scope combined chassis structural repair to published procedure, front cap replacement, correction of the windshield frame, rebuilding of the cab to coach joint with new sealing and mechanical fastening, and refinishing of the cap and hood with blend into the upper doors. Windshield installation was scheduled after frame verification, not before, so the new glass was never set into an uncorrected opening.
- What came in: front collision damage, cracked overhead cap, failed windshield
- What teardown found: shifted cab to coach joint, distorted windshield frame, pre-existing substrate water damage behind the cap
- Structural work: chassis repair to published procedure, windshield frame correction with verification
- Body work: front cap replacement, cab to coach joint rebuilt and resealed
- Sequencing note: glass set only after frame verification passed
- Rough cost range: 17,000 to 26,000 dollars
- Rough calendar time: 6 to 9 weeks
Case Four: Camper Van Conversion, Side Impact
A high roof van conversion came in after being struck on the sliding door side in a parking lot. On a factory cargo van this is routine metal work. On a converted van it is not, because the conversion adds insulation, wall paneling, cabinetry, wiring runs, and often plumbing directly against the panels being repaired. All of it has to come out before panel work starts, and go back in afterward.
Teardown required removing interior cabinetry to reach the affected panels, and that is where the additional scope appeared. The impact had deformed the sliding door track sufficiently that the door bound at the rear roller, a 12 volt run bonded to the inner panel had been pinched, and the fresh water tank mount on that side had shifted. None of this was visible with the interior intact.
Final scope covered sliding door and track repair with alignment verification, replacement of one body panel section, repair of the pinched wiring run, remounting of the water tank, reinstallation of the interior conversion components, and refinishing of the repaired area with blend forward and rearward on that side. Systems were function tested before the interior went back together, because a fault found after reassembly costs the teardown labor a second time.
- What came in: side impact on the sliding door side, door binding on operation
- What teardown found: deformed door track, pinched 12 volt run, shifted water tank mount
- Extra labor unique to conversions: cabinetry and wall panel removal and reinstallation
- Body work: panel section replacement, door track repair with alignment verification
- Systems work: wiring repair, tank remount, function testing before reassembly
- Rough cost range: 9,500 to 16,000 dollars
- Rough calendar time: 3 to 6 weeks
Case Five: Fleet Box Truck, Curb Strike and Body Rail
A commercial box truck came off a curb hard enough to damage the lower body rail and the rear corner post on the passenger side. For a fleet operator the governing constraint is not cost, it is days out of service, so the scope conversation started with what could be repaired in place versus what required ordering. That question shaped the sequence more than the estimate did.
Inspection found the lower rail deformed across roughly six feet, the rear corner post pushed inboard, and the rear door track out of alignment enough that the roll up door bound at the top of travel. The floor edge above the damaged rail had separated from its fasteners. The chassis itself measured within tolerance, which kept this out of full structural repair.
Scope came together as lower rail section replacement, corner post straightening and reinforcement, rear door track alignment, refastening of the floor edge, and refinishing of the repaired panels in fleet color. Because the color was a solid fleet white with no graphics on the repaired side, paint hours were a fraction of what a graphics coach would have consumed. Solid fleet colors are the least expensive finish situation in this entire category.
- What came in: curb strike damage to the lower body rail and rear corner post
- What inspection found: six feet of rail deformation, corner post pushed inboard, binding roll up door, separated floor edge
- What it was not: chassis measured within tolerance, so no frame rack time was required
- Body work: rail section replacement, corner post straightening and reinforcement, door track alignment
- Paint: solid fleet color, no graphics reproduction on the repaired side
- Rough cost range: 6,500 to 12,000 dollars
- Rough calendar time: 8 to 15 business days
Case Six: Travel Trailer, Long Term Sidewall Delamination
A travel trailer arrived with visible waviness along the street side wall that the owner had watched grow across two seasons. There was no incident behind it. This is the slow failure category, and it is the one where owners most often wait too long because nothing about it feels urgent from one month to the next. By the time it does feel urgent, the affected area has usually multiplied.
Tapping and moisture readings mapped the failed bond across a large portion of the wall, with the highest readings clustered below a window opening. The window sealant had failed years earlier and water had been tracking down inside the wall since, saturating the lauan and destroying the adhesive bond between skin and core over a widening area. Two framing members had lost meaningful strength.
The scope became removal of the outer skin over the affected section, replacement of the wet core material and the compromised framing, re-lamination under controlled pressure, window reinstallation on new sealing material, and refinishing of the repaired wall with blend to the nearest natural break. Because the damage had been progressing for years, the repaired area covered substantially more wall than the visible waviness suggested.
- What came in: growing waviness on one sidewall, no incident, developed over two seasons
- What mapping found: failed bond across a large wall section, saturated core below a window, two weakened framing members
- Root cause: window sealant failure years earlier, not a roof leak
- Repair: skin removal, core and framing replacement, controlled pressure re-lamination, window reset on new sealing material
- Finish: repaired wall refinished with blend carried to the nearest natural break
- Rough cost range: 8,000 to 22,000 dollars
- Rough calendar time: 3 to 7 weeks
What These Cases Have in Common
Read together, the pattern is consistent. In five of six, the final scope was materially larger than the visible damage, and in every one of those five the difference was found by disassembly or by moisture mapping rather than by looking harder at the outside. That is not a quirk of these examples. It is a structural property of how coaches and trailers are built, with load carrying members and absorbent substrates hidden behind bonded skins.
The second pattern is that time is dominated by two things owners cannot influence once the job starts: parts lead time on molded components, and the sequencing rule that structural correction must be verified before finish work begins. A cap on a long lead time sets the floor for the whole schedule no matter how fast the shop works. Schedule promises that ignore lead time are promises nobody can keep.
The third pattern is the expensive one. In two cases the damage that drove the cost was maintenance related and had been progressing for years before anything visible appeared. Sealant maintenance is the cheapest work anyone will ever do on a recreational vehicle, and deferring it is the most expensive. Both of those root causes would have been caught by a sealant audit costing a few hours of attention twice a year, which is the least glamorous and highest return recommendation on this entire site.
- Visible damage understated final scope in five of the six cases
- Parts lead time on molded caps was the single largest schedule driver where a cap was involved
- Structural verification always preceded finish work, which is a sequencing rule, not a scheduling preference
- Two of six had root causes that were maintenance related rather than incident related
- Painted graphics consistently raised refinishing cost relative to solid color units
- Interior teardown labor on conversions and coaches is real labor and appears on every honest estimate
Questions
Frequently asked questions
Are these real customer repairs?
They are representative composites, not identified customer records. Each case is assembled from the pattern that repeats across many jobs of the same type, and it deliberately contains no name, no date, no unit identifier, no plate, and no detail that could point at any individual. We publish them this way on purpose. Customer repair histories are private, and a shop that posts identifiable job details is telling you something about how it treats records. What the composites preserve accurately is the technical content: what the damage looked like on arrival, what disassembly exposed, how the scope changed as a result, and roughly what that class of work costs and takes. Those are the parts that help an owner understand their own situation. The identifying details would add nothing except exposure for someone who never asked to be written about.
Why was the final scope so much larger than the visible damage in most of these?
Because coaches and trailers are built with their load carrying and absorbent materials hidden behind a bonded outer skin. On a passenger car, a hit that bends structure usually deforms the visible sheet metal along with it, so the outside gives you a reasonable preview of the inside. On a laminated sidewall, the skin is thin, flexible, and bonded to a core, so it can absorb an impact, spring most of the way back, and look nearly untouched while an outrigger behind it deflected and a bond line let go. The same principle applies to water. A membrane roof can be continuous and intact while the decking under it has been wet for two years. The only reliable way to know is disassembly and moisture mapping, which is why estimates written before teardown are opening positions.
How accurate are the cost ranges for my specific vehicle?
Treat them as orientation, not as a quote. The ranges reflect posted labor rates against the parts and materials that a job of that general description typically consumes, and they are wide on purpose because the variables are large. Construction type matters, since a laminated wall and an aluminum sided wall repair differently at different cost. Finish matters enormously, because reproducing painted graphics across a repaired panel can cost several times what a solid color repair costs on identical structural damage. Parts availability matters, both for price and for schedule. And the largest variable of all is what teardown finds, which by definition nobody knows at the point where a range would be quoted. The honest answer for any specific unit is that the number comes after disassembly, and any shop offering a firm figure before that is estimating optimistically.
Which of these repair types takes the longest, and why?
Anything requiring a molded cap, front or rear. In the cases above, the cap driven jobs ran the longest calendar time and the reason was almost entirely parts lead time rather than labor hours. Molded caps are large, low volume, unit specific components. They are frequently built to order, they ship freight rather than parcel, and on older or discontinued units they may not be available at all, which pushes the job into fabricating a repair instead of installing a replacement. The second longest category is water intrusion where substrate has failed, because the wet area is nearly always larger than expected and each additional foot of decking or framing adds both labor and drying time. Straightforward panel and paint work, by contrast, is measured in days once parts are on the shelf.
Could a general body shop have handled any of these?
Some parts of some of them, yes. The chassis structural work on the Class C follows published chassis manufacturer procedure and a competent collision shop with the right measuring equipment can execute it well. The metal work on the fleet box truck is well within what a good commercial body shop does routinely. What diverges is everything above and behind the chassis: laminated wall re-lamination, molded cap replacement and blending, roof membrane systems, slide mechanisms and openings, and the house electrical, propane, and plumbing that runs through the walls being opened. Those are not harder than automotive work, they are different work with different materials and different failure modes. The practical constraint is also physical. A 40 foot coach does not fit in a standard booth, and paint that cannot be sprayed under controlled conditions in one pass will not match.
In the leak cases, why did resealing the nearest vent not fix it?
Because water rarely enters directly above where it appears inside. Once water passes a failed seal, it travels along the path of least resistance, which on a roof means running laterally across the decking under an intact membrane, and in a wall means running down inside the cavity. By the time it emerges as a visible stain it may be several feet from its entry point, and often on a different plane entirely. Resealing the closest penetration addresses a seal that may have been perfectly sound and leaves the actual entry open. This is why moisture mapping precedes scope on every leak job we take. Readings taken in a grid across the roof and upper walls show where the wet zone actually is, and the entry point is generally at or just uphill of the highest readings, not at the stain.
What single thing would have prevented the most expensive damage in these cases?
Sealant maintenance, by a wide margin. Two of the six had root causes that were not incidents at all. They were failed seals that had been passing water for years, one at an air conditioner gasket and one at a window, and in both cases the repair cost ran into five figures for damage that started as a maintenance item worth a few hundred dollars of attention. Roof and window sealant is a consumable with a service life measured in a few years under Southern California ultraviolet exposure, not a permanent part of the vehicle. Inspecting every penetration twice a year, and reapplying the correct sealant type before it cracks through, is the highest return maintenance available on a recreational vehicle. Nothing else on the list comes close in terms of dollars of damage avoided per hour spent.
Keep reading
Related pages
More resources
Insurance reading
Talk to a repair specialist today
Tell us what happened and we will tell you what the repair actually involves, what it costs, and how long it takes. We work directly with every major carrier and serve Westminster owners and fleets from our 35,000 square foot facility.
Posted labor rates are published on our prices page. Diagnostic and systems assessment fees are credited against an authorized repair.