Blog
RV Repair Before and After Stories
In short
A finished repair photo hides the decisions that produced it. These write ups follow damage through the actual sequence a shop uses: assessment, teardown, structure, substrate, refinish, and reassembly. The value is in the order, because doing these steps out of sequence is what causes repairs to fail later.
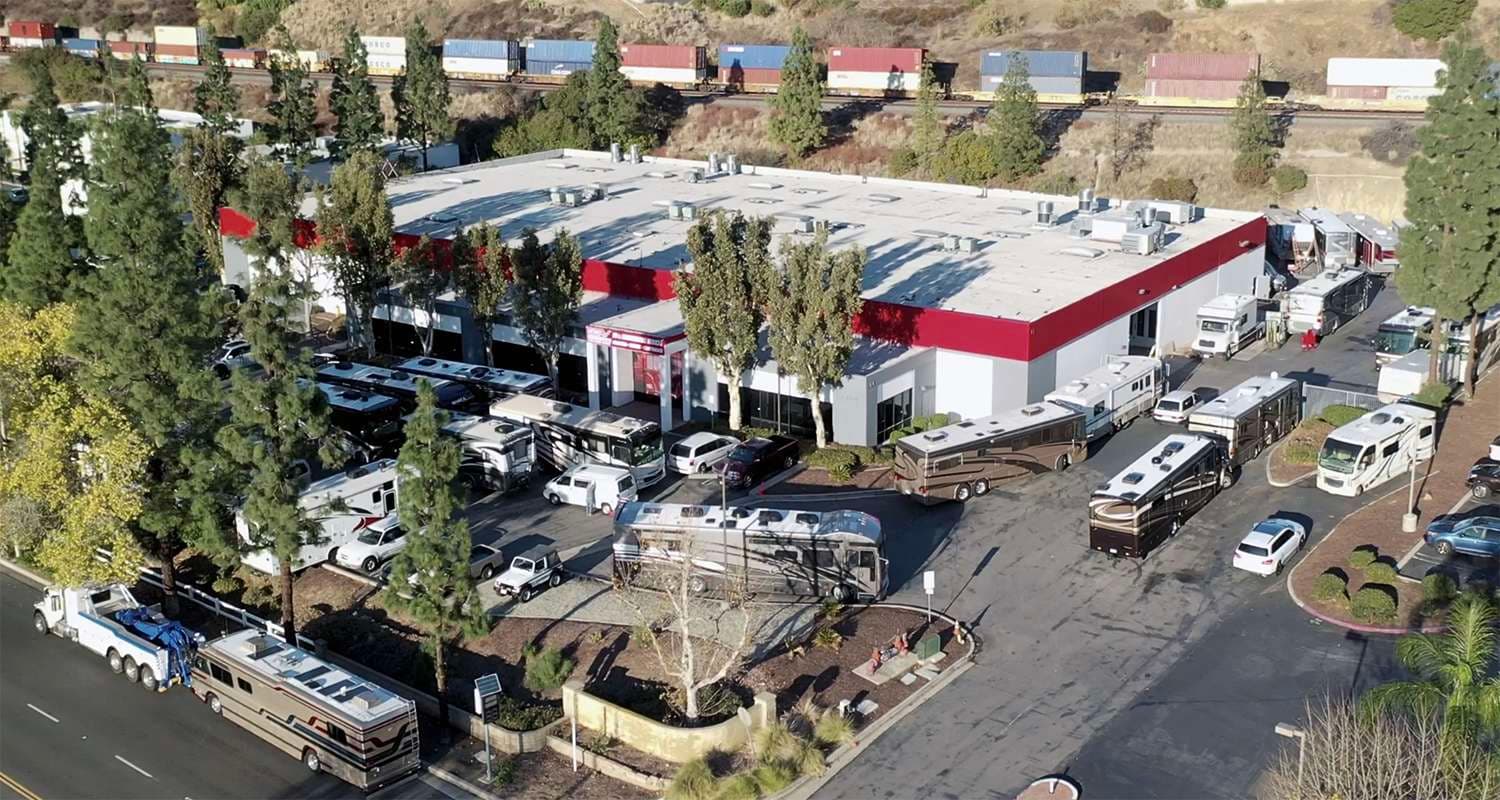
These rv repair before and after stories exist because the finished photo is the least useful part of any repair. What matters is the order of operations and the checks between them. A coach that looks correct after paint but was never measured on a rack will show the same door gap problem in a month. Each write up here follows one damage type through assessment, teardown, structural work, substrate preparation, refinish, and final verification.
What Does a Complete Repair Sequence Look Like?
Every serious repair follows the same skeleton regardless of vehicle type. First, assessment with the vehicle intact, which establishes what is visibly wrong and how the unit currently closes, seals, and sits. Second, teardown, where trim and damaged assemblies come off and the real scope becomes visible. Third, structure, where anything bent is measured, pulled, or replaced before another dollar is spent on appearance. Fourth, substrate, meaning panel repair, bonding, and body filling to a straight and stable surface.
Fifth is refinish: sealer, base, clear, and whatever blending the adjacent panels require. Sixth is reassembly and verification, where every seal, latch, and moving component is checked against how it behaved before the damage. The sequence matters because each stage depends on the one before it. Paint applied over a panel that is still carrying load will crack at the same corner within a season, and a slide adjusted before the opening was measured will need adjusting again.
- Assessment with the unit still assembled, documented with photos
- Teardown to expose structure, with findings mapped and measured
- Structural correction and verification against specification
- Substrate work: bonding, panel repair, filling, block sanding
- Refinish: sealer, base, clear, and blending into adjacent panels
- Reassembly, seal and latch verification, and a water test where relevant
Why Does Fire and Water Damage Change the Order?
Fire and water both attack things you cannot see, so both push the investigation stage much earlier and much deeper. After a fire, heat travels through metal and through cavities, which means components well away from the burn area may have lost temper, insulation, or seal integrity. Wiring is the main concern, because heat damaged insulation can pass a visual inspection and then fail months later. So the sequence starts with a full cleaning and a systems assessment rather than with panel work.
Water is slower but behaves the same way. The visible stain is the smallest part of the wet area, and moisture travels downward and sideways inside a laminated wall long before it shows on the surface. The order of operations becomes find the entry point, map the wet area, remove and dry everything affected, verify dry readings, and only then rebuild. Rebuilding over a wet core is the single most common way a repair fails, because the damage continues underneath finished work.
How Is a Finished Repair Verified?
Verification is not a walkaround. It is a list of measurements and functional checks that mirror the assessment done at the start, so before and after can be compared directly. Structural work is verified against the same reference points used to diagnose it, and the numbers are recorded. Panel work is verified with a straightedge and by sighting reflections down the body line, since a wave that is invisible in shade is obvious under a light bar. Color is verified against a sprayout card in daylight, not against the panel next to it.
Functional verification covers everything that moves or seals. Doors and compartments should latch with the same effort as before. Slides should travel smoothly and seal on all four edges. Where a repair touched a roof, a wall penetration, or a slide, a water test under pressure is the only honest confirmation. Photographing these checks creates a record that means something later, both for the owner and for a carrier reviewing the file.
- Measurement points rechecked and recorded against the original findings
- Body lines sighted under directional light for waves and low spots
- Color checked against a sprayout card in daylight, not by memory
- Every door, compartment, and slide cycled and compared to prior effort
- Water testing on any repair that touched a seal or a penetration
What Do These Stories Leave Out?
A finished photograph is the least informative image in any repair. It shows a straight panel and even paint, which is what every competent repair looks like from six feet away regardless of what happened underneath. The interesting images are the ones taken with the skin off, and those are the ones that explain why the job took the time and money it did.
These write ups are composites drawn from work that comes through regularly, not identified customer records, and they are deliberately vague about anything that could point at a specific owner. What they are precise about is sequence and cause, because those transfer. If your coach has the same symptom, the diagnostic path described will apply even though your numbers will not.
Questions
Frequently asked questions
Why do shops photograph so much during teardown?
Because the evidence disappears the moment reassembly starts. Teardown photos serve three separate purposes. They support the supplement, since a carrier reviewing a request for additional structural work needs to see the crushed member or the wet core rather than take a description on faith. They serve as reassembly instructions, because a coach interior comes apart in a specific order and a photo of how a harness was routed or how a trim piece was shimmed saves hours later. And they protect the owner, since a documented condition at teardown settles any later question about what was damaged in the loss versus what was already worn. A shop that does not photograph teardown thoroughly is making its own supplements harder to approve, which slows the job down for everyone.
How much of a repair happens before any paint is sprayed?
On a structural job, most of it. Teardown, measurement, structural correction, panel replacement or bonding, filling, and block sanding typically account for the majority of both hours and calendar time, while refinish is a comparatively short stage at the end. This surprises owners who are watching for visible progress, because the vehicle can sit for two weeks looking exactly the same from the outside while the substantive work happens behind trim panels and under masking. It is also why partial progress photos can be misleading. The useful question to ask a shop is not whether the vehicle has been painted, it is which stage the job is currently in and what has to be finished before the next one starts. That answer tracks the real schedule.
Can a repaired area be made to match an aged finish?
Usually yes, but the method depends on how far the surrounding finish has drifted. An RV that has spent years in sun has a finish that no longer matches its original paint code, especially in reds and dark blues where pigment fades unevenly. Matching means spraying test cards, comparing them against the actual panel in daylight, adjusting the mix, and then blending into adjacent panels so the transition happens gradually rather than at a hard edge. On a panel bounded by clear body lines, a tight repair with careful blending is effectively invisible. On a long unbroken sidewall, the honest answer is that a larger blend area, or refinishing the full panel to its natural break points, produces a better result than trying to hide a transition in the middle of open surface.
What makes a repair fail a year later?
Four causes account for nearly all of them. First, structure that was never corrected, so the panel keeps flexing and the finish cracks at the same corner it cracked before. Second, moisture that was sealed in rather than removed, which continues destroying the bond behind new work. Third, substrate preparation that was rushed, meaning inadequate cleaning, the wrong adhesion promoter, or filler applied over a contaminated surface. Fourth, seals and sealants that were reused instead of replaced, which is a small line item that causes a large percentage of comeback work. Every one of those is a sequence failure rather than a skill failure. The stage that would have caught the problem was skipped or shortened, usually to compress a schedule, and the repair looked correct on delivery day because the consequences take months to surface.
Talk to a repair specialist today
Tell us what happened and we will tell you what the repair actually involves, what it costs, and how long it takes. We work directly with every major carrier and serve Westminster owners and fleets from our 35,000 square foot facility.
Posted labor rates are published on our prices page. Diagnostic and systems assessment fees are credited against an authorized repair.