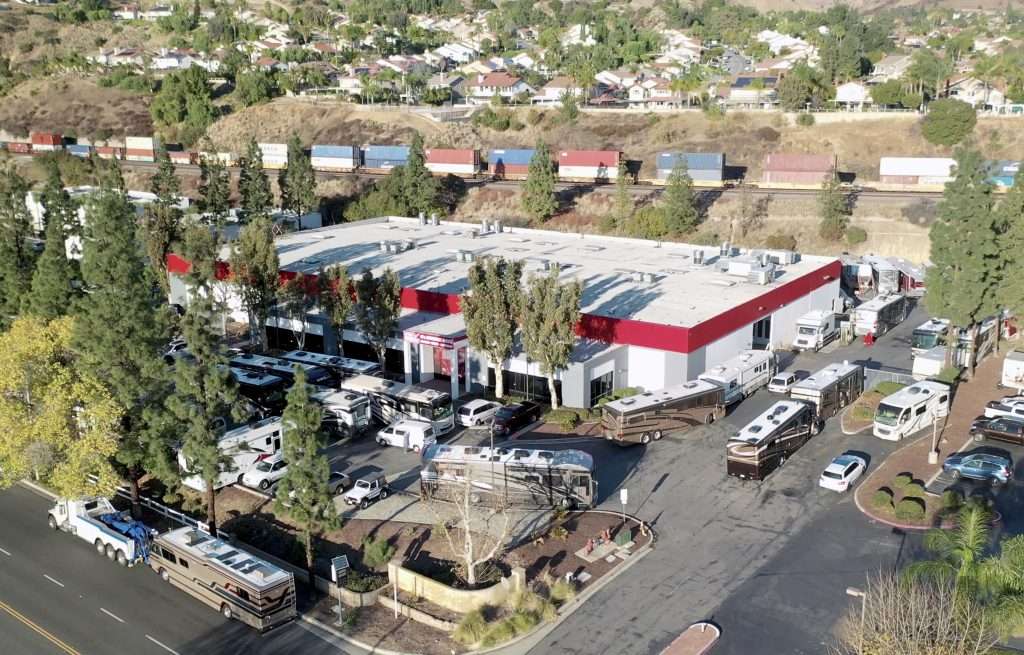
Learning to document rv damage for insurance takes about thirty minutes and it changes how the entire claim goes. Photographs taken before anything moves are the only record of the vehicle in its damaged state, and that record answers questions an adjuster will otherwise resolve using assumptions. The goal is not to build a case against your carrier. It is to remove the ambiguity that makes claims slow, because ambiguity always takes longer than evidence.
Why Does Documentation Matter More on an RV?
Because so much of the damage is not visible from outside. On a passenger car, an adjuster looking at a bent fender is looking at most of the story. On a laminated coach, the same impact can have crushed framing, released a bond across several feet of wall, and opened a water path, none of which appears in a photograph of the exterior. Documentation is what connects the visible damage to the hidden damage that teardown later reveals.
There is a second reason specific to recreational vehicles, which is that they combine a vehicle with a residence. Interior damage, damaged appliances, plumbing, and personal property are all potentially in scope, and each is easier to substantiate with a photograph taken on day one than with a description offered six weeks later. Photograph appliances, plumbing fixtures, and interior finishes even where they appear undamaged, because establishing what was intact is as useful as establishing what was not.
The third reason is prior condition. RVs are frequently older than the cars people insure, they show wear, and wear is the most common basis for excluding a portion of a claim. Being able to show what the coach looked like before the loss converts an argument into a comparison, and comparisons resolve quickly. That is why routine documentation taken when nothing is wrong is worth the small effort it costs, and why it should be stored somewhere other than in the coach.
- Hidden structural damage that only teardown reveals
- Interior systems and finishes that are part of the same loss
- Prior condition, which determines what gets excluded as wear
- Water intrusion paths that are invisible in exterior photos
- Personal property, which is documented separately from the vehicle
What Photos Should You Take First?
Start wide and work in, and do it before the vehicle moves. Four corner shots showing the whole unit establish context and orientation, and they prove which surfaces were affected. Include the surroundings in at least one frame, because where the vehicle was and what it was next to is often relevant to how the damage occurred. Shoot these before anything is moved, because position evidence cannot be recreated once a vehicle has been towed.
Then medium shots of each damaged area showing the damage in relation to a recognizable feature such as a window, a door, or a wheel. These are the frames that let someone reading the file later understand where on a forty foot vehicle the damage sits, which is surprisingly difficult to determine from close ups alone. Include a recognizable feature of the vehicle in each frame so the location reads without explanation, since a file reviewer has never seen your coach.
Then close ups, with something in frame for scale. A tape measure is ideal, a coin works. Shoot each damaged area from more than one angle, because a dent that is invisible straight on shows clearly at a low angle, and shoot in daylight rather than under artificial light. Photograph the odometer, the vehicle identification plate, and the current registration while you are at it, since those establish identity and are always requested.
- Four corner wide shots including surroundings
- Medium shots placing each damaged area on the vehicle
- Close ups from multiple angles with a scale reference in frame
- Low angle shots to reveal dents and shallow deformation
- Odometer, identification plate, and registration
- The undamaged side, which establishes comparative condition
How Should Interior Damage Be Recorded?
Photograph every interior area, not only the ones that appear affected. Structural movement shows up inside as separated trim, cracked panel joints, and doors that no longer sit square in their frames, and those details are easy to miss on the day and impossible to reconstruct later. Open every cabinet and compartment and photograph inside, since impact damage commonly appears as broken hinges and cracked panels that nobody sees until the doors are opened.
Operate everything that moves and record the results in writing. Each slide, each door, each window, each latch. Note anything requiring more force than normal, anything that binds, and anything that no longer seals. This functional record is often more valuable than photographs, because it captures changes that are invisible in a still image but expensive to correct. Write the functional notes the same day, since details that seem obvious now will not be obvious in a month.
If there is any possibility of water intrusion, moisture readings belong in the file from the start. A meter reading taken on day one at several points, with the locations noted, establishes a baseline. If readings rise over the following weeks, that progression is documented evidence of an active path rather than a claim that pre existing dampness got worse. Note the meter model and the exact location of each reading so the set can be repeated later.
Which Details Do Owners Consistently Forget?
The roof. It is the most commonly damaged and least commonly photographed surface on a recreational vehicle, and it is where hail, branch, and clearance damage all land. If the roof can be accessed safely, photograph the whole surface, then every penetration and seam individually. If it cannot be accessed safely, photograph from a ladder at the perimeter and note that the roof was not fully inspected. Never climb a roof that is not rated for it, since a fall costs more than any claim.
The undercarriage is second. Damage to the chassis, storage bay floors, tanks, and plumbing runs is invisible from standing height and it is where impact damage frequently hides. Photograph underneath from both sides, and photograph the area around any point where the vehicle contacted something. Include the storage bay floors and any exposed plumbing or tank straps, since damage there is invisible from standing height and it is frequently what teardown finds first. A phone on a pole reaches the areas you cannot.
Third is the set of small items that are genuinely part of the loss and get left off estimates: awning fabric and hardware, marker lights, mirrors, antennas, steps, ladders, and compartment latches. Each is minor individually and together they can add up meaningfully. Anything not documented at the start requires a supplement later, and supplements for items that were observable on day one receive more scrutiny than supplements for hidden damage.
- The full roof surface and every penetration on it
- The undercarriage, tanks, and storage bay floors
- Awning fabric, arms, and mounting hardware
- Marker lights, mirrors, antennas, steps, and ladders
- Tires and wheels, including sidewalls and any curb contact
- Any towed vehicle or trailer involved in the same event
What Written Notes Belong With the Photos?
A timeline, written the same day. Date, time, location, weather, what happened in sequence, and who was present. Memory degrades quickly and it degrades in the direction of the story you have told most often, which is why contemporaneous notes carry weight that a later account does not. Write it plainly and do not editorialize about fault. Date the account, keep the original wording even if you later add to it, and store a copy somewhere other than in the vehicle.
A damage inventory organized by location, listing each item, what is wrong with it, and which photographs show it. This is the document that becomes your reference during the adjuster inspection, and having it in hand is the single most effective thing you can do to make sure nothing is left off the estimate. Number each item so you and the adjuster can refer to the same thing without describing it twice, and leave room to add findings later.
Finally, a running log of every contact with the carrier: date, who you spoke with, what was discussed, and what was promised. Claims involve multiple people and long gaps, and a log turns a disagreement about what was said into a record. Keep every receipt in the same folder, including towing, storage, and any expense incurred because of the loss. Receipts are the part of a claim file that people discard first and need later, so keep them even when the amounts look trivial.
How Do You Establish the Vehicle's Prior Condition?
The best evidence is photographs taken before the loss, which is why routine documentation is worth the small effort it takes. A full photo set taken twice a year, at the same time you inspect sealants, gives you a dated record of the coach's condition that no argument can dispute. Store it somewhere that survives losing the vehicle. Cloud storage costs nothing meaningful and it survives the loss of the vehicle, the phone, and the trip.
Maintenance records are the second strongest evidence, particularly sealant and roof maintenance, since those are what wear based exclusions usually target. Receipts showing regular attention establish a maintained unit, which changes the starting assumption in any discussion about whether damage is sudden or gradual. Keep receipts for sealant work, roof service, and any inspection performed by a facility, since those are exactly the records a wear based exclusion argues against. A folder of them is worth more than any verbal history.
Third is service history from any facility that has worked on the unit. A shop's records of prior visits establish what condition the vehicle was in on those dates, and they are independent of anything you produce yourself. If a unit has been serviced regularly, requesting those records at the start of a claim is worth the phone call. Ask for the records in writing so they arrive as documents rather than as a description over the phone.
- A dated full photo set taken at each seasonal inspection
- Sealant and roof maintenance receipts
- Service records from any facility that has worked on the unit
- Purchase inspection reports, if one was performed
- Prior claim records, which document repairs already completed
When Should You Stop Documenting and Call?
Once you have wide shots, medium shots, close ups, interior coverage, the roof and undercarriage, a written timeline, and a damage inventory, you have enough to open the claim well. That is thirty to sixty minutes of work on a large coach, and it should not delay reporting beyond the same day. Policies contain notice provisions and prompt reporting is always the safer position. Reporting and deciding whether to pursue the repair are separate steps, and only the first one is time sensitive.
Documentation does not stop when the claim opens. Photograph the vehicle at drop off, photograph teardown findings if the shop will share them, and keep adding to the file as the repair proceeds. The most valuable photographs in many claims are the teardown images that show hidden damage, because those are what support the supplement. Ask the shop whether it will share teardown images with you directly, since not every facility does that without being asked.
When you call, have the file open in front of you. Give the claim intake the date, location, and a factual description, then reference your inventory when asked what was damaged. Shops that handle these claims regularly, including OCRV Center, ask for the same set of documents at intake, so having it assembled once serves both the carrier and the repair facility without a second round of work. Bring the file to the inspection as well, since the same set answers most of what an adjuster will ask.
Related service
If this is the situation you are in, the detail lives on our Start a Claim page.